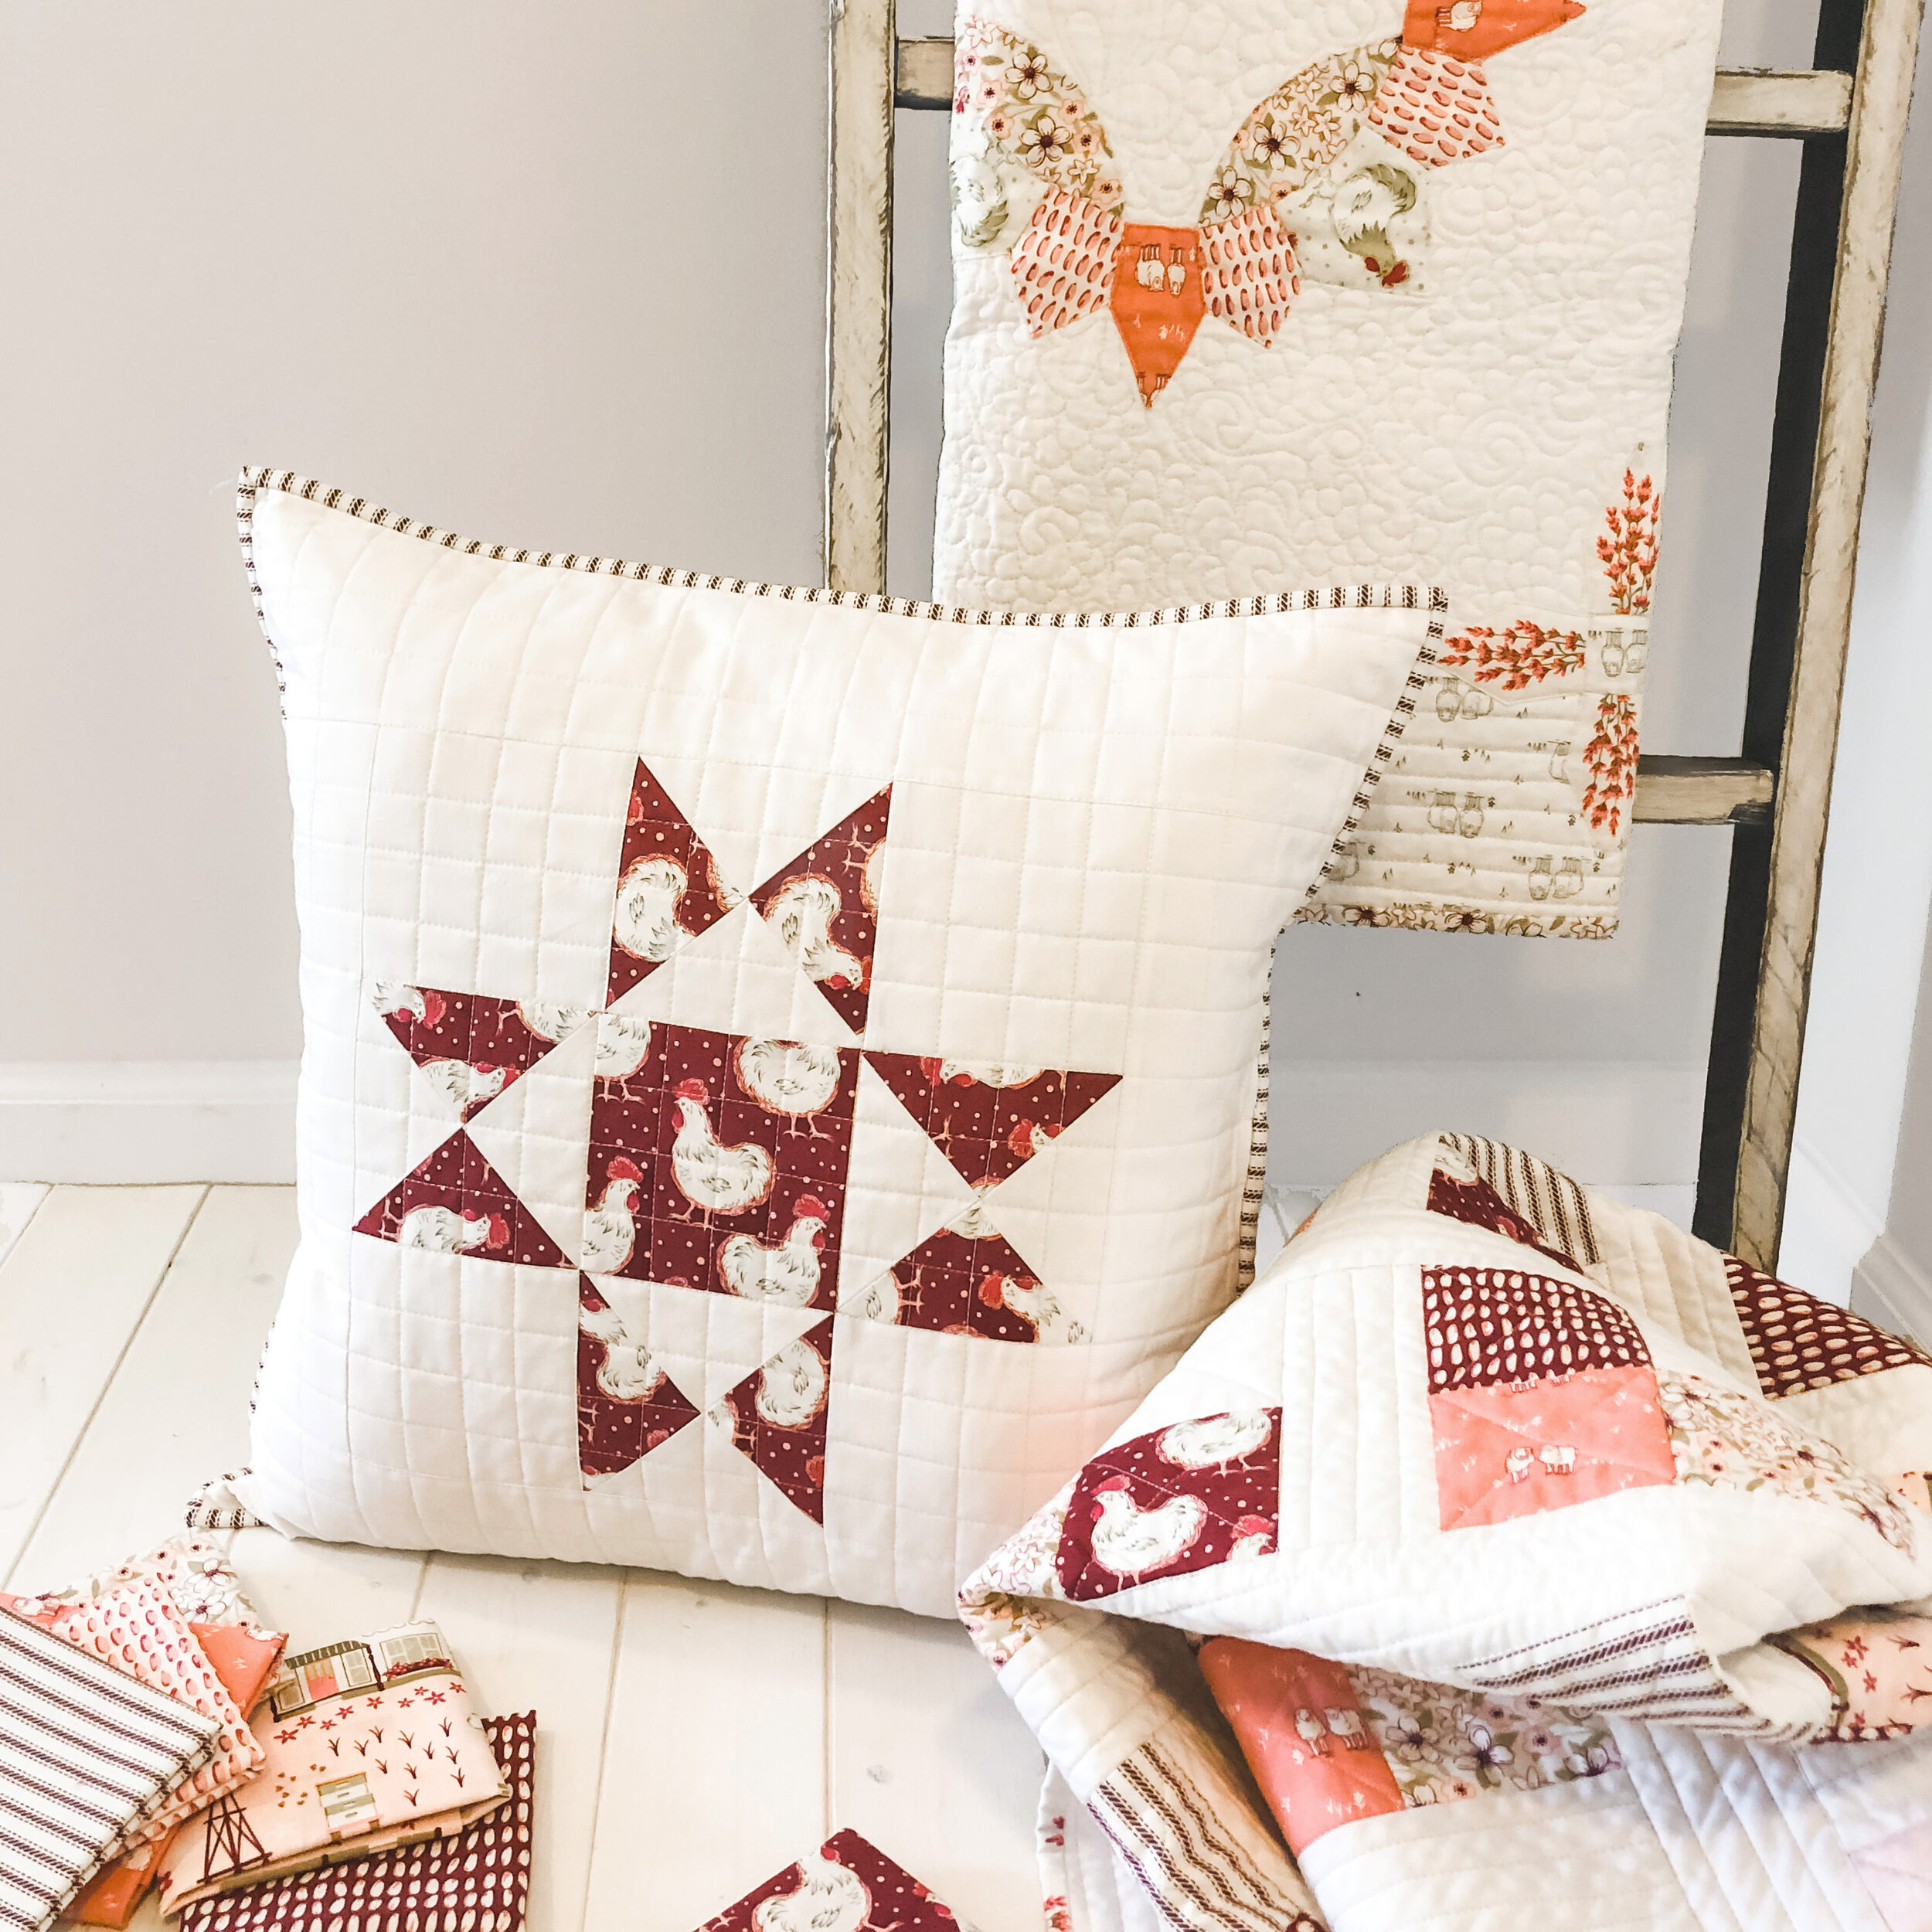
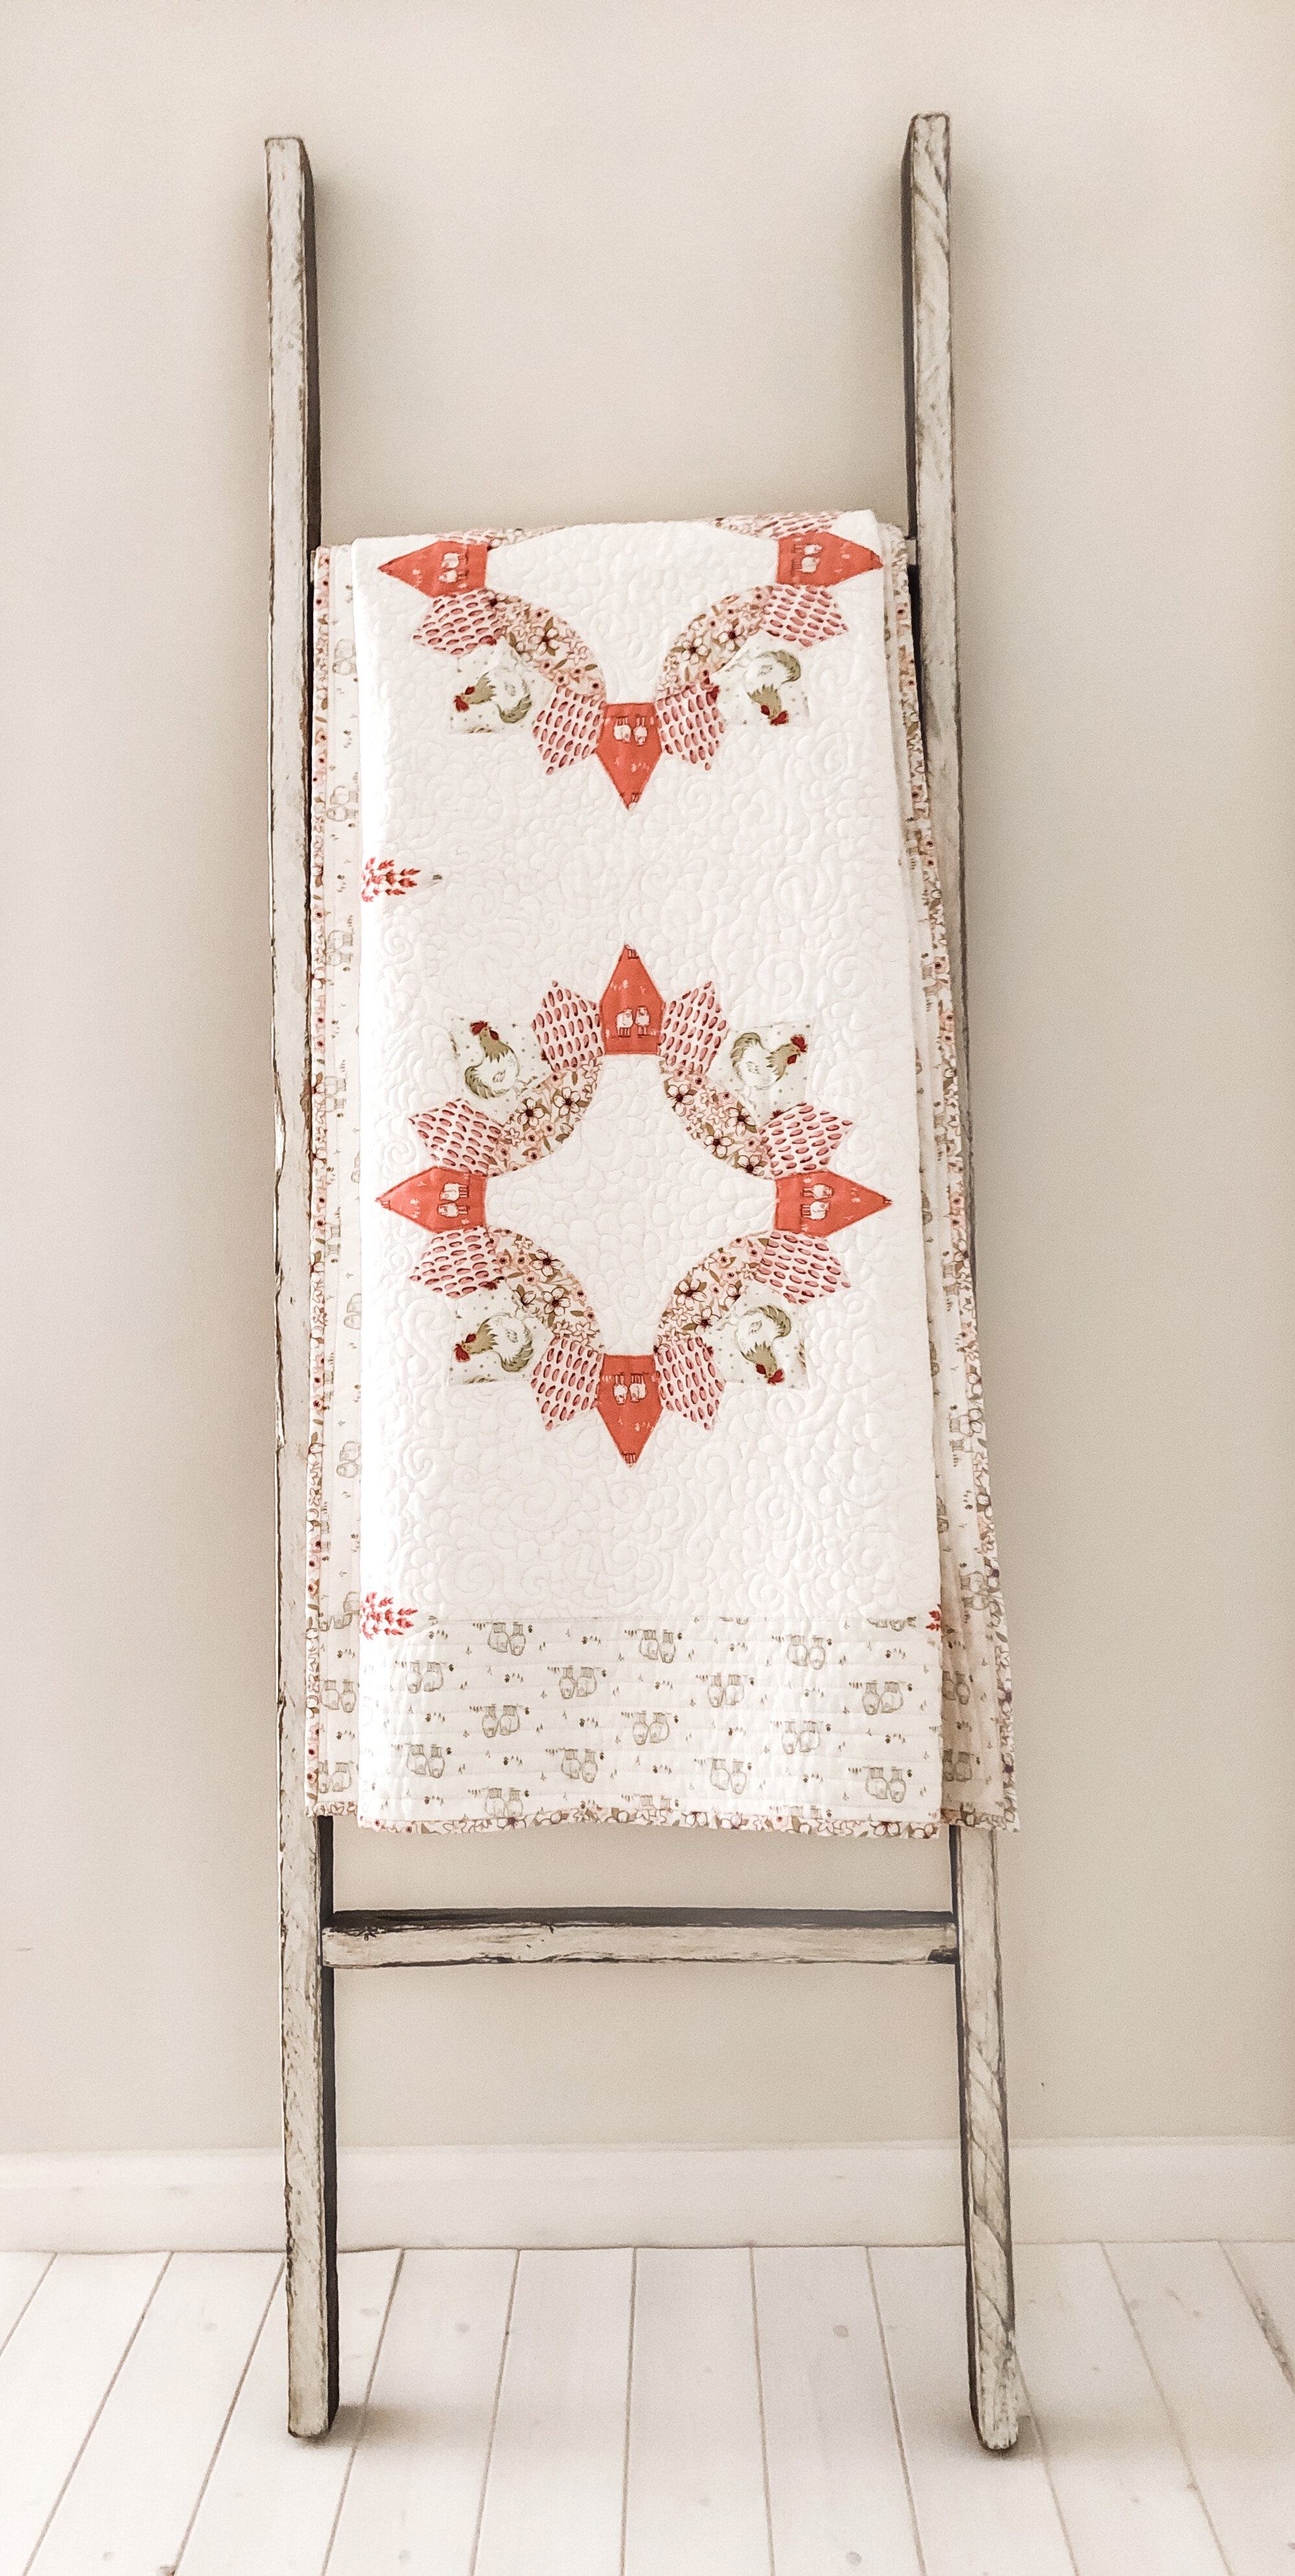
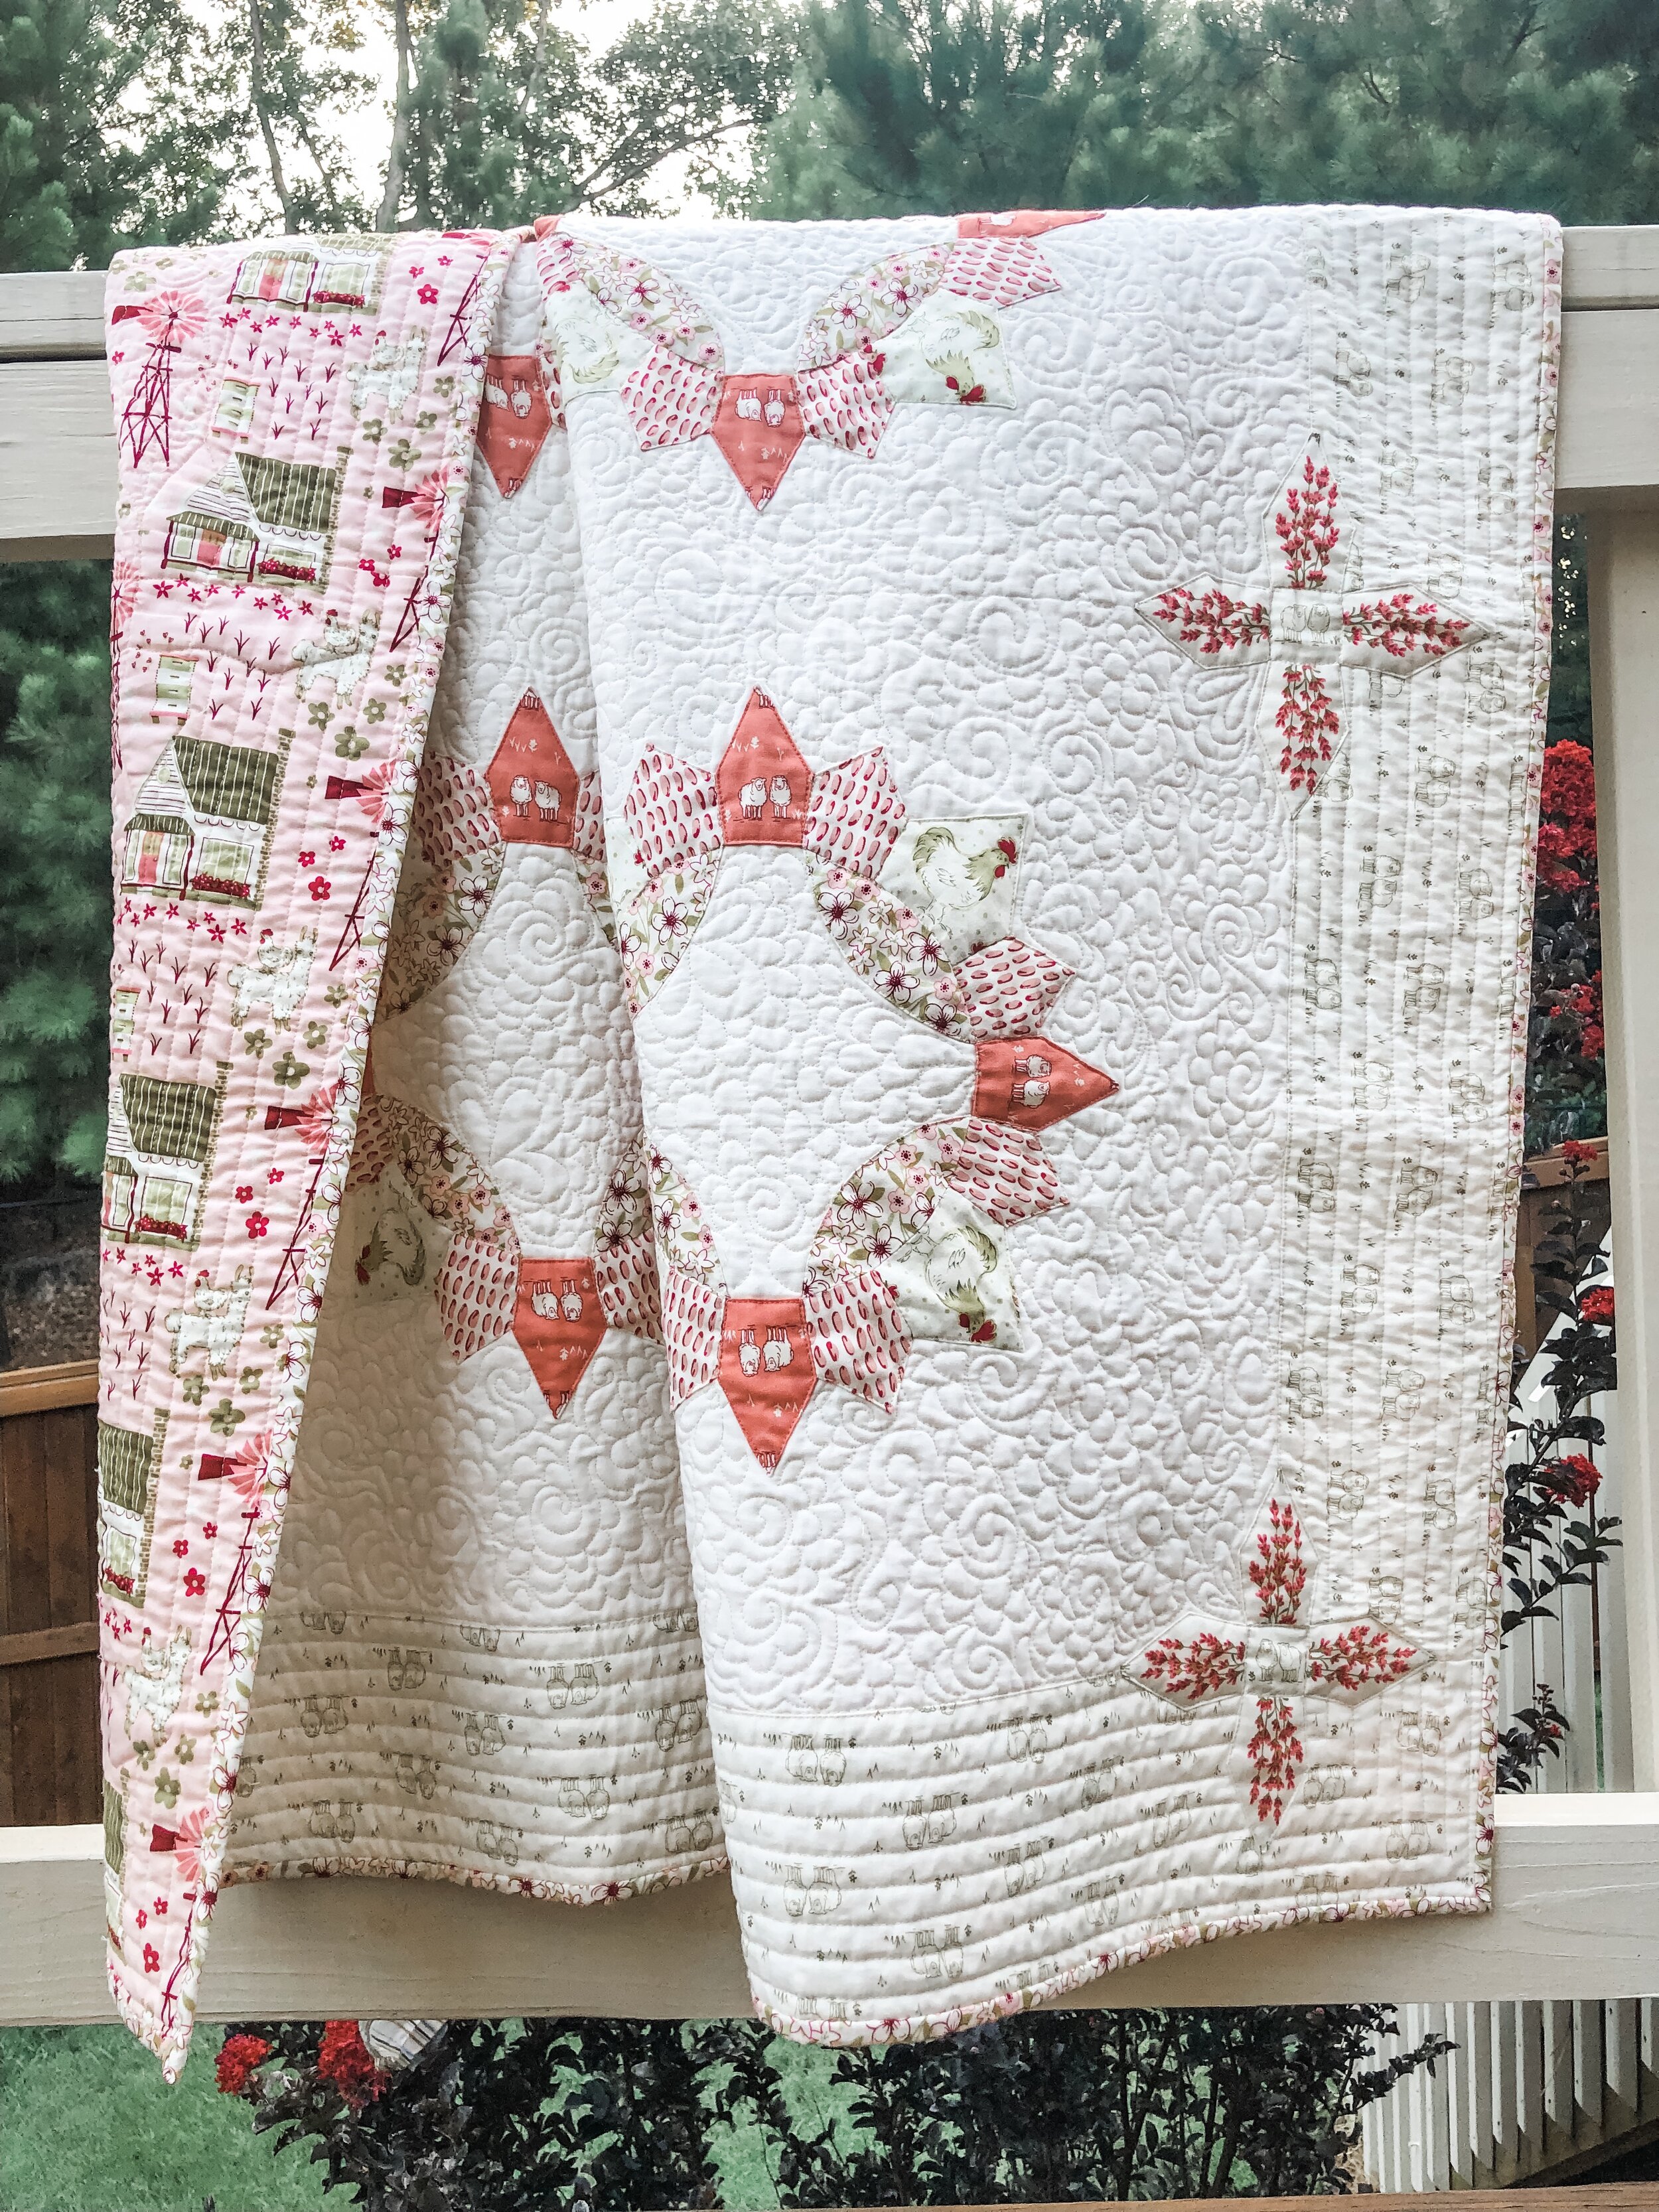
Today I want to show you how I made my finished Brimfield Blocks into a baby quilt. If you’re not already familiar with the Brimfield Block, it is the original quilt block that Kim and Nisha of Brimfield Awakening introduced. You can read all about their story of finding a vintage orphaned quilt blocK, reviving it, creating templates, papers and a pattern which is the Brimfield Block here brimfieldawakening.com, Since then they have introduced many other beautiful blocks, but the original Brimfield Block is still my favorite and a perfect go to for many projects. I was especially interested in using it for this Homestead Life baby quilt because i knew it would bring an heirloom look when combined with the farm themed fabrics.
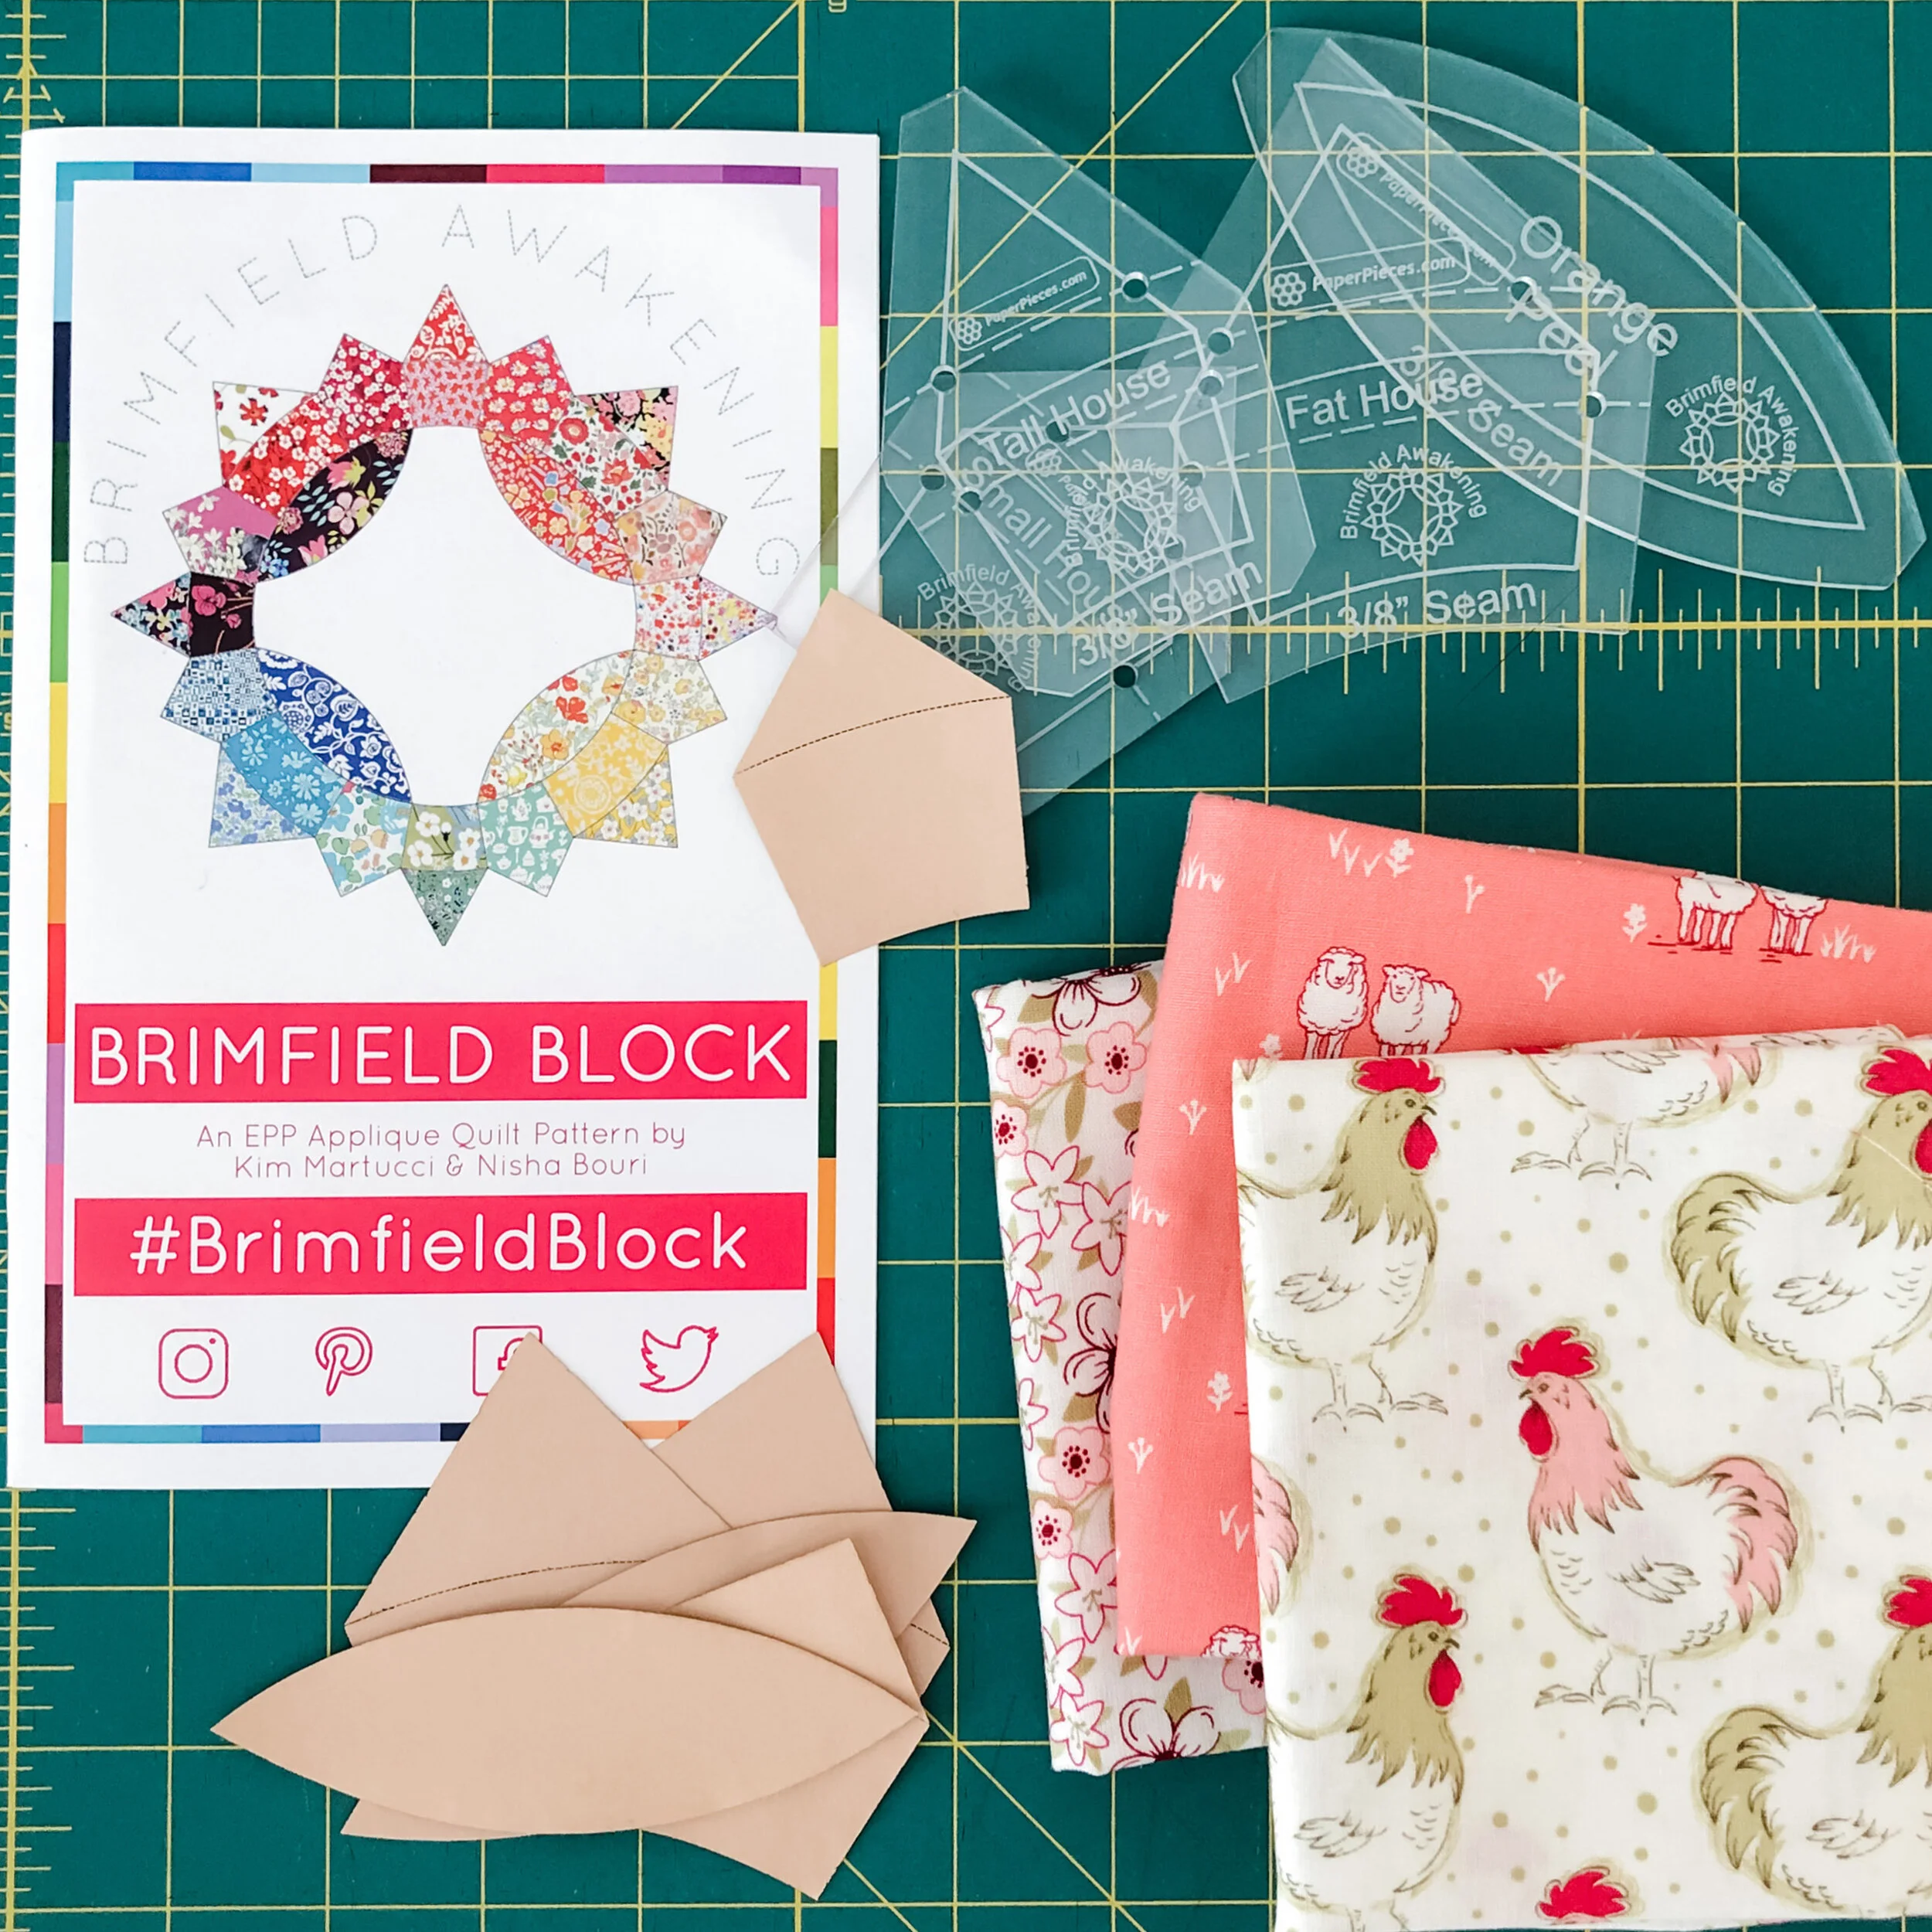
I purchased my Brimfield Block templates, papers and pattern. from the Brimfield Awakening website. The pattern explains everything from tracing and cutting the fabric, glue basting, and stitching them together to form the ring, and steps to make the Quilt. This tutorial for my baby quilt picks up from the point where you have created your rings.
My Brimfield Baby Quilt is essentially a whole cloth quilt with a border and the Brimfield Blocks apliqued on top.
I often choose to use a regular 44” wide quilt fabric for my backing because there is so much more to choose from. While I do love a simple cream solid fabric on many of my quilt backs, when I have more negative space on the front I’m likely to want to liven up the back. Because the 44’ fabric is not enough to cover the whole quilt I needed to piece it together. There is a great tutorial for piecing fabric together on Suzy Quilts blog, here https://suzyquilts.com/match-a-print-seamlessly-on-your-quilt-back/ .
The completed Brimfield rings measure about 13.5”. The acrylic templates and papers that you need are the Fat House, the Tall House, the Small House and the Orange Peel. You will not need the Center Piece, because the center is left open.
Next you will make your flowers using 4 Tall Houses and a center square, which I made a template for (shown above). Place 4 tall house papers in the shape of a flower (figure 1) and draw the rounded square shape onto a grided transparent plastic sheet. (EZ Quilting makes one called Quilters Template Plastic). Then draw a line about 3/8” larger around the square for the seam allowance. and cut it out (Figure 2) You will use this as your template to cut out the center fabric. Next, I repeat step one and cut out another template with just the rounded square. This is for the papers you will cut out to glue the center fabric to. (Figure 3) Cardstock is a good choice to make your papers with. This quilt has 9 flowers, so You will need a total of 36 Tall House pieces and 9 center squares. Assemble the flowers by stitching them one at a time to the center square using a flat back stitch, and securing them to the next “petal” with an extra stitch. (The same method you use to sew your Brimfield Rings together.)
After assembling your Tall House flowers, cut the following pieces of fabric.
In the Hey Ewe fabric - 4 pieces 5 1/2 “ X 39 “ for the border (Figure 4.)
In the Hey Ewe fabric - 4 pieces of 5 1/2 X 5 1/2 for the border corners (Figure 6).
In the Homestead Vignette fabric - one piece 51” X width of fabric (approximately 44”) and some smaller pieces, approximately 14 X 32 to patch together with the large piece for the backing. (Figure 8 - This is where I used the Suzy Quilts tutorial mentioned in the beginning) ** This is a busy pattern and you may choose to piece without even matching your pattern.
For the background, a light ivory solid, I cut a 39” X 39” piece (Figure 7)
Keeping the pattern facing the same direction, sew two 5.5” square pieces to each side of a border piece, right sides together. Repeat this step for a second border piece. (figure 10)
Sew the remaining 2 border pieces to the sides of the center panel, with the pattern facing outward and right sides together (Figure 10).
Sew a border piece to the top, and a border piece to the bottom, the top border facing upright, the bottom border facing upside down. Sew right sides together (Figure 11). Below is how your finished pieces should look (Figures 13 & 14).
You are ready to make your quilt sandwich. Use your favorite method for this step. I like to pin baste my quilts. Suzy Quilts has a great tutorial showing 3 ways to baste a quilt here https://suzyquilts.com/how-to-baste-a-quilt/ .
Cut 5 pieces 2 1/4” X the width of fabric, (approximately 44”) for the binding. (I use 2 1/4” strips for my binding, you may prefer 2 1/2” strips) Sew the 5 strips together to make a continuous binding strip. If you are new to quilting here is a nice tutorial by McCalls Qulting for sewing your strips together and binding your quilt https://www.youtube.com/watch?v=7Hha94oe3XA . I usually machine sew my binding to the front of my quilt and hand sew the back..
When your whole cloth quilt is finished, depending on how you plan to quilt it, you may want to quilt first and aplique your Brimfield rings and flowers after. I quilted straight lines along the border and free motion quilted the inside. If you are going to do this, you can do your straight line quilting around your border first so you don’t have all of the start and stop points around the flowers.
You are ready to applique your finished Brimfield rings and Flowers to your quilt. Place the flowers as shown above. You can pin them in place and/or glue them down with a washable fabric glue pen. Machine applique your flowers onto your finished quilt, keeping in mind the thread color for the back because this is going to be seen as the quilting on the back.. I used Aurifil 50 Wt color 2310, Light Beige for my quilting on both the front and back.
If you are like me, your finished whole cloth quilt and your Brimfield rings will not be the exact size as the pattern. Use this formula to place your Brimfield Rings.
Measure your center square between the seams of the border. Round to the nearest 1/2”. Measure your Brimfield rings. Round to the nearest 1/2”. Multiply the measurement of your ring X 2. Subtract that number from the measurement of your center square. Divide that number by 3. That is the space between your ring and the edge. It is also the space between your ring and the next ring. Each arrow above Represents that number. Pin or glue your Rings in place as you did with your flowers. Machine applique to your quilt.
Finish with your desired quilting.
Happy sewing, Judy


