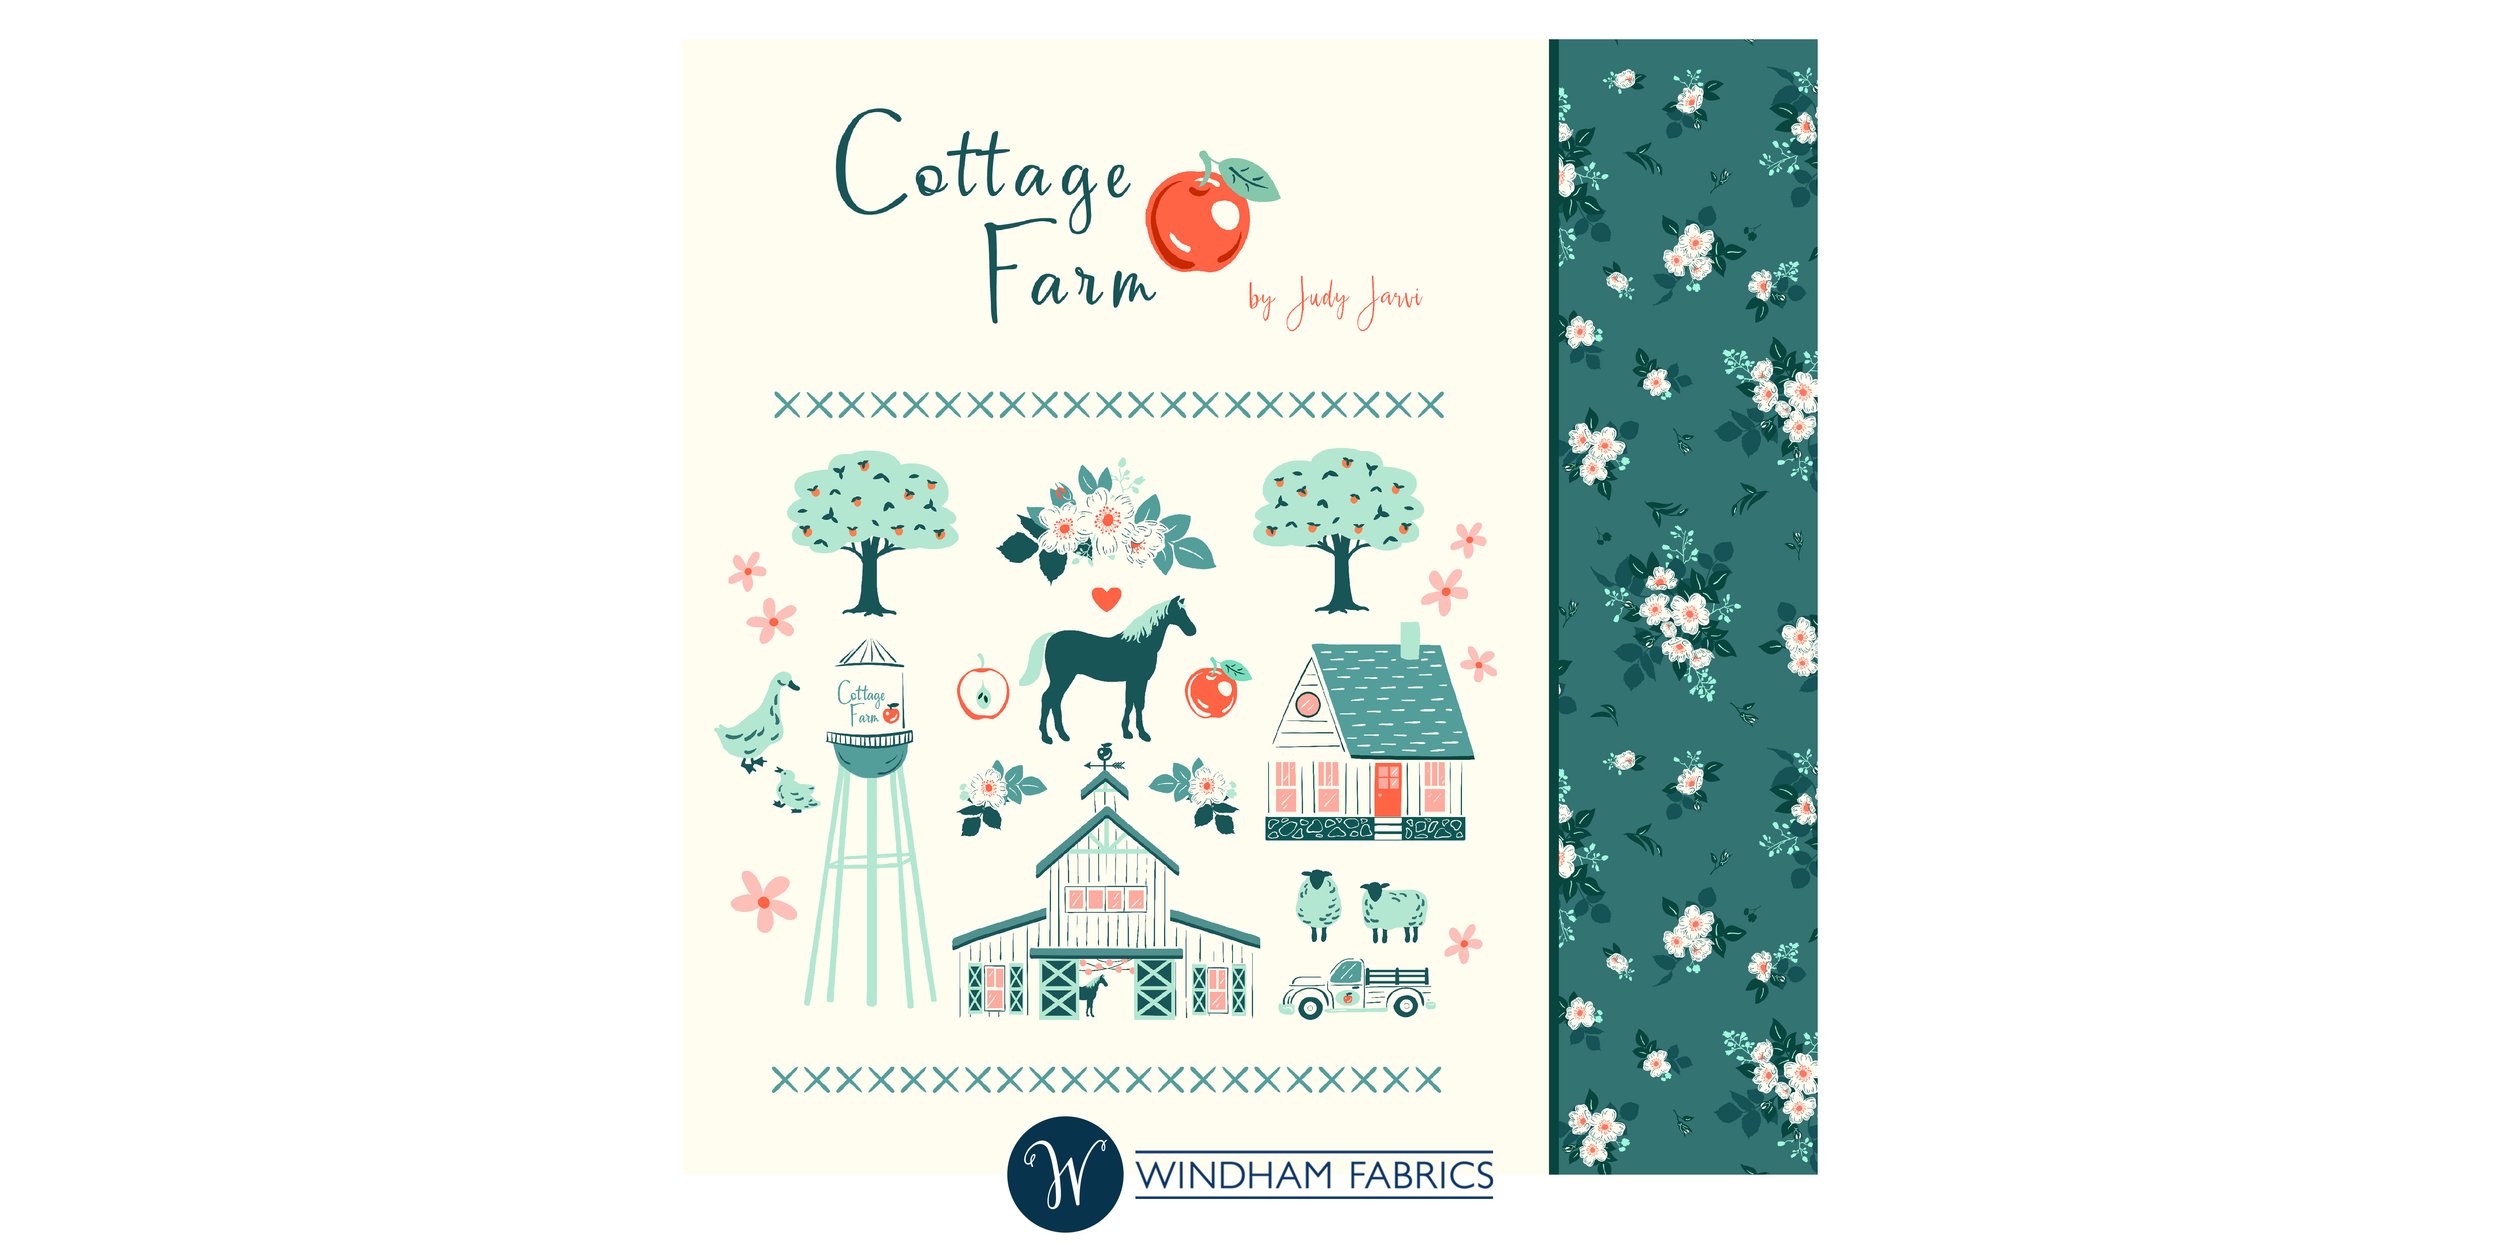
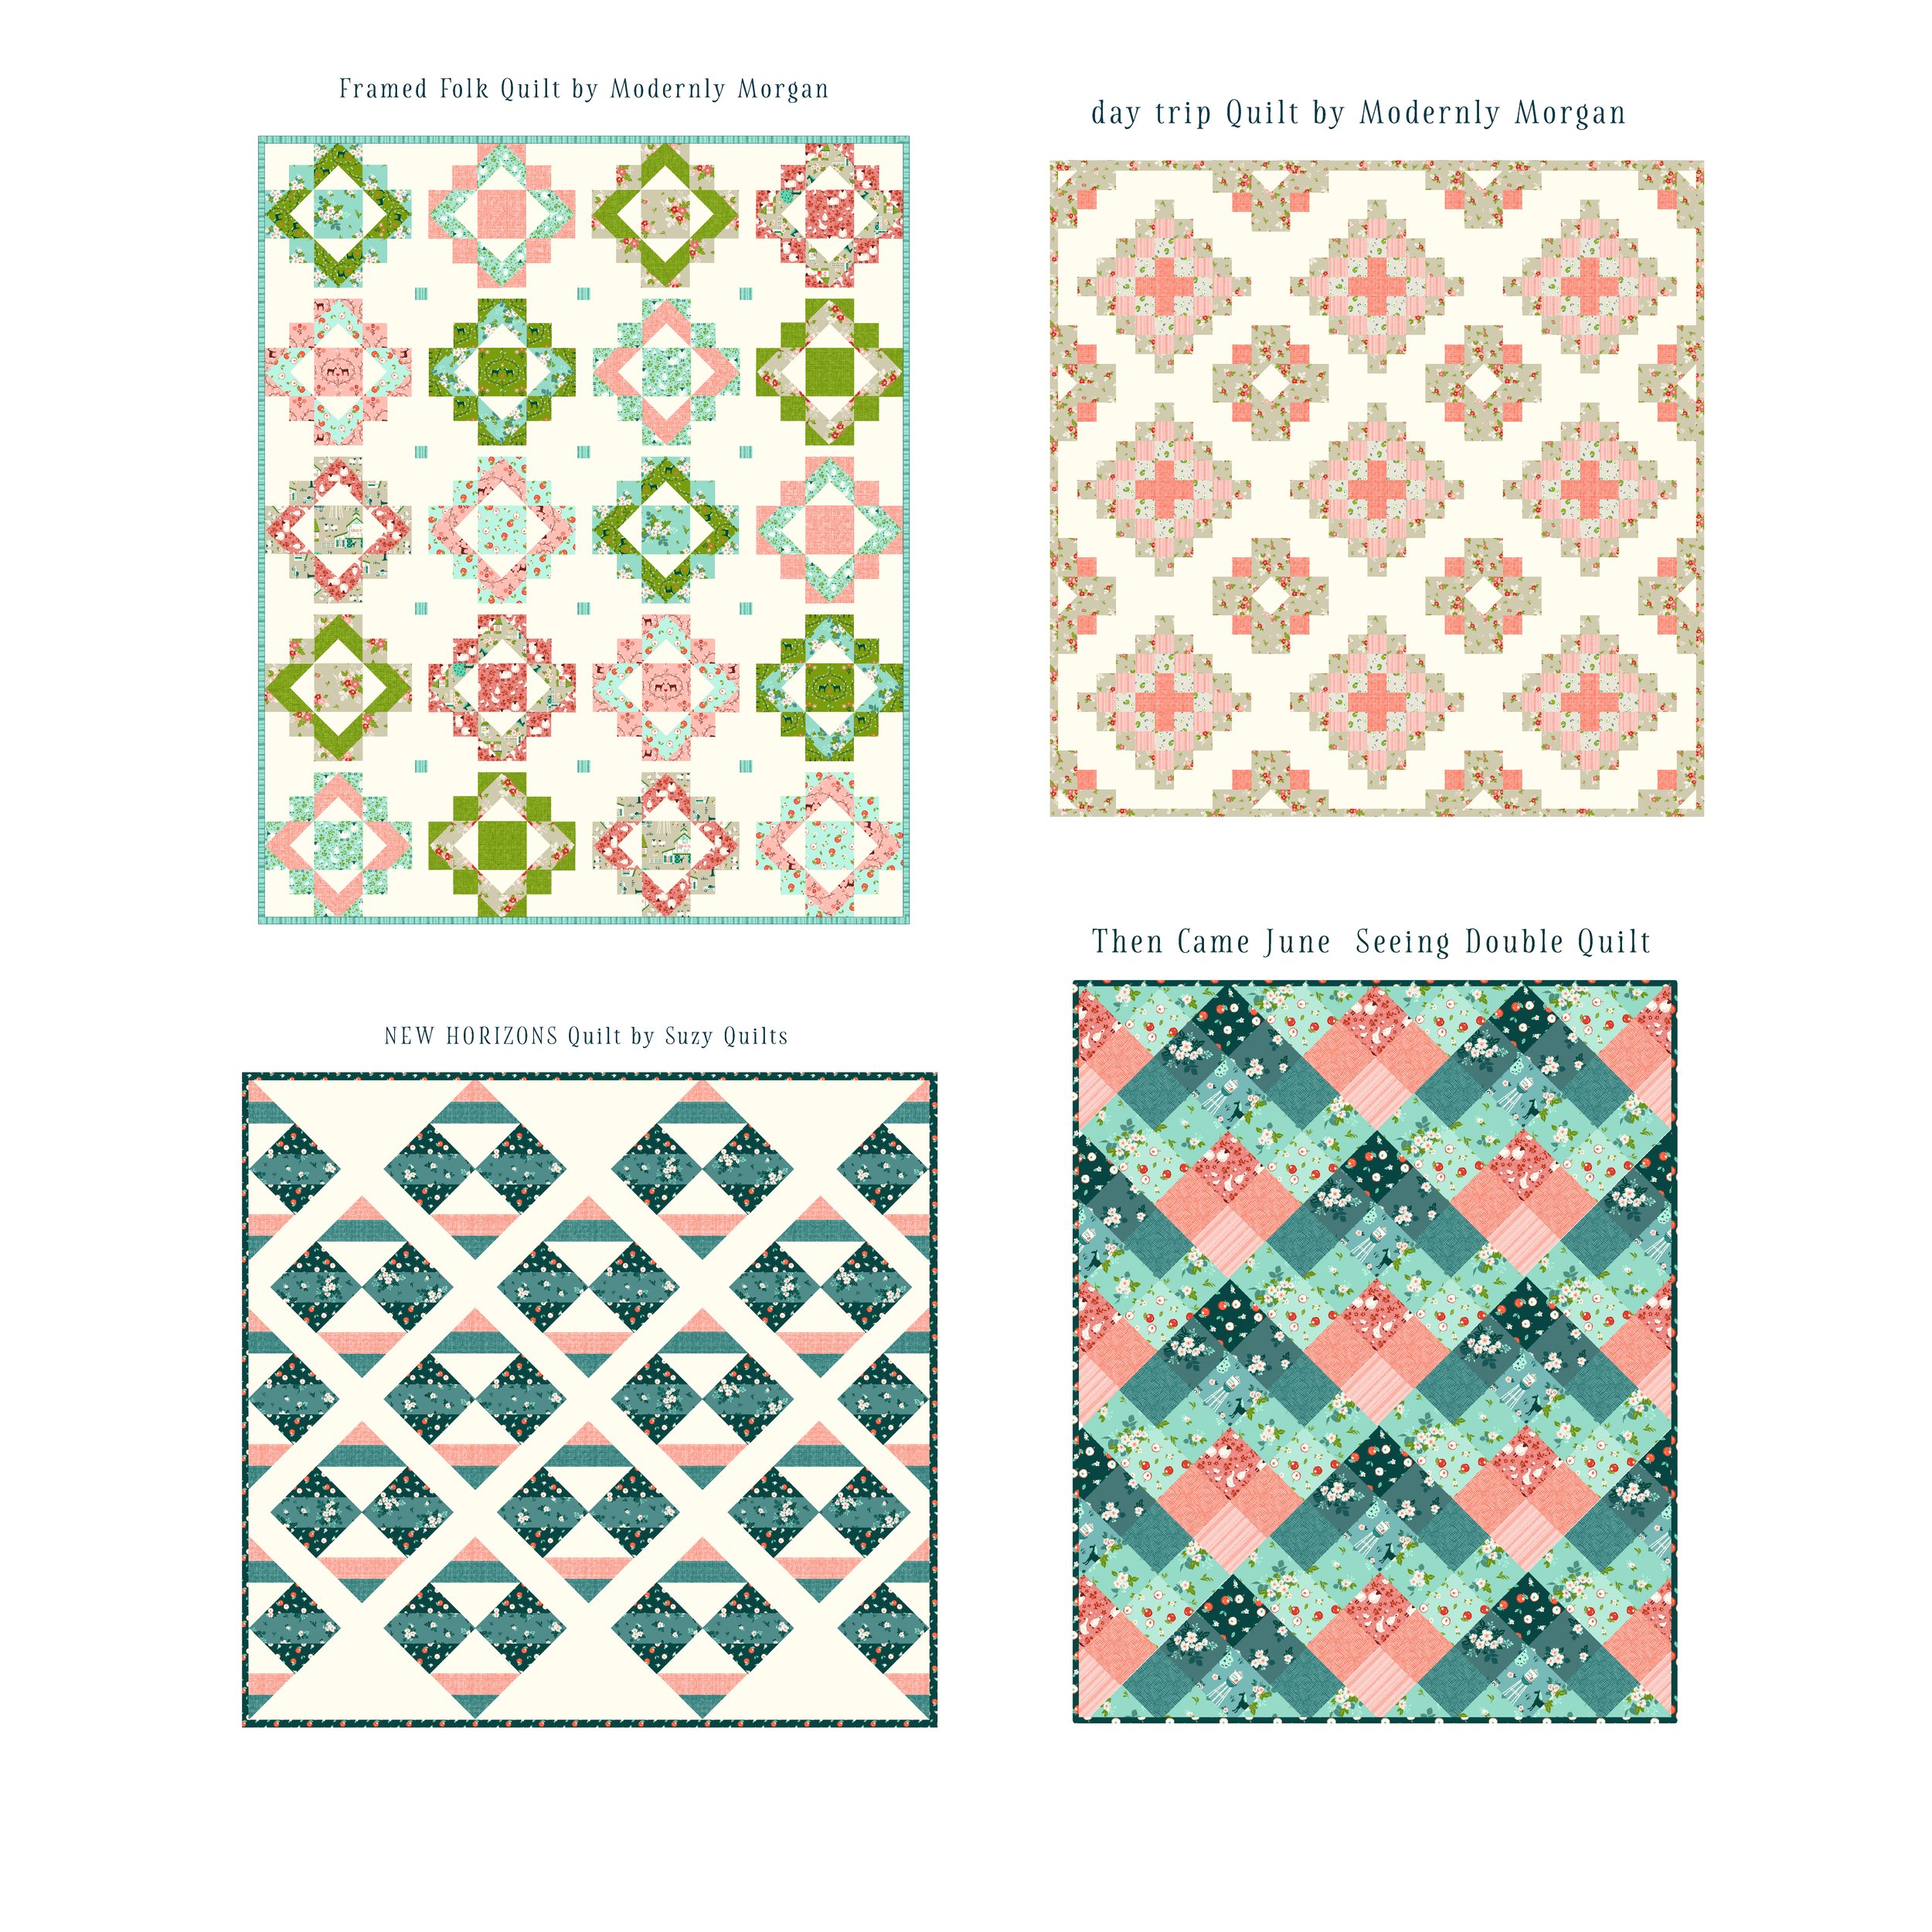
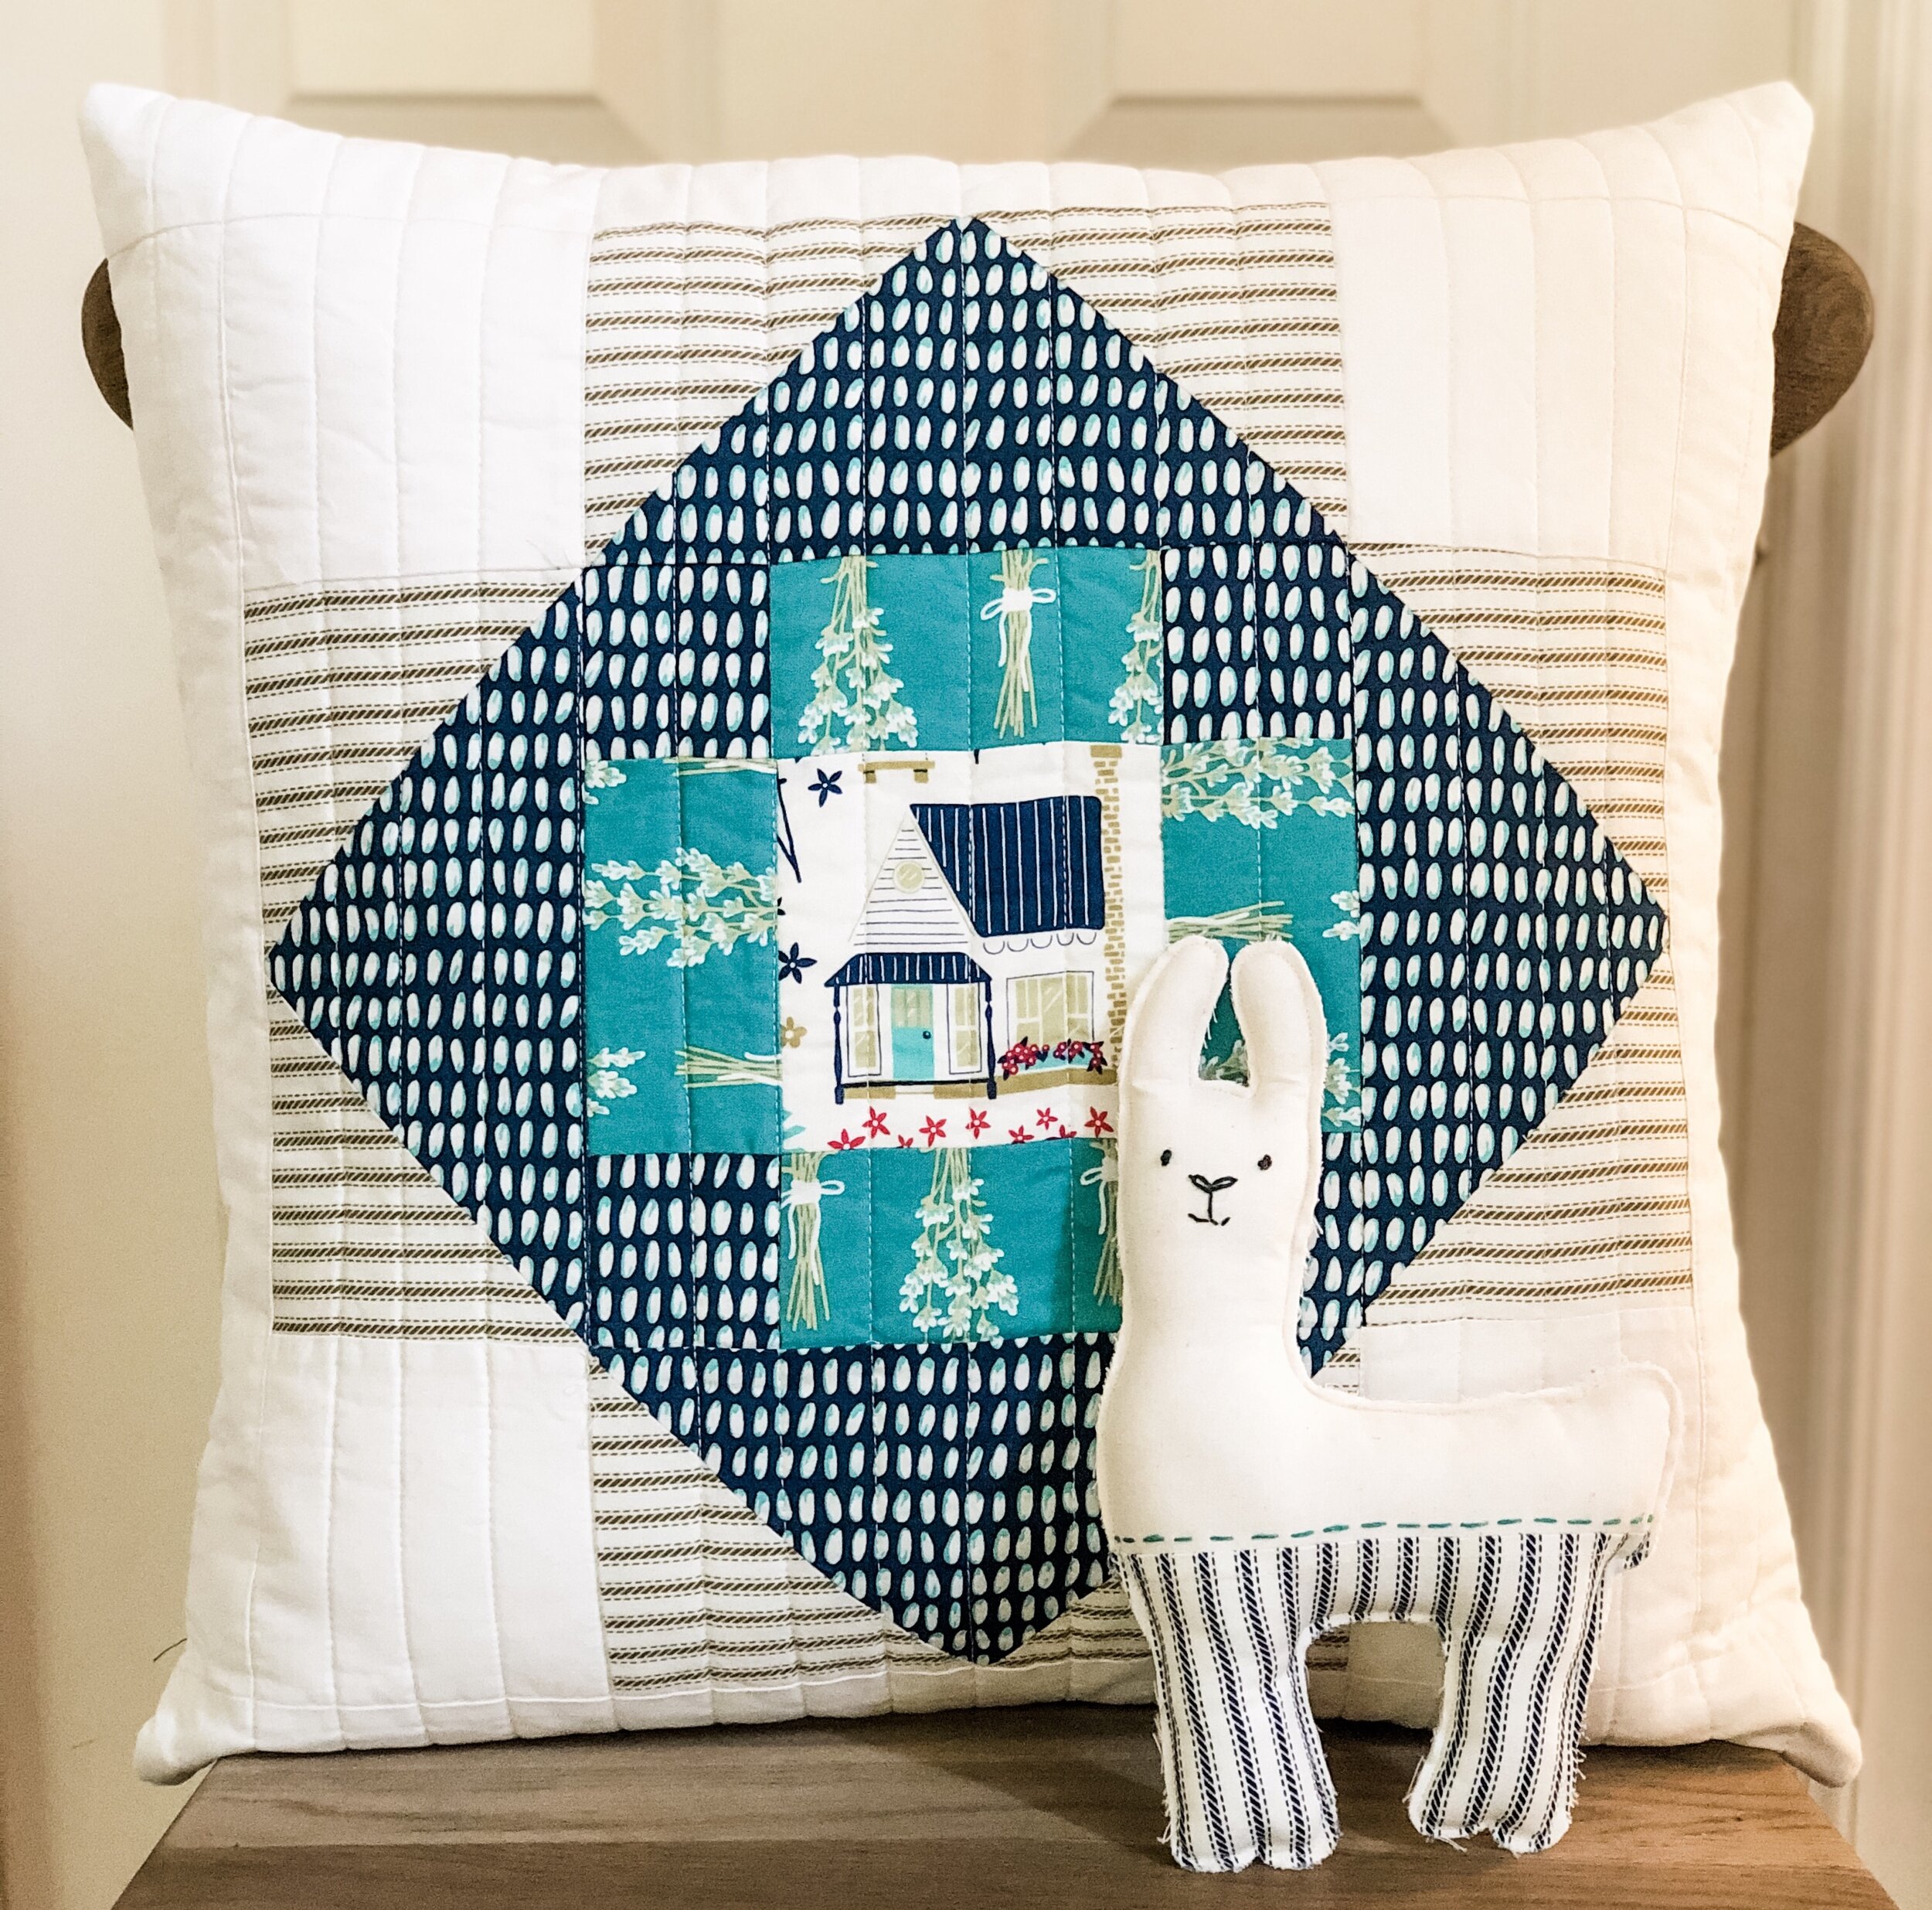
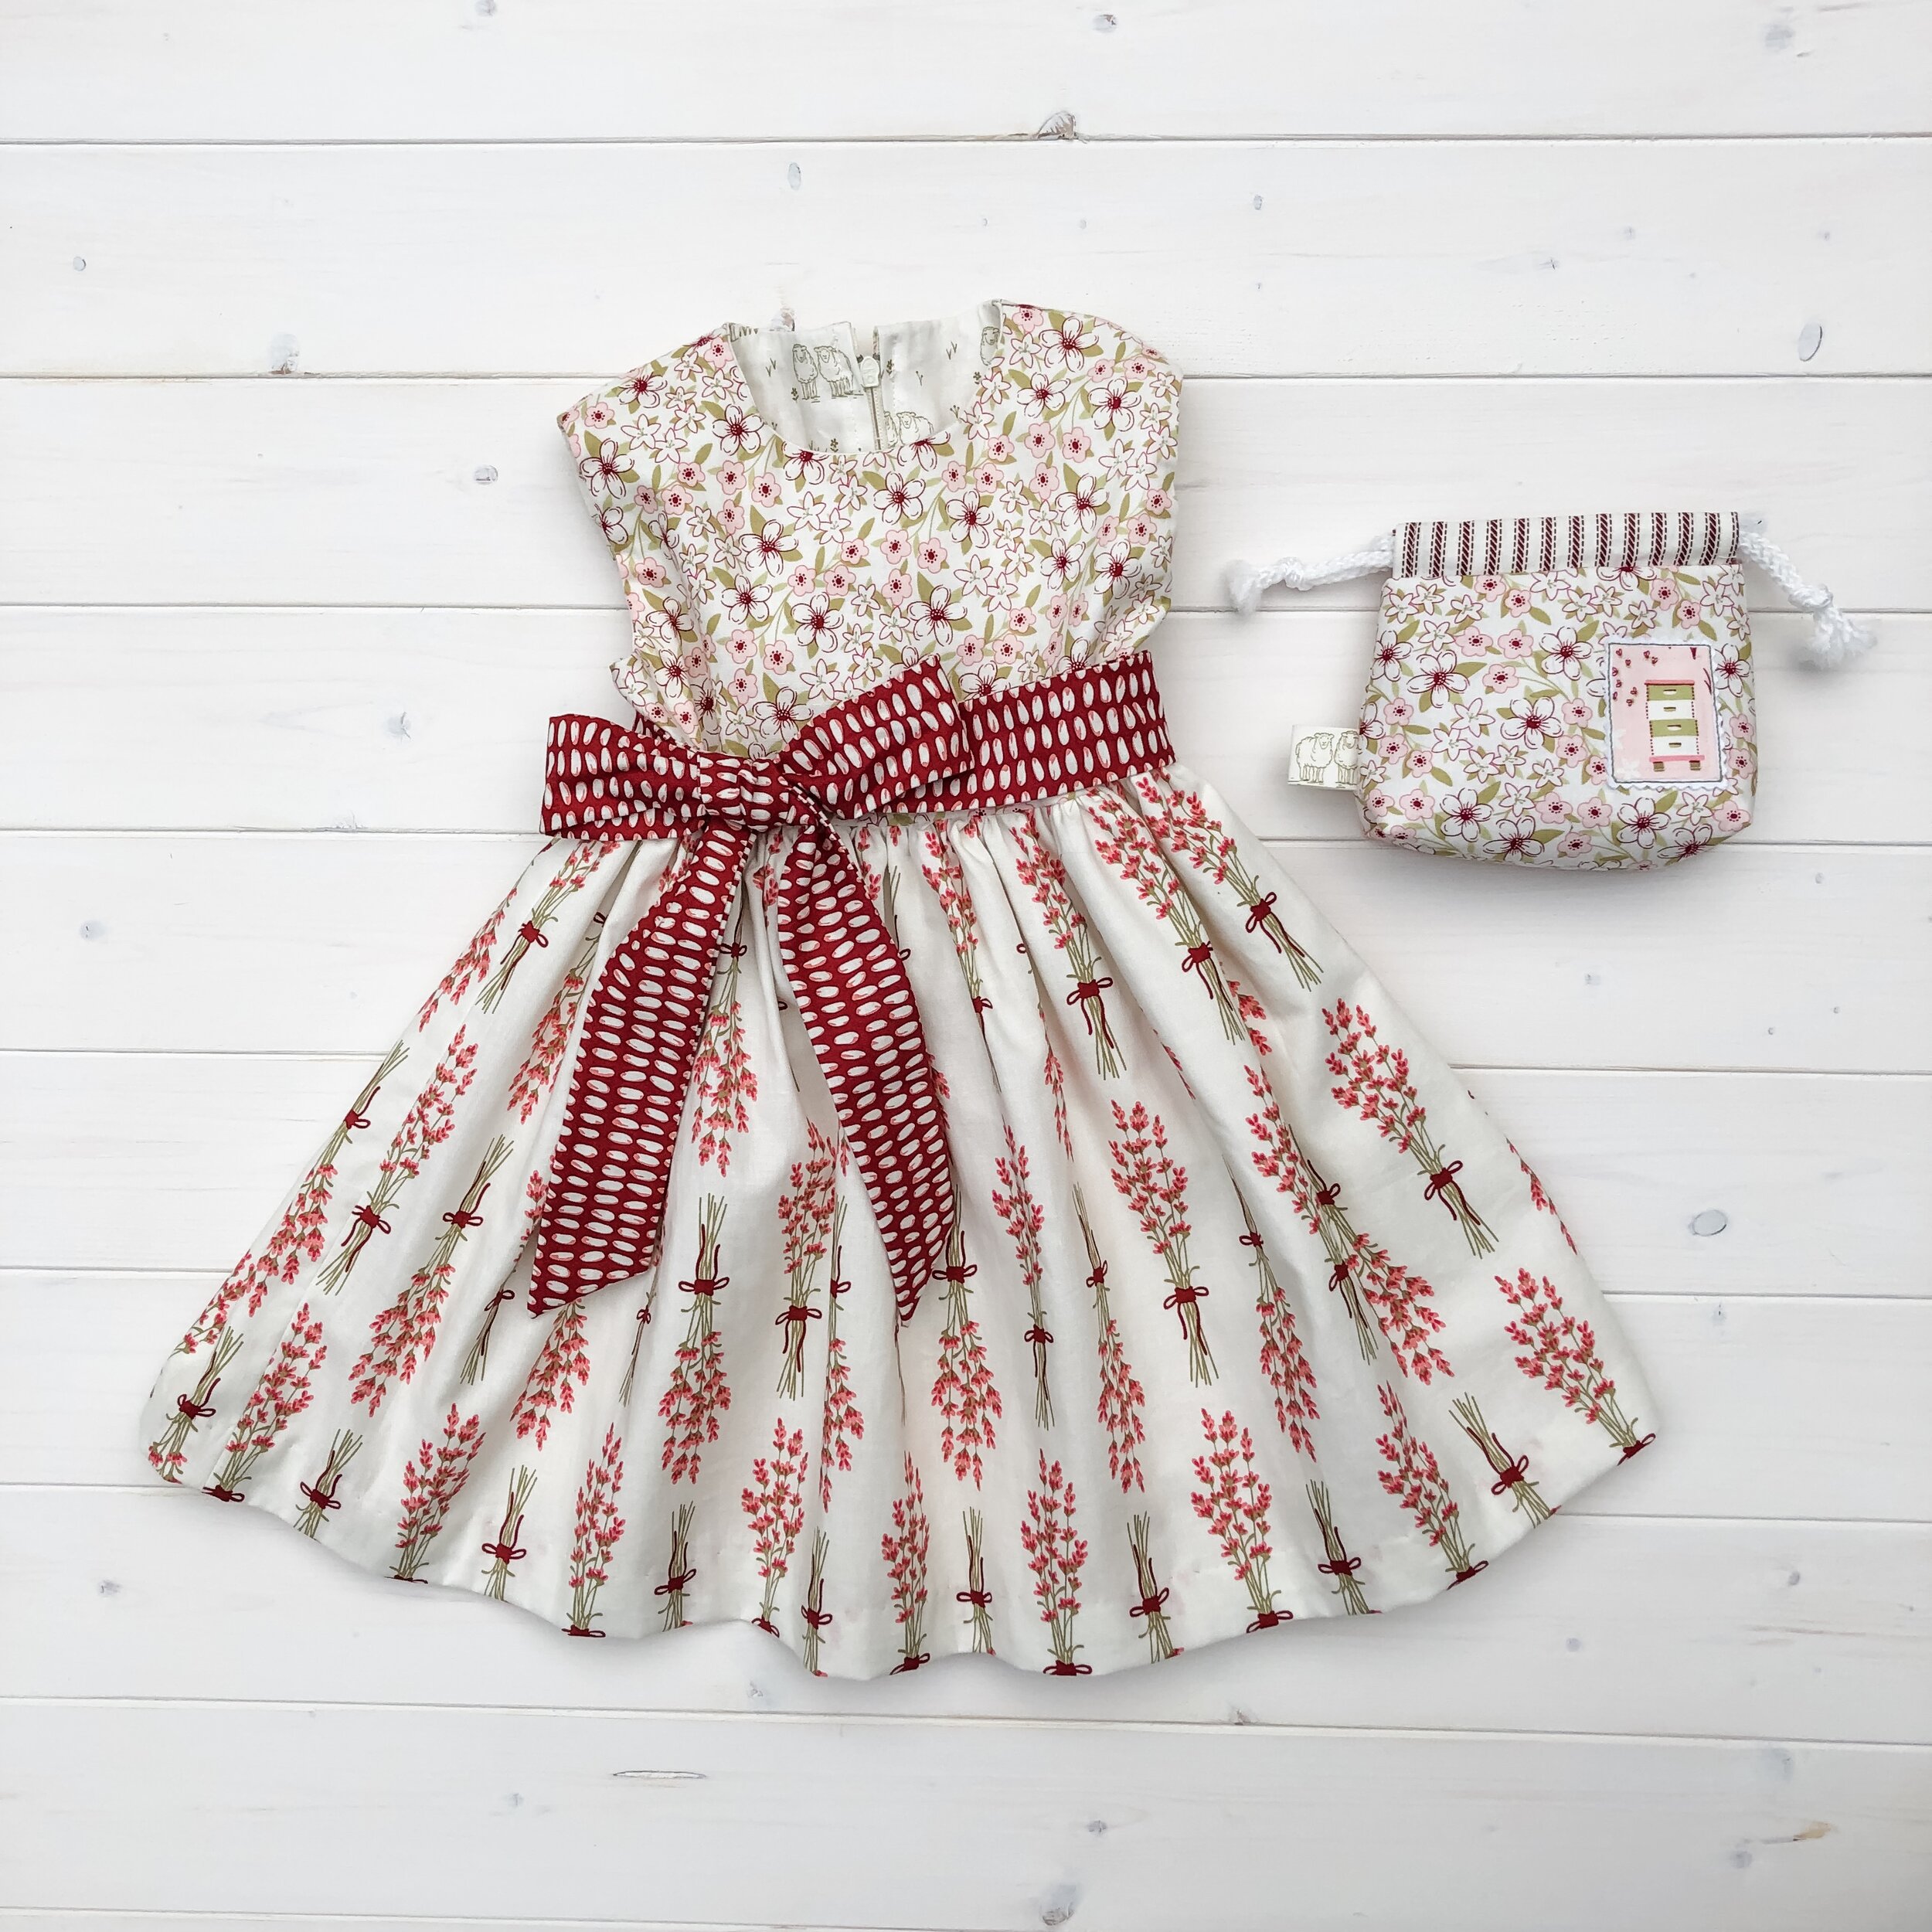
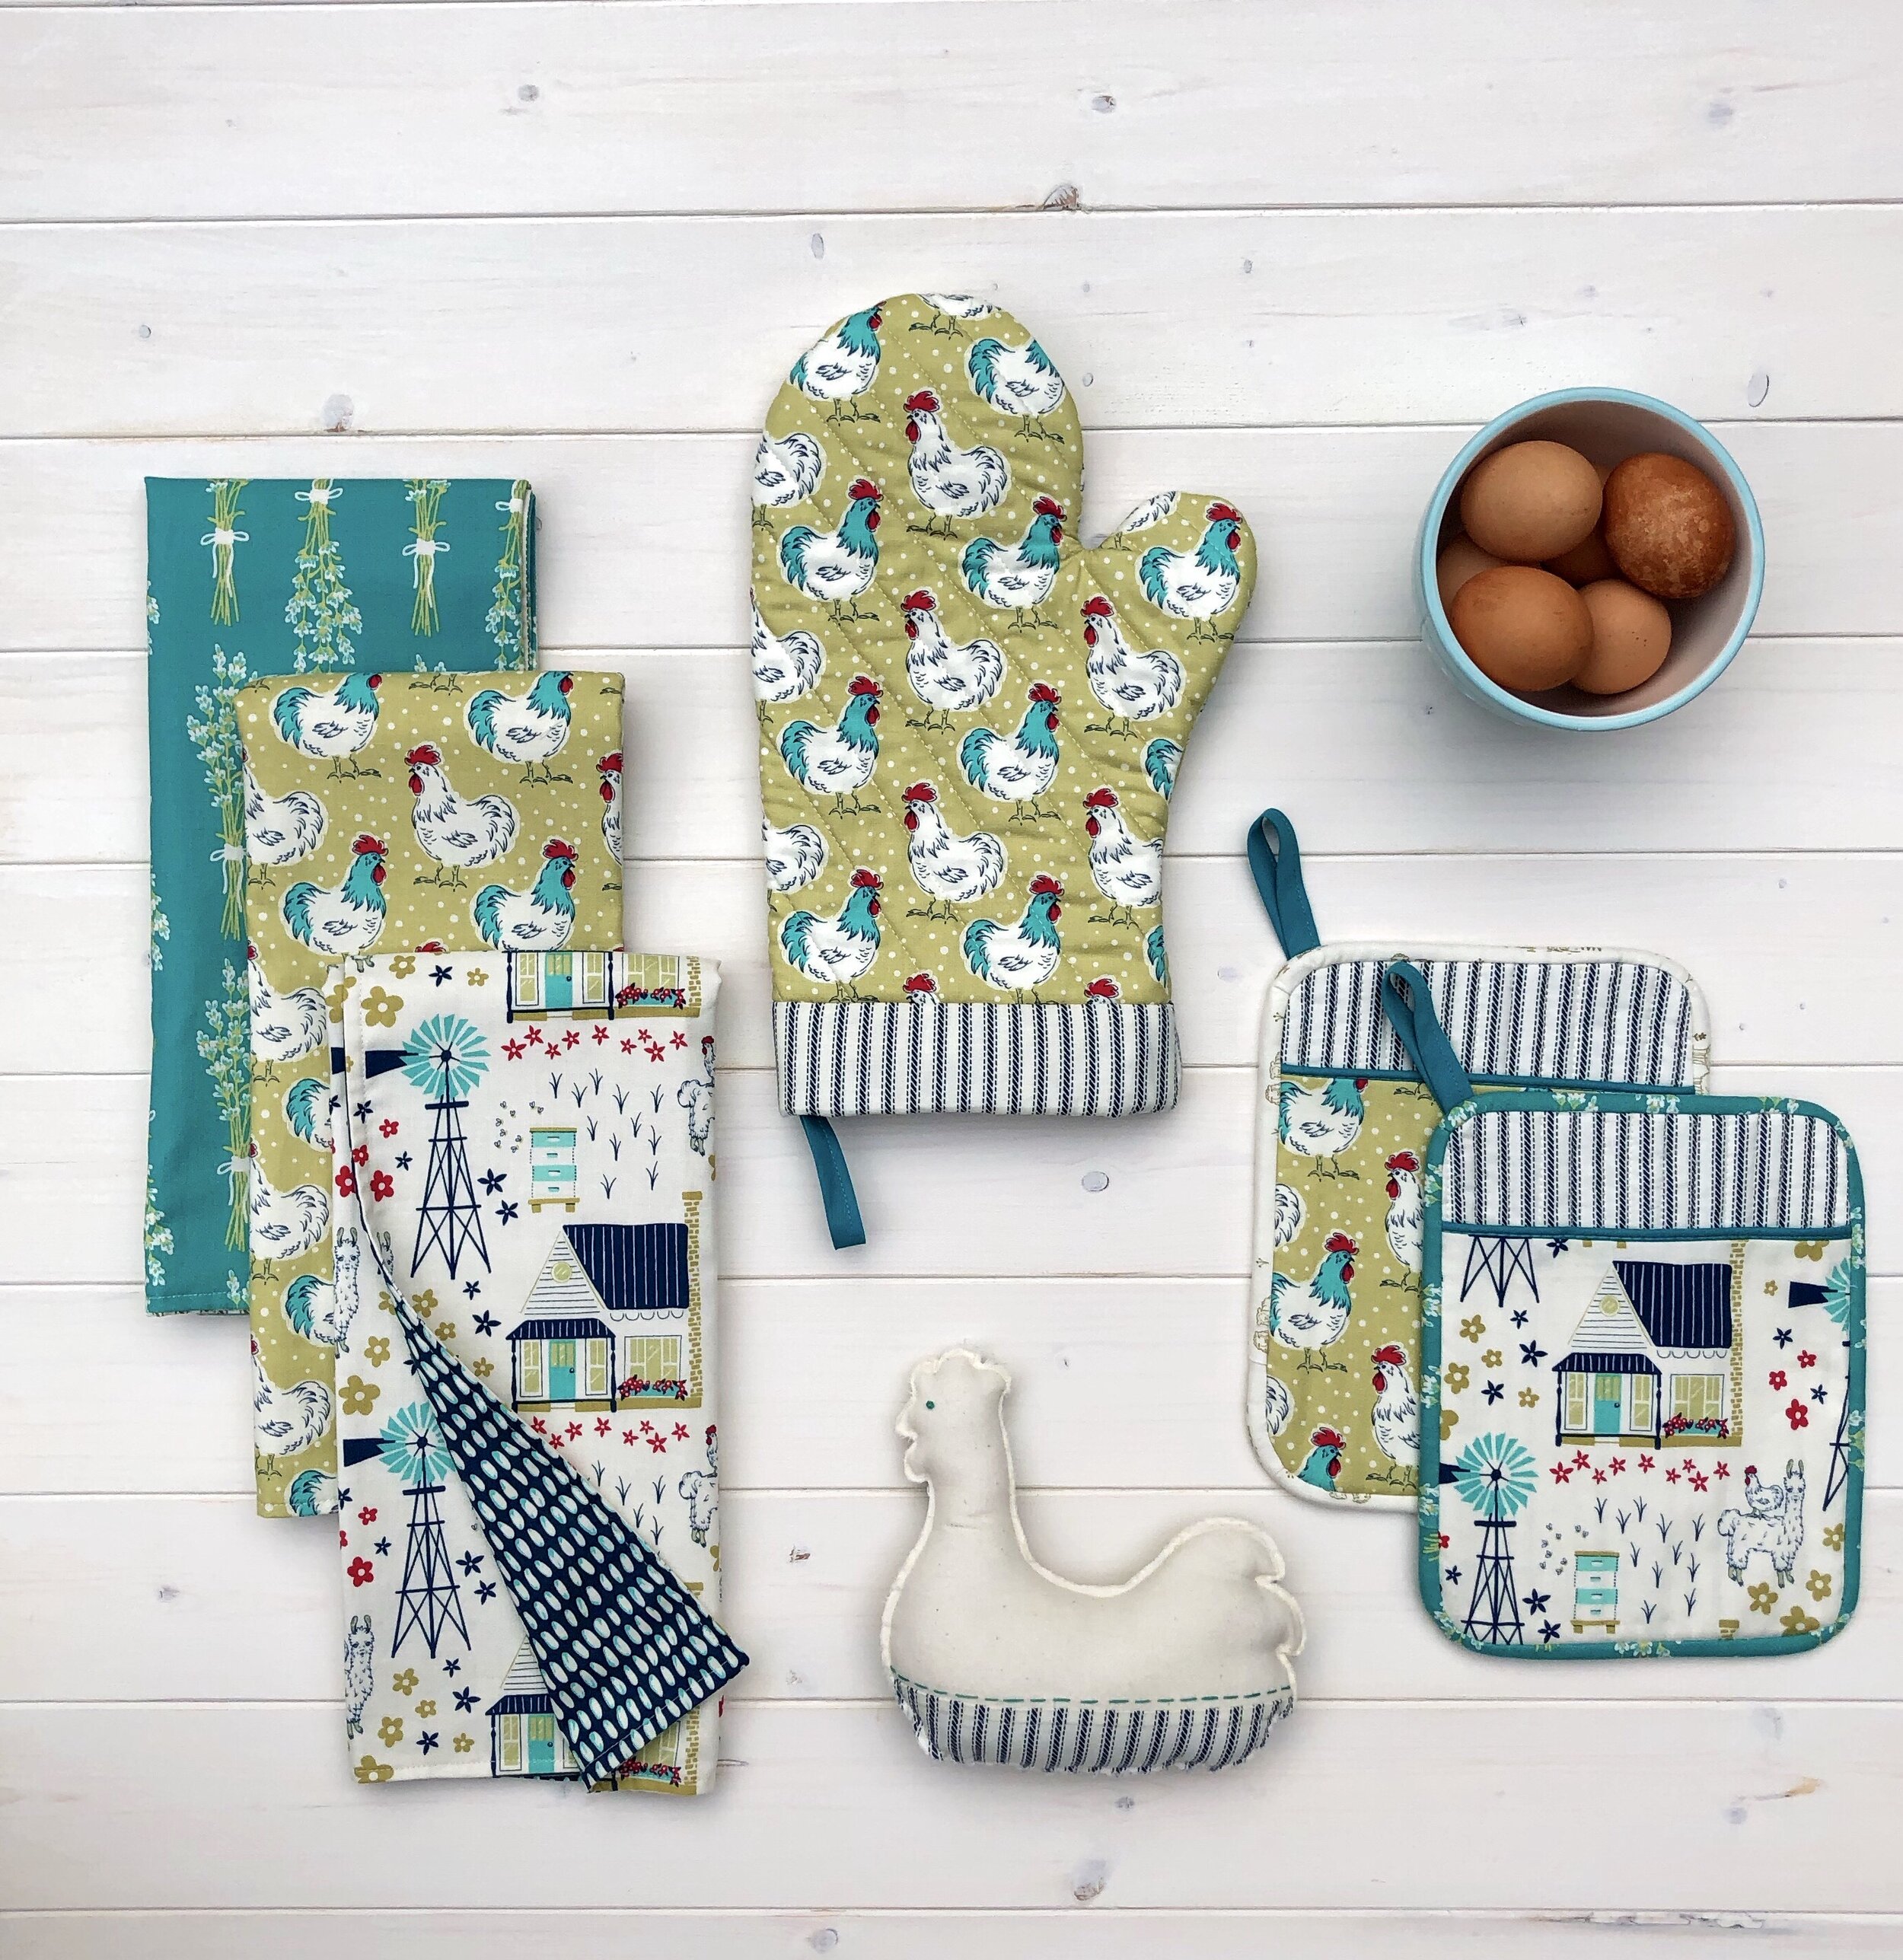
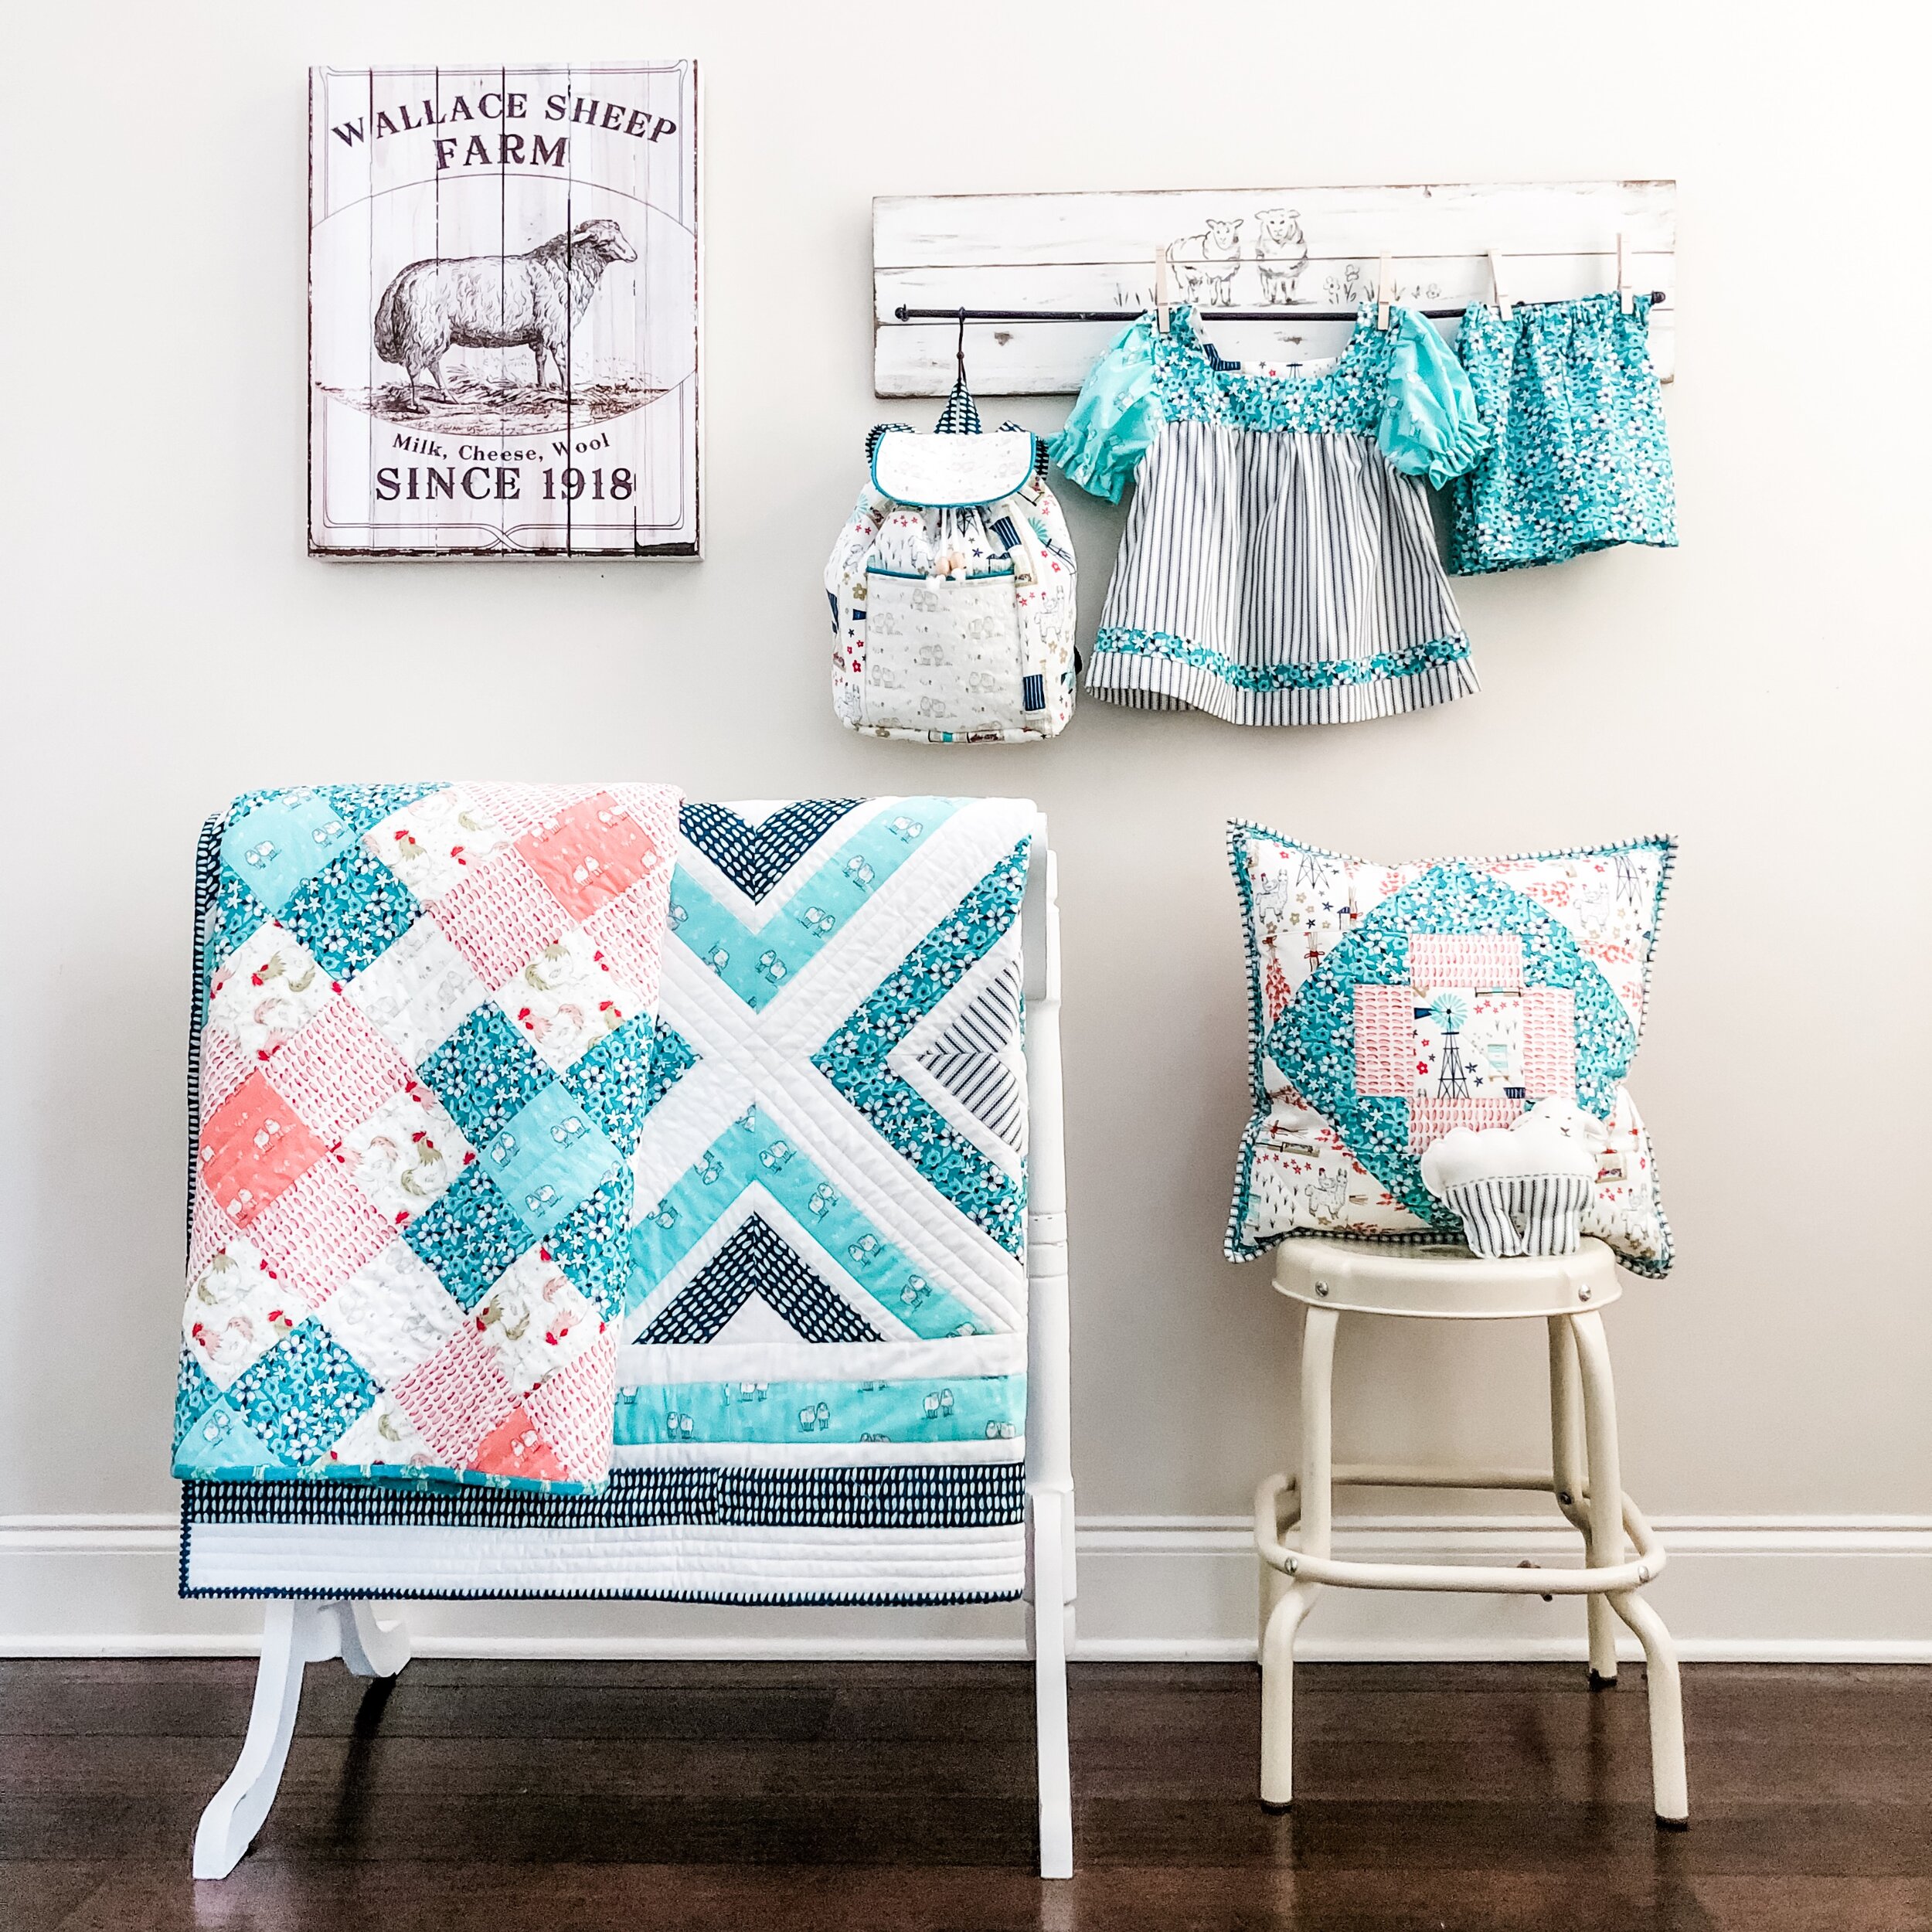
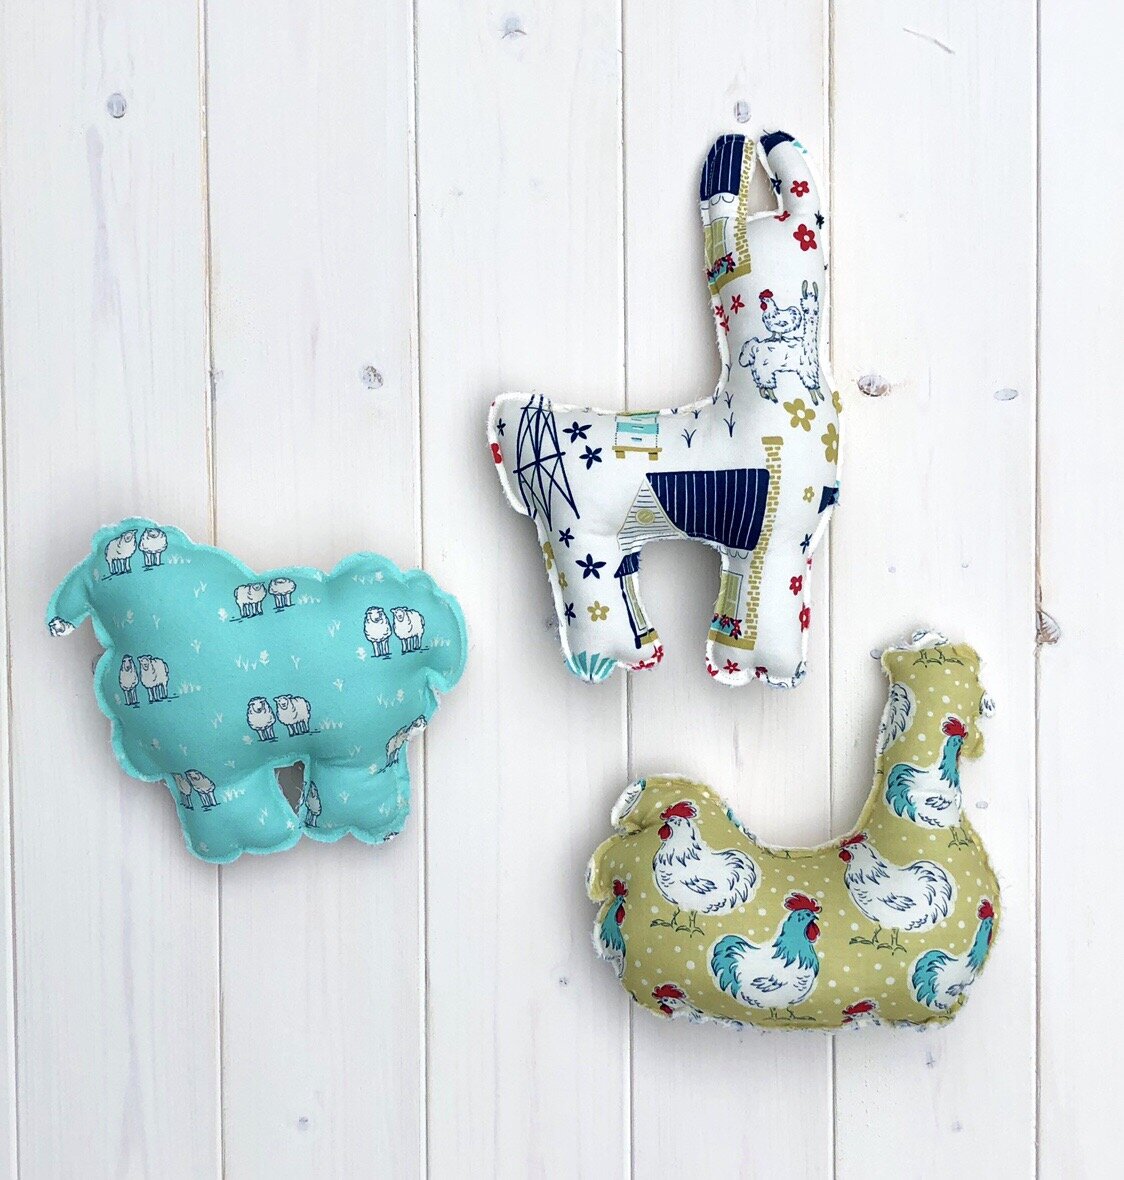
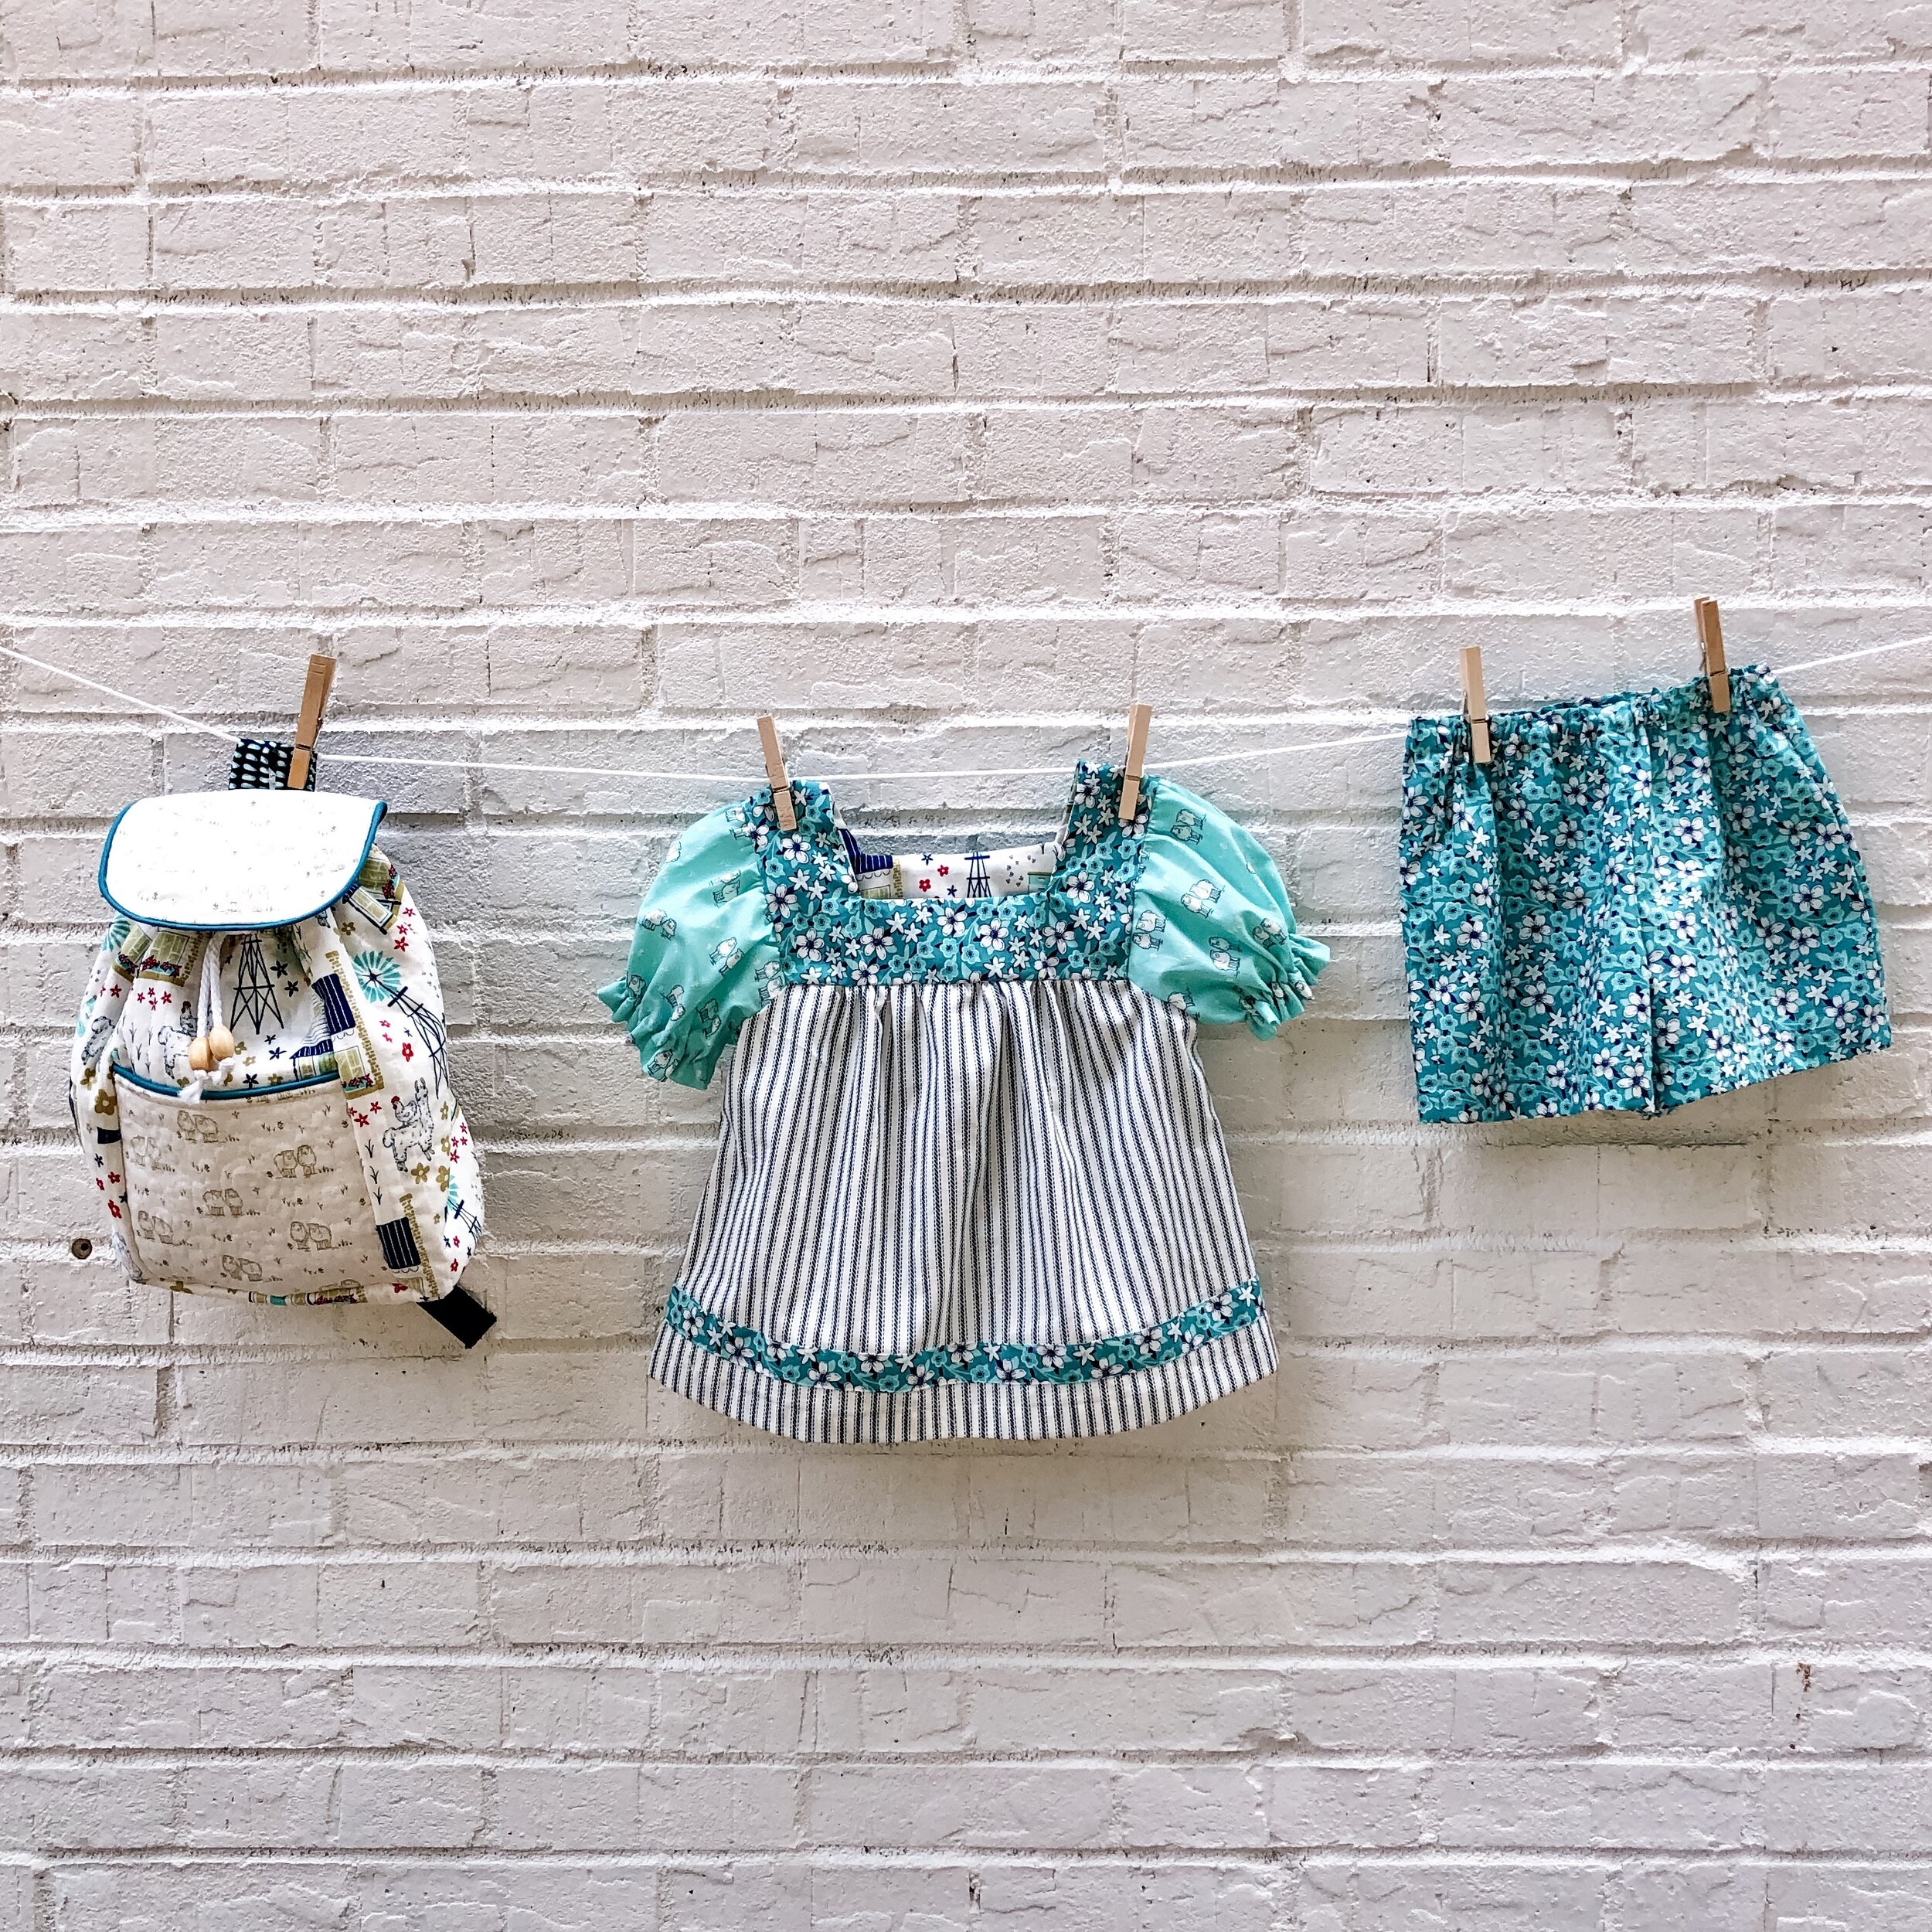
Cottage Farm Fabric Collection
Wild Roses, apple trees and charming buildings set the scene where best friend horses, playful sheep and delightful duck families live out their happy days at Cottage Farm.
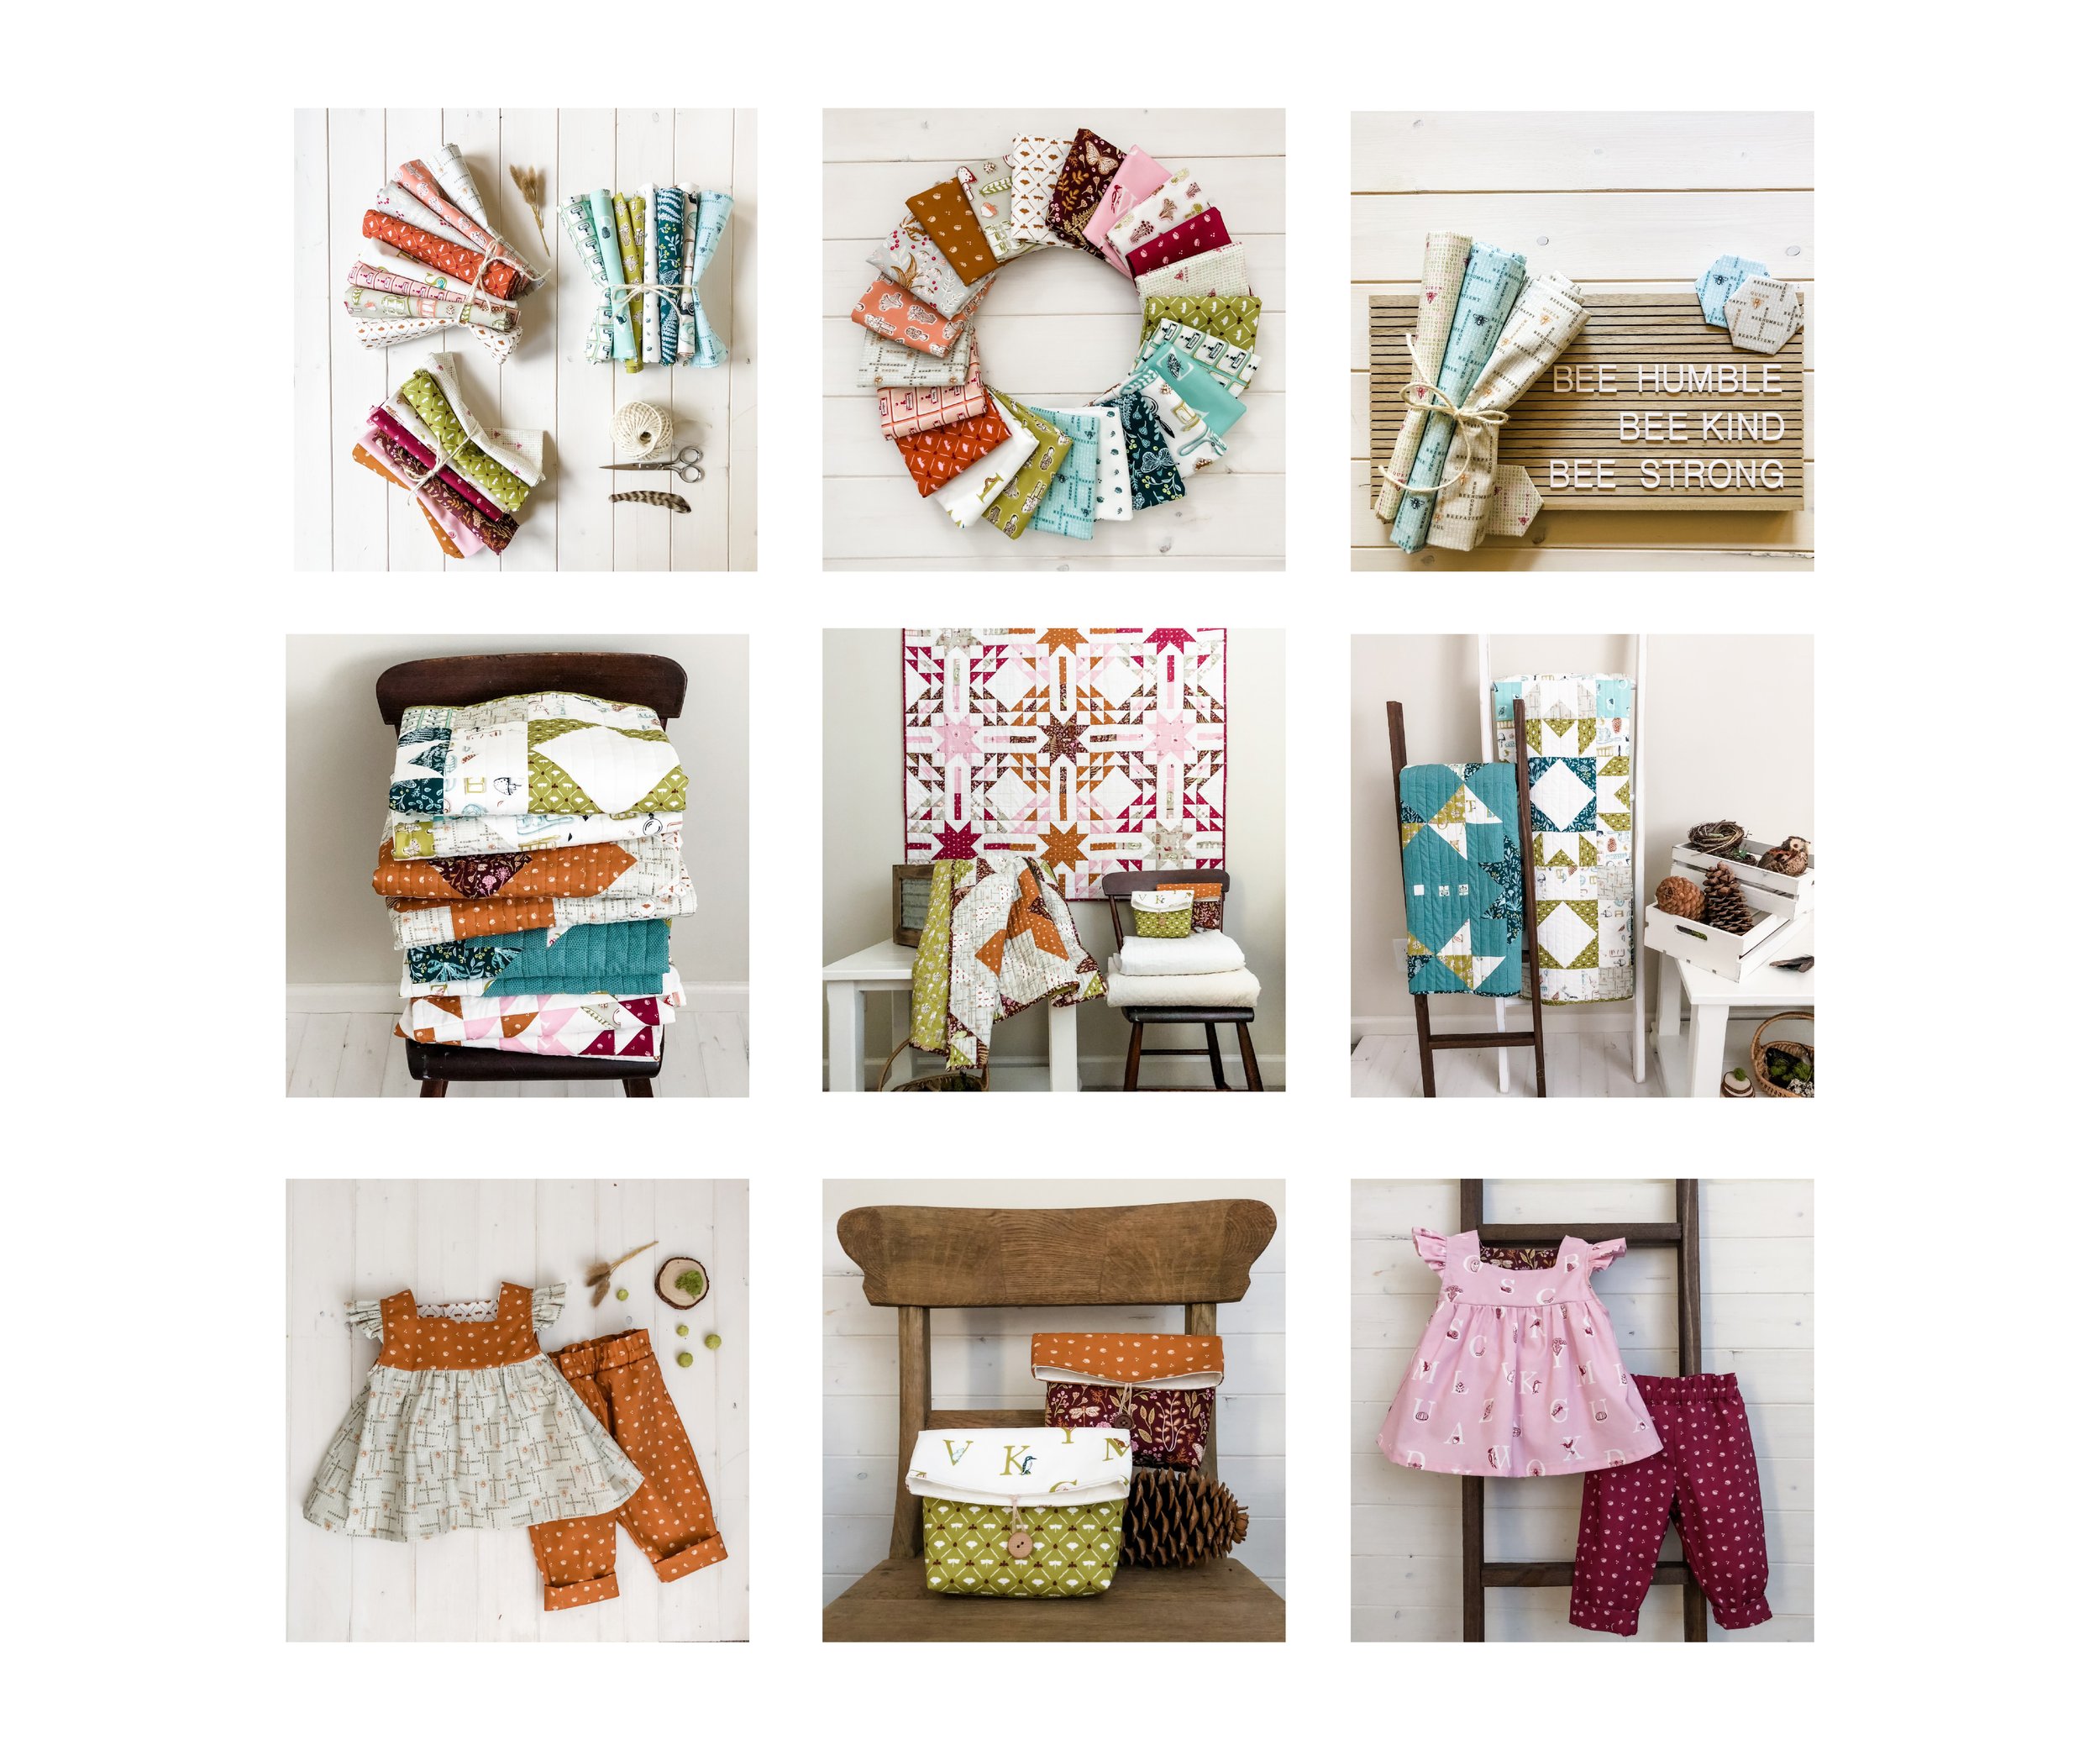
Summer School Fabric Collection
Summer School is inspired by memories of my school days, illustrations in books and educational materials. This Collection explores things you might learn on a summer road trip, on a nature walk, at the library or even in your own back yard.
Quilts, pillows, kitchens and more.......
After a long day’s drive home from visiting family in Ohio last May, I arrived home to a box too big and heavy for me to lift. We knew what was inside but my husband didn’t even peek inside until I was home. It was here! Nineteen rolls of Homestead Life Fabric covered the living room floor soon to be cut up and sewn into all of the things I had been planning for months. It was more than rewarding to see the designs, plans and possibilities in my mind turned into real objects, some that became what what I had imagined, and others that took a whole new path of their own. The idea that someone else will be holding the same fabrics, planning and sewing their own creation with them, well, its something that really makes me smile.
Homestead Life Fabric Collection for Windham Fabrics
Hello,
I am beyond excited with the release of my debut fabric collection, Homestead Life, for Windham Fabrics. When I was writing my inspiration statement about this collection the words just came right out from the thoughts in my mind about the first time I decided to create this collection. It went something like this ;)
When you leave town, stay on Main Street until it turns into County Road H. A few miles outside of town, up the hill and around the bend, after the little white church but before Lottie’s Farm Stand, you’ll see it on the right hand side. That sweet little homestead where chickens roam the yard, lavender grows in the field and dreams are made from sunshine, rich earth and hard work. It’s a place I go to in my mind when the busyness of life starts to swirl around me. A prayer, a deep breath and a cup of coffee and I’m good to go, but the dream stays tucked away in a safe place.
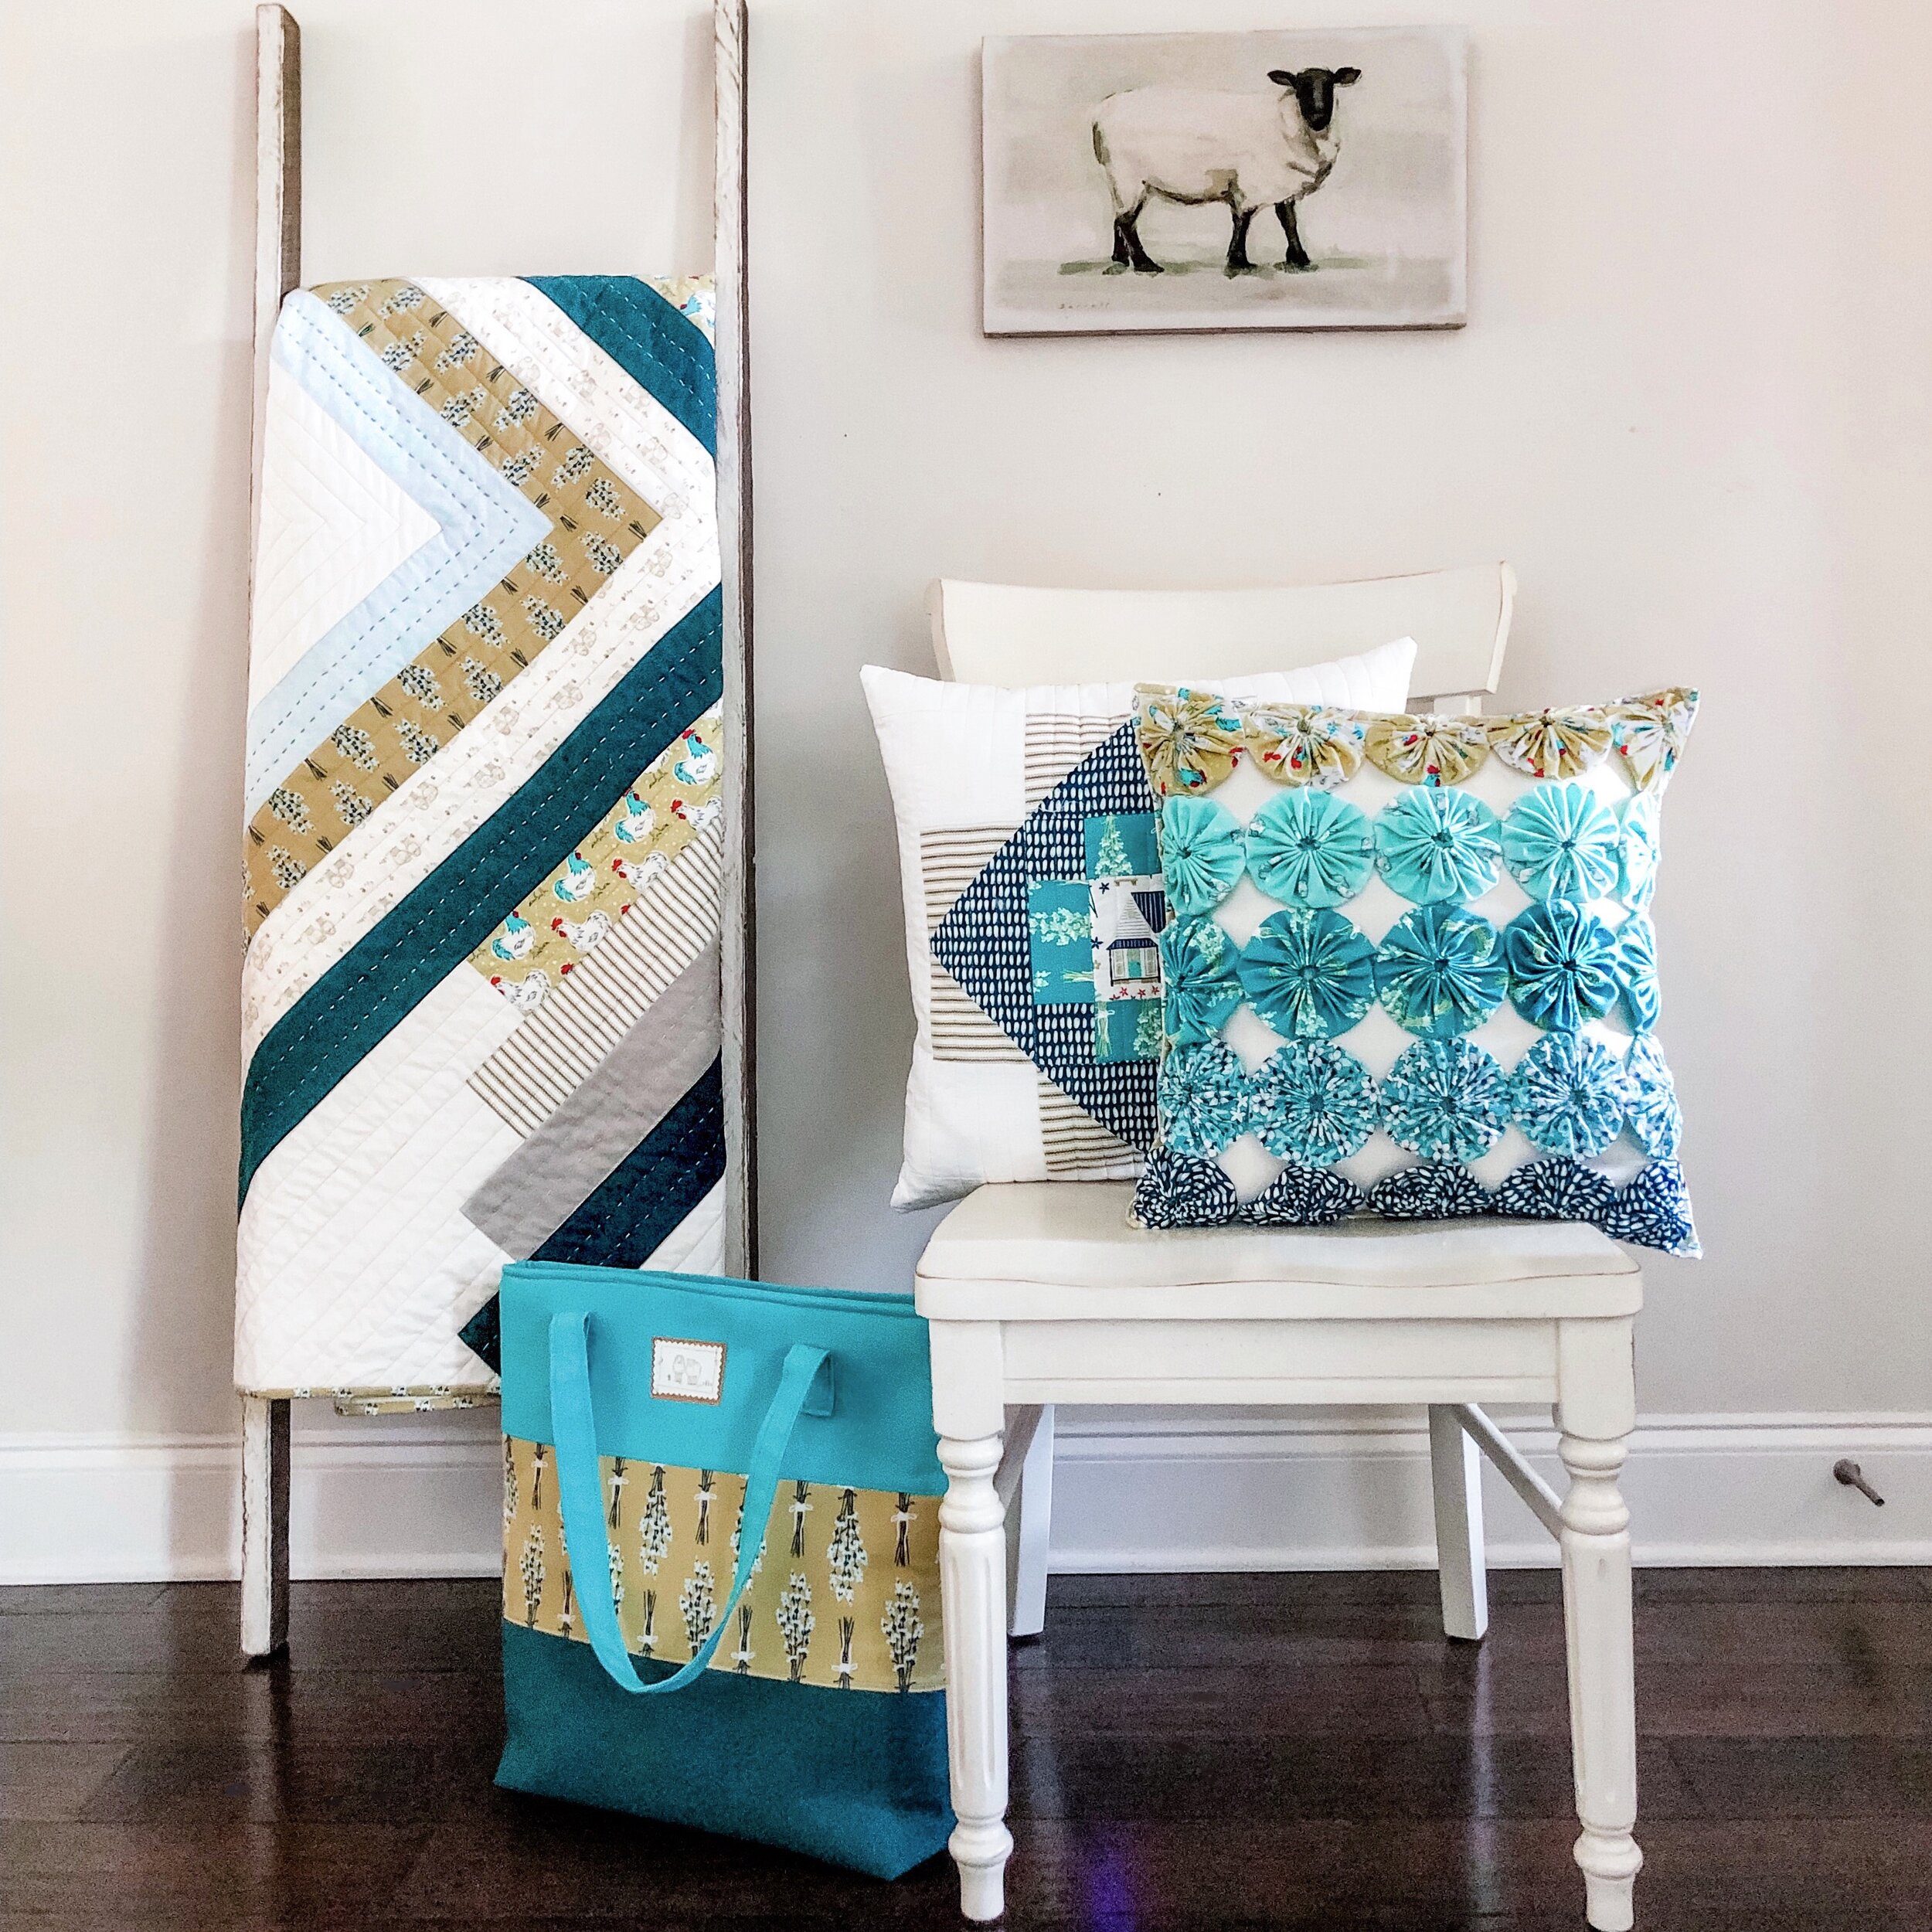
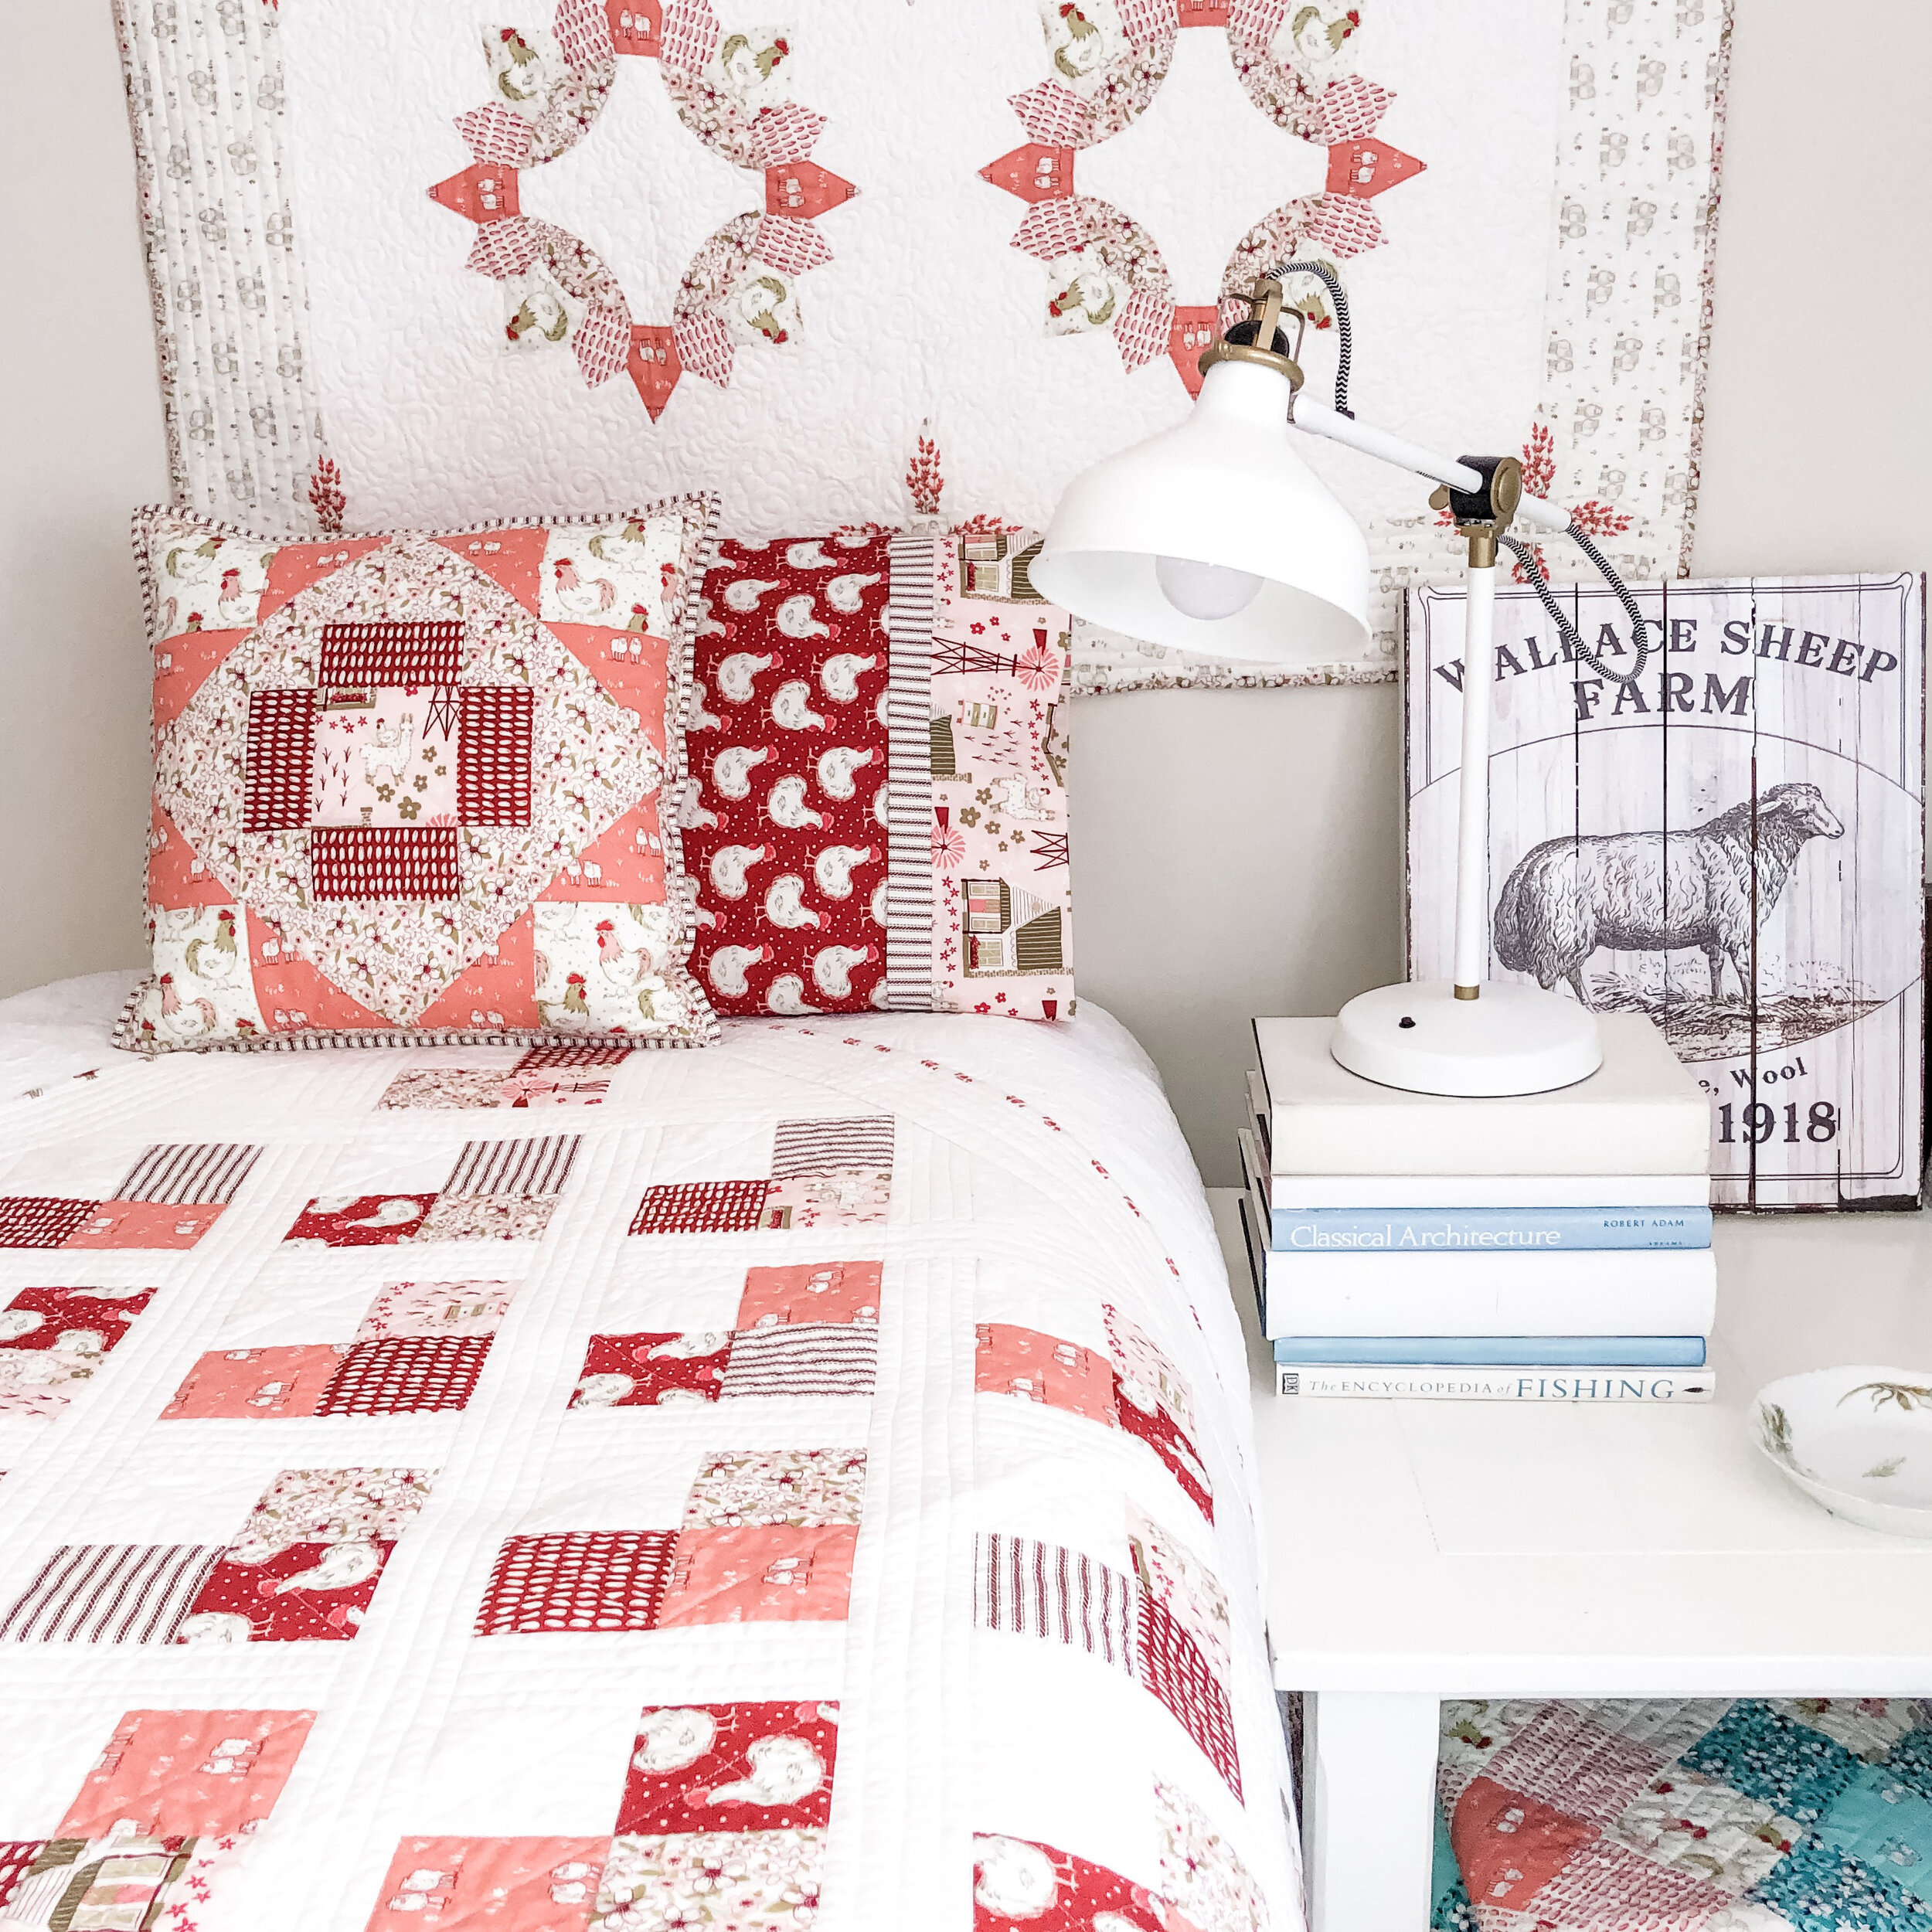
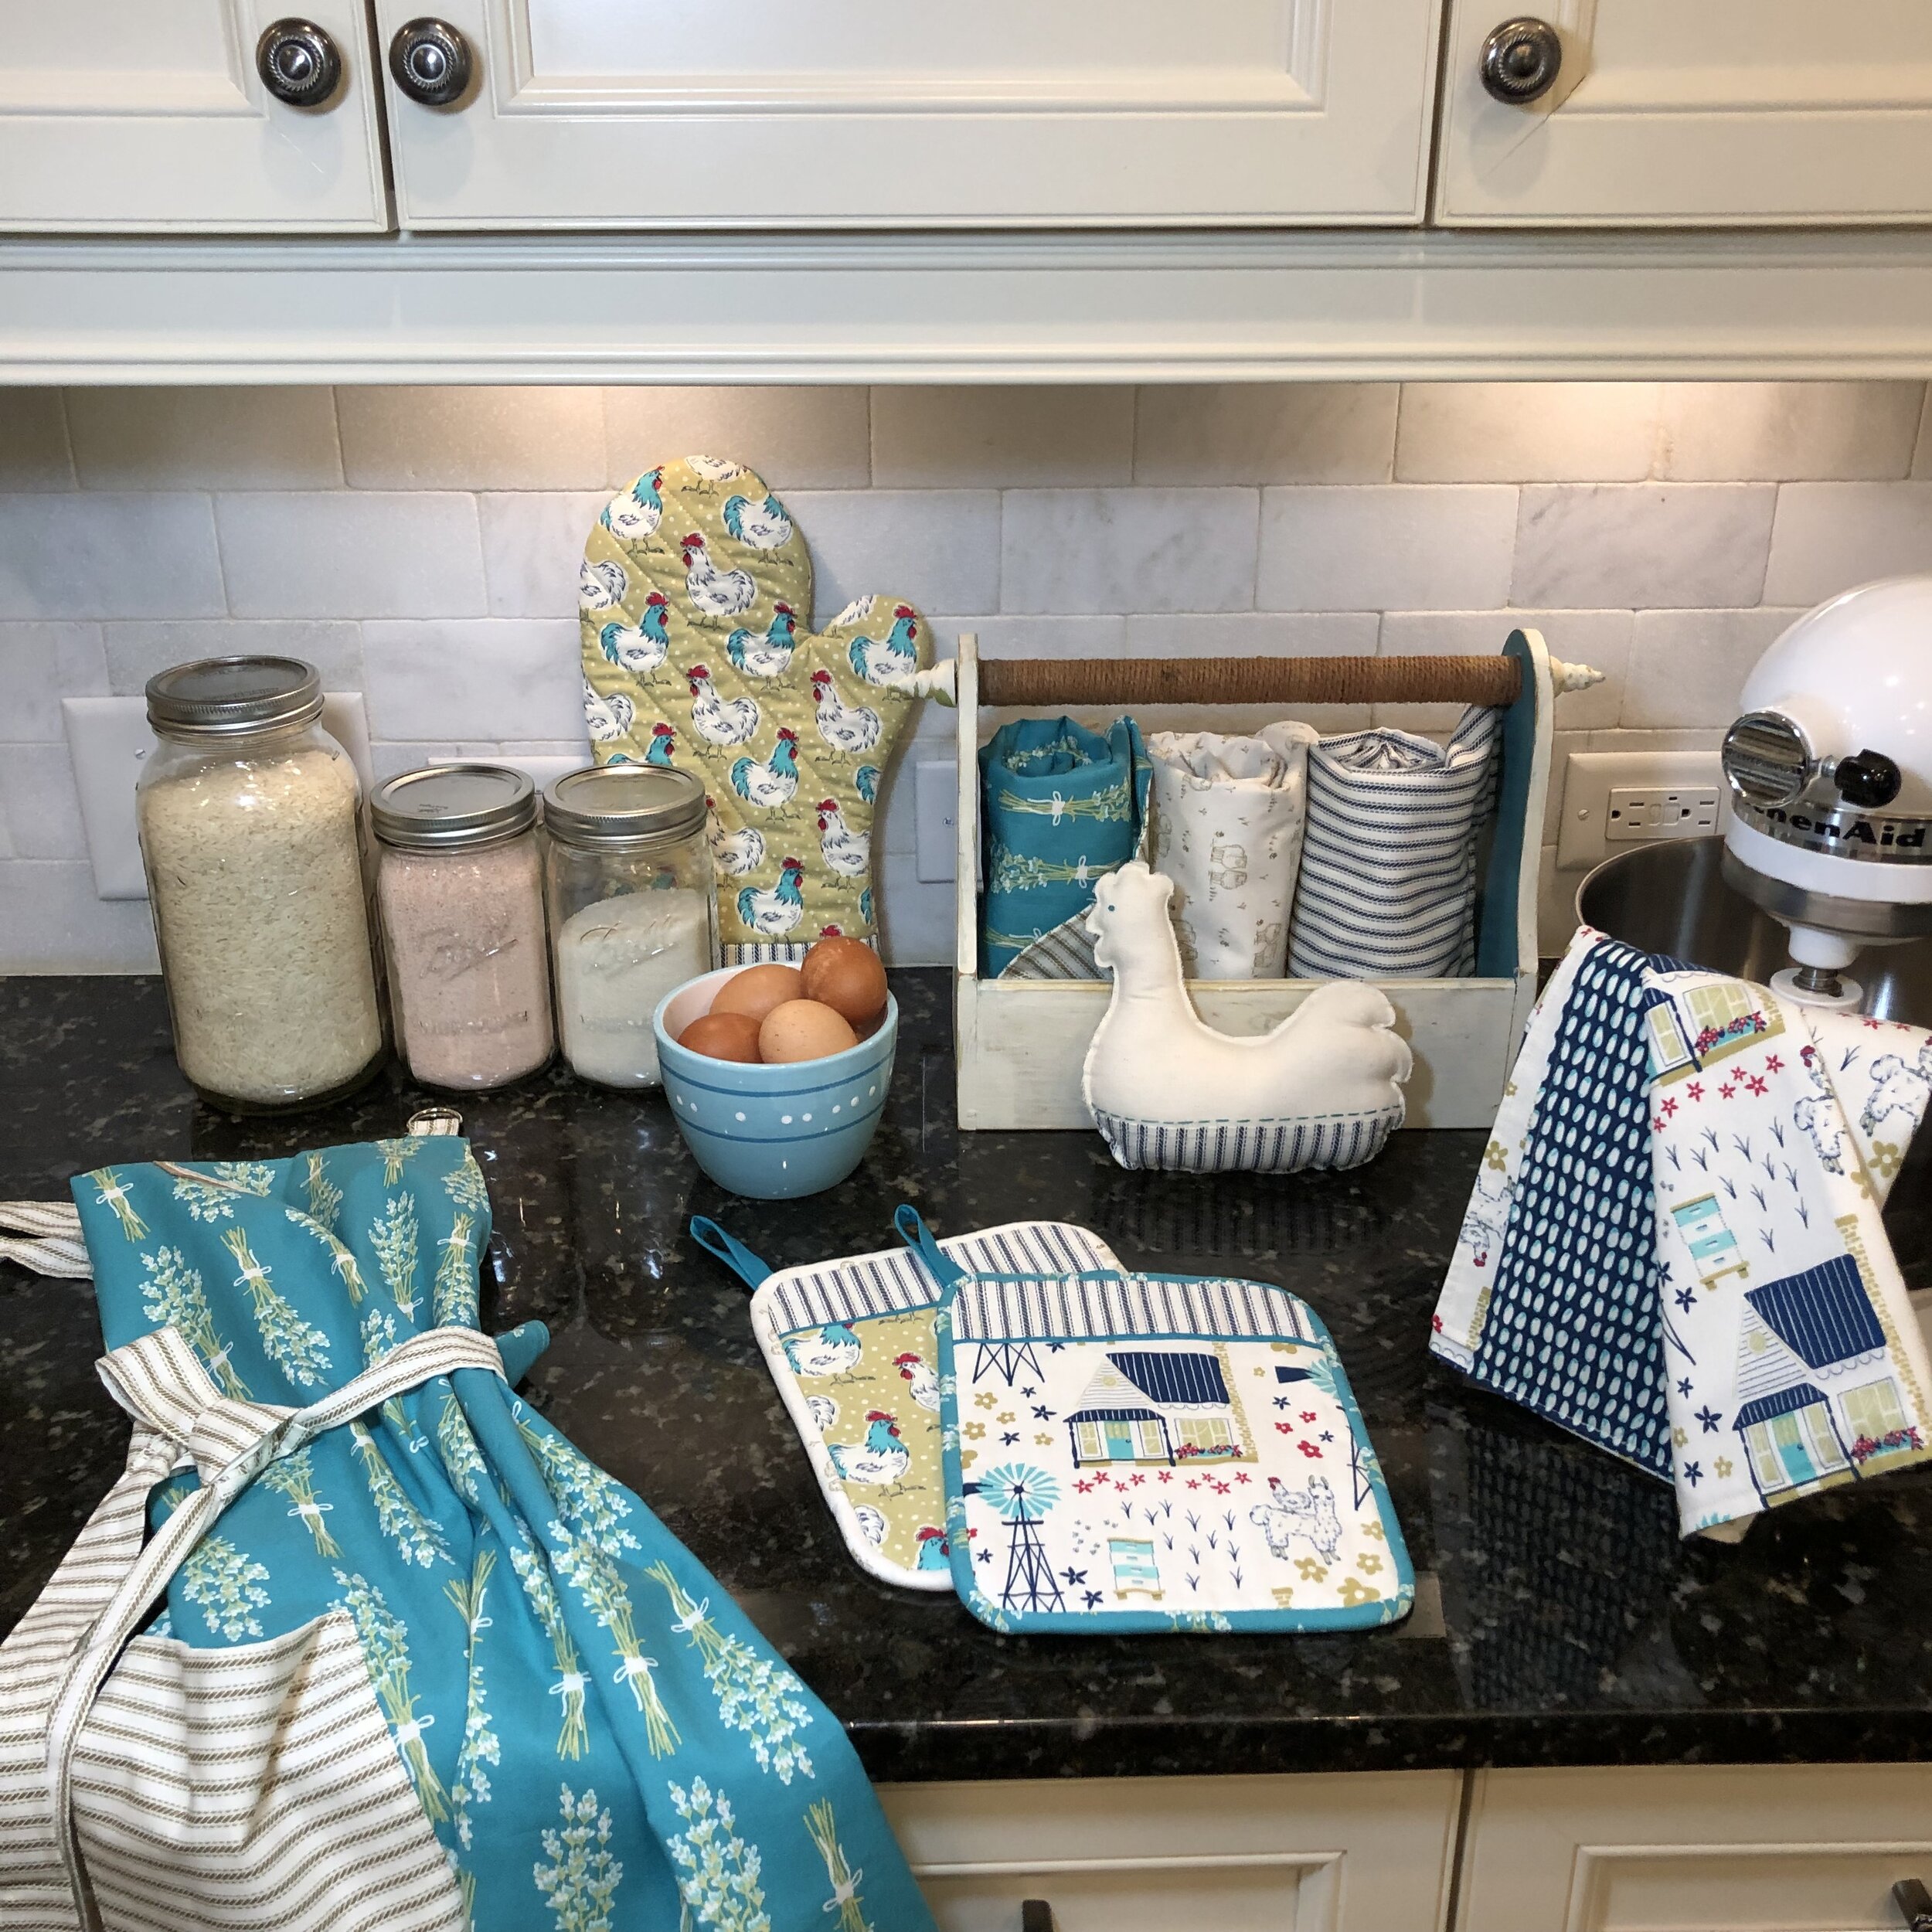
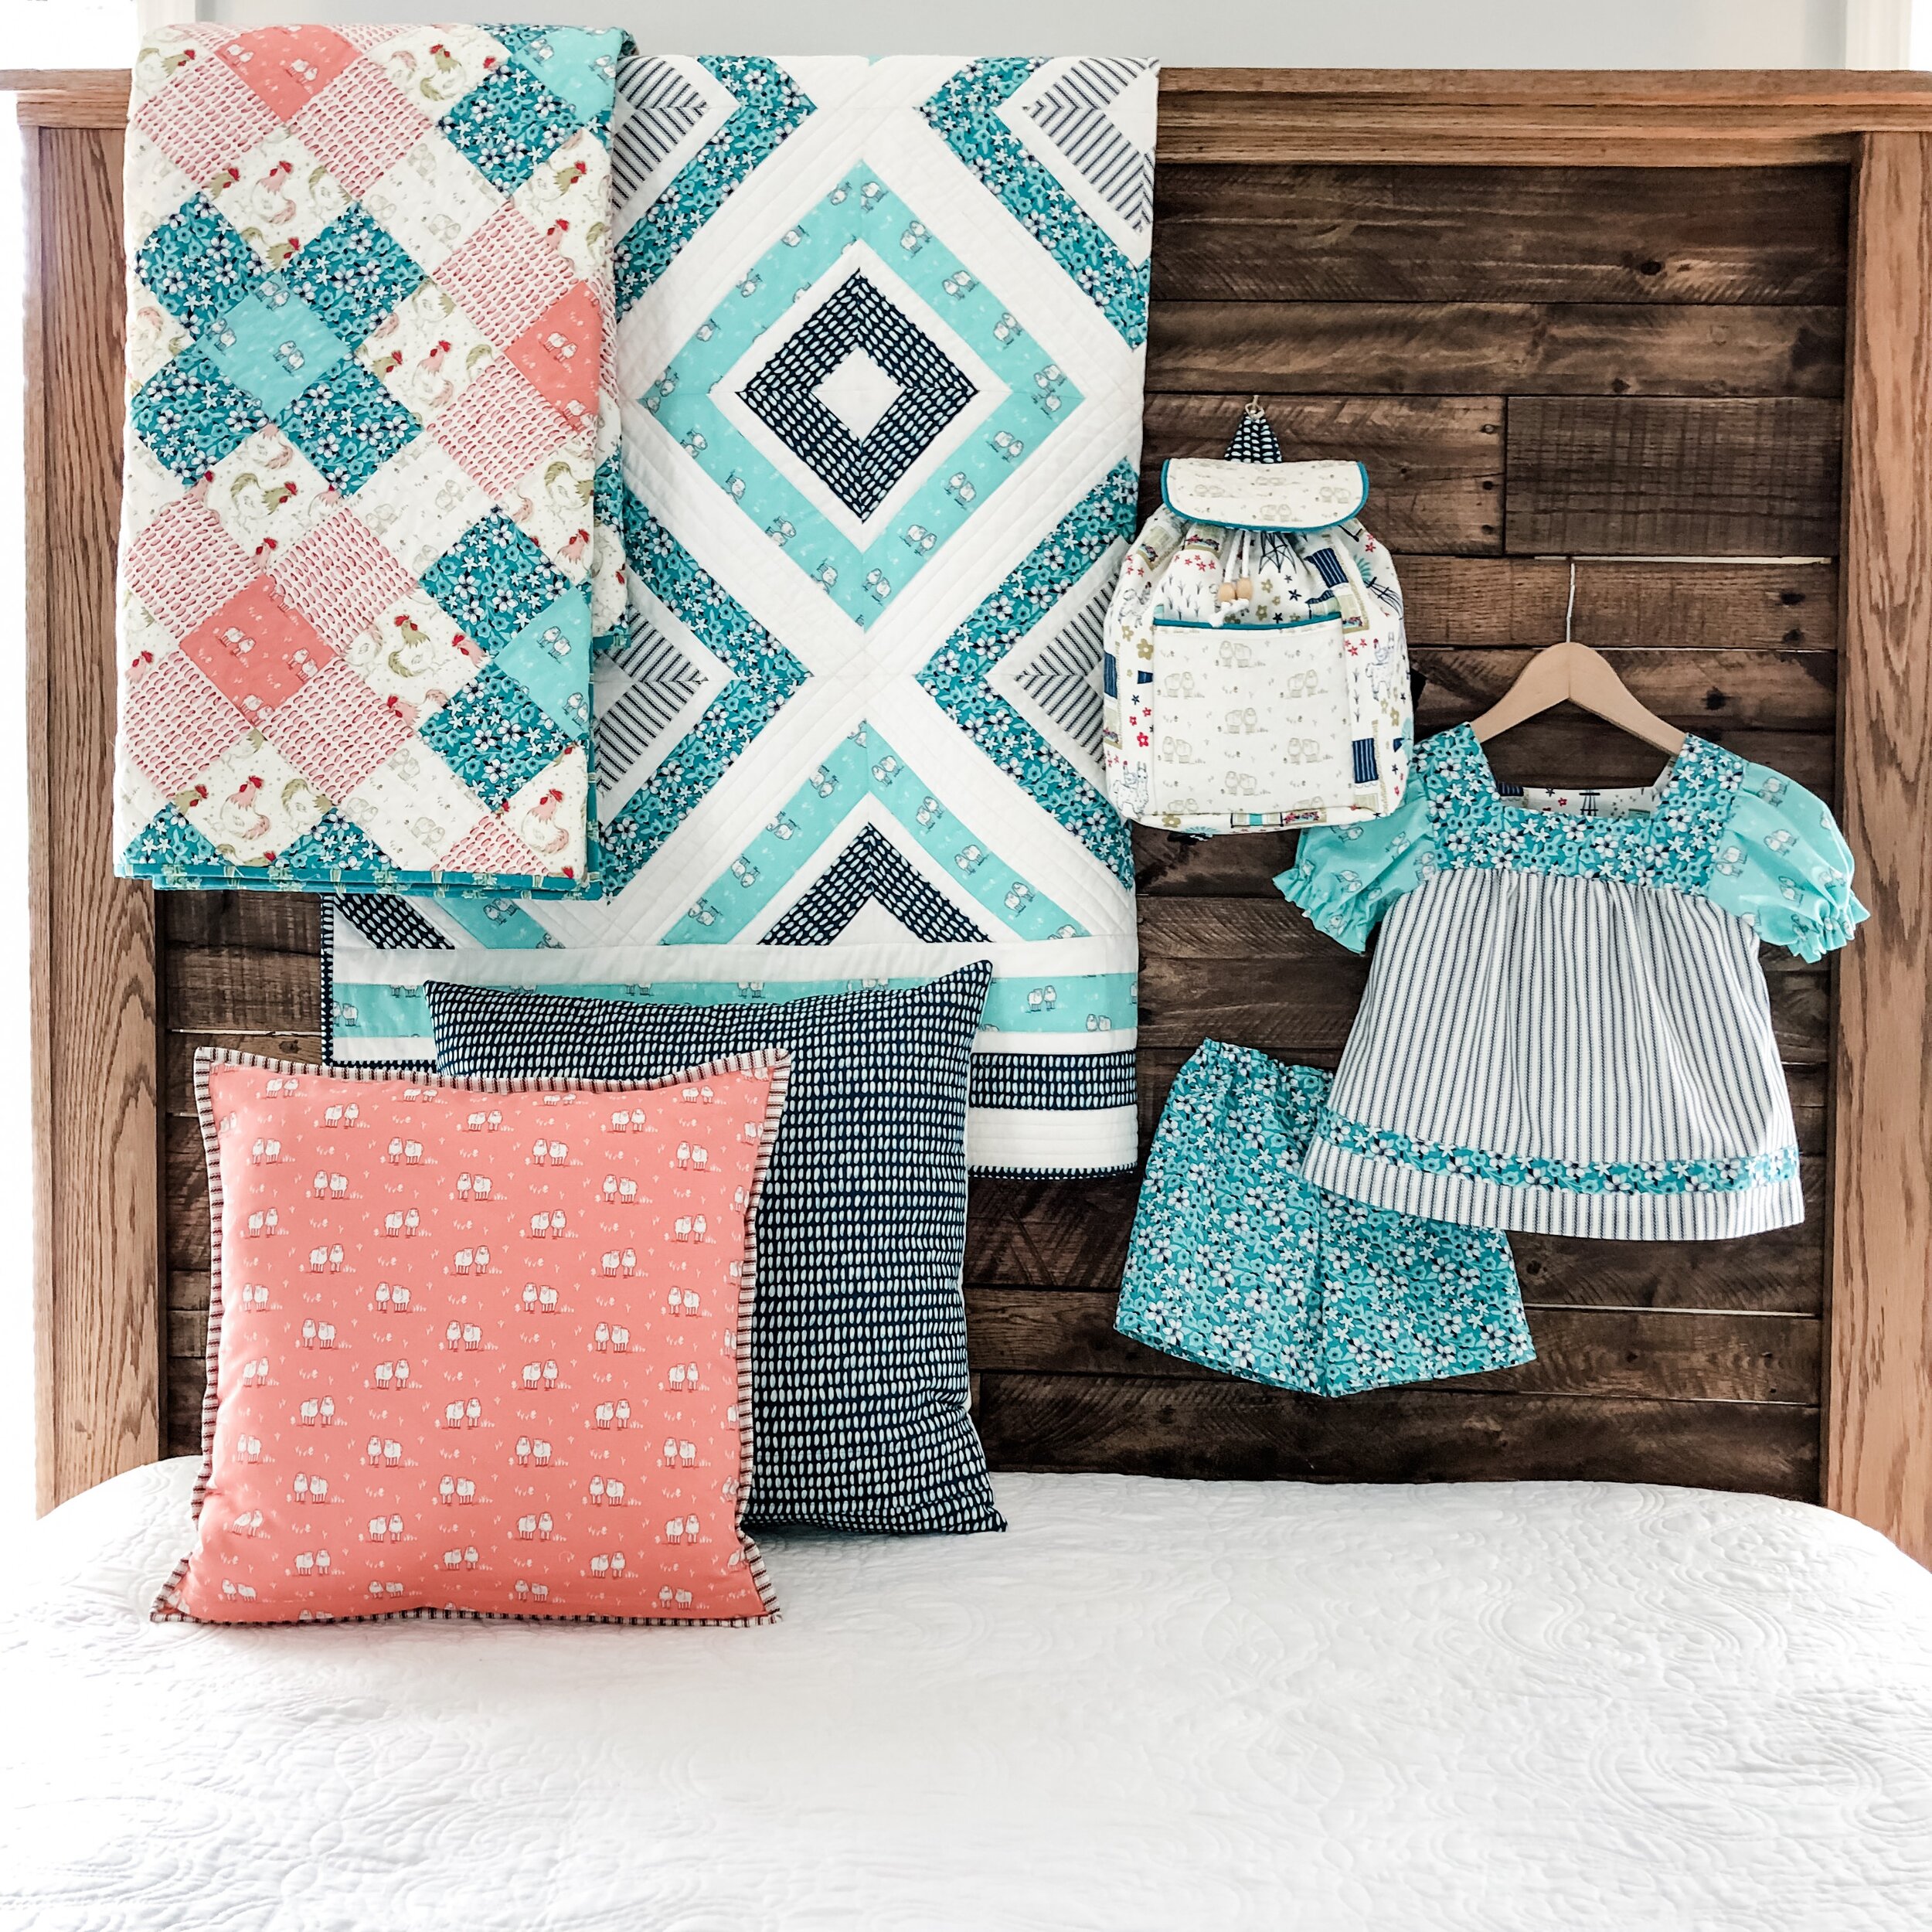
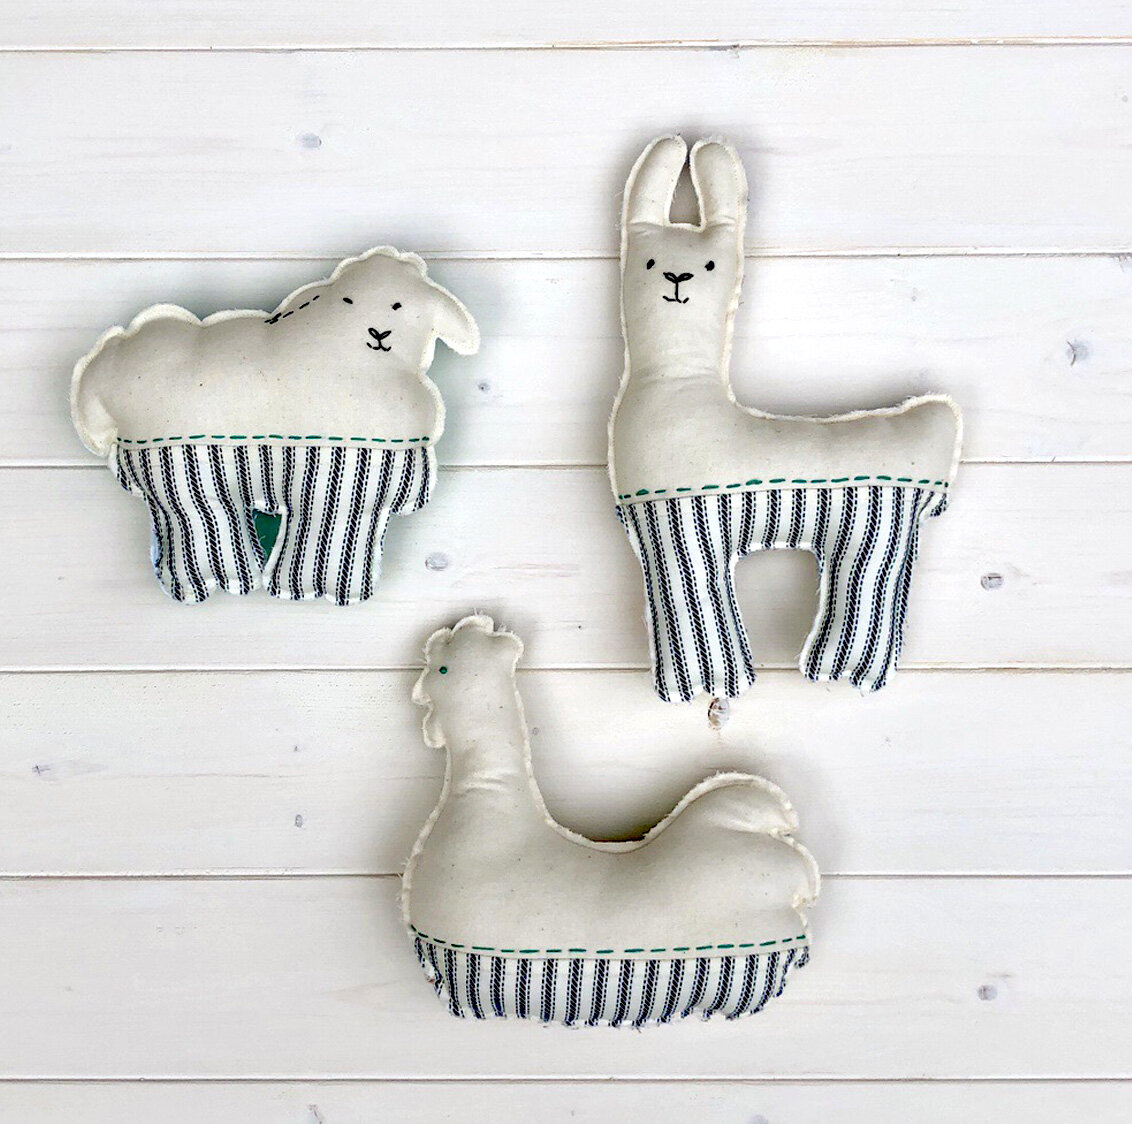
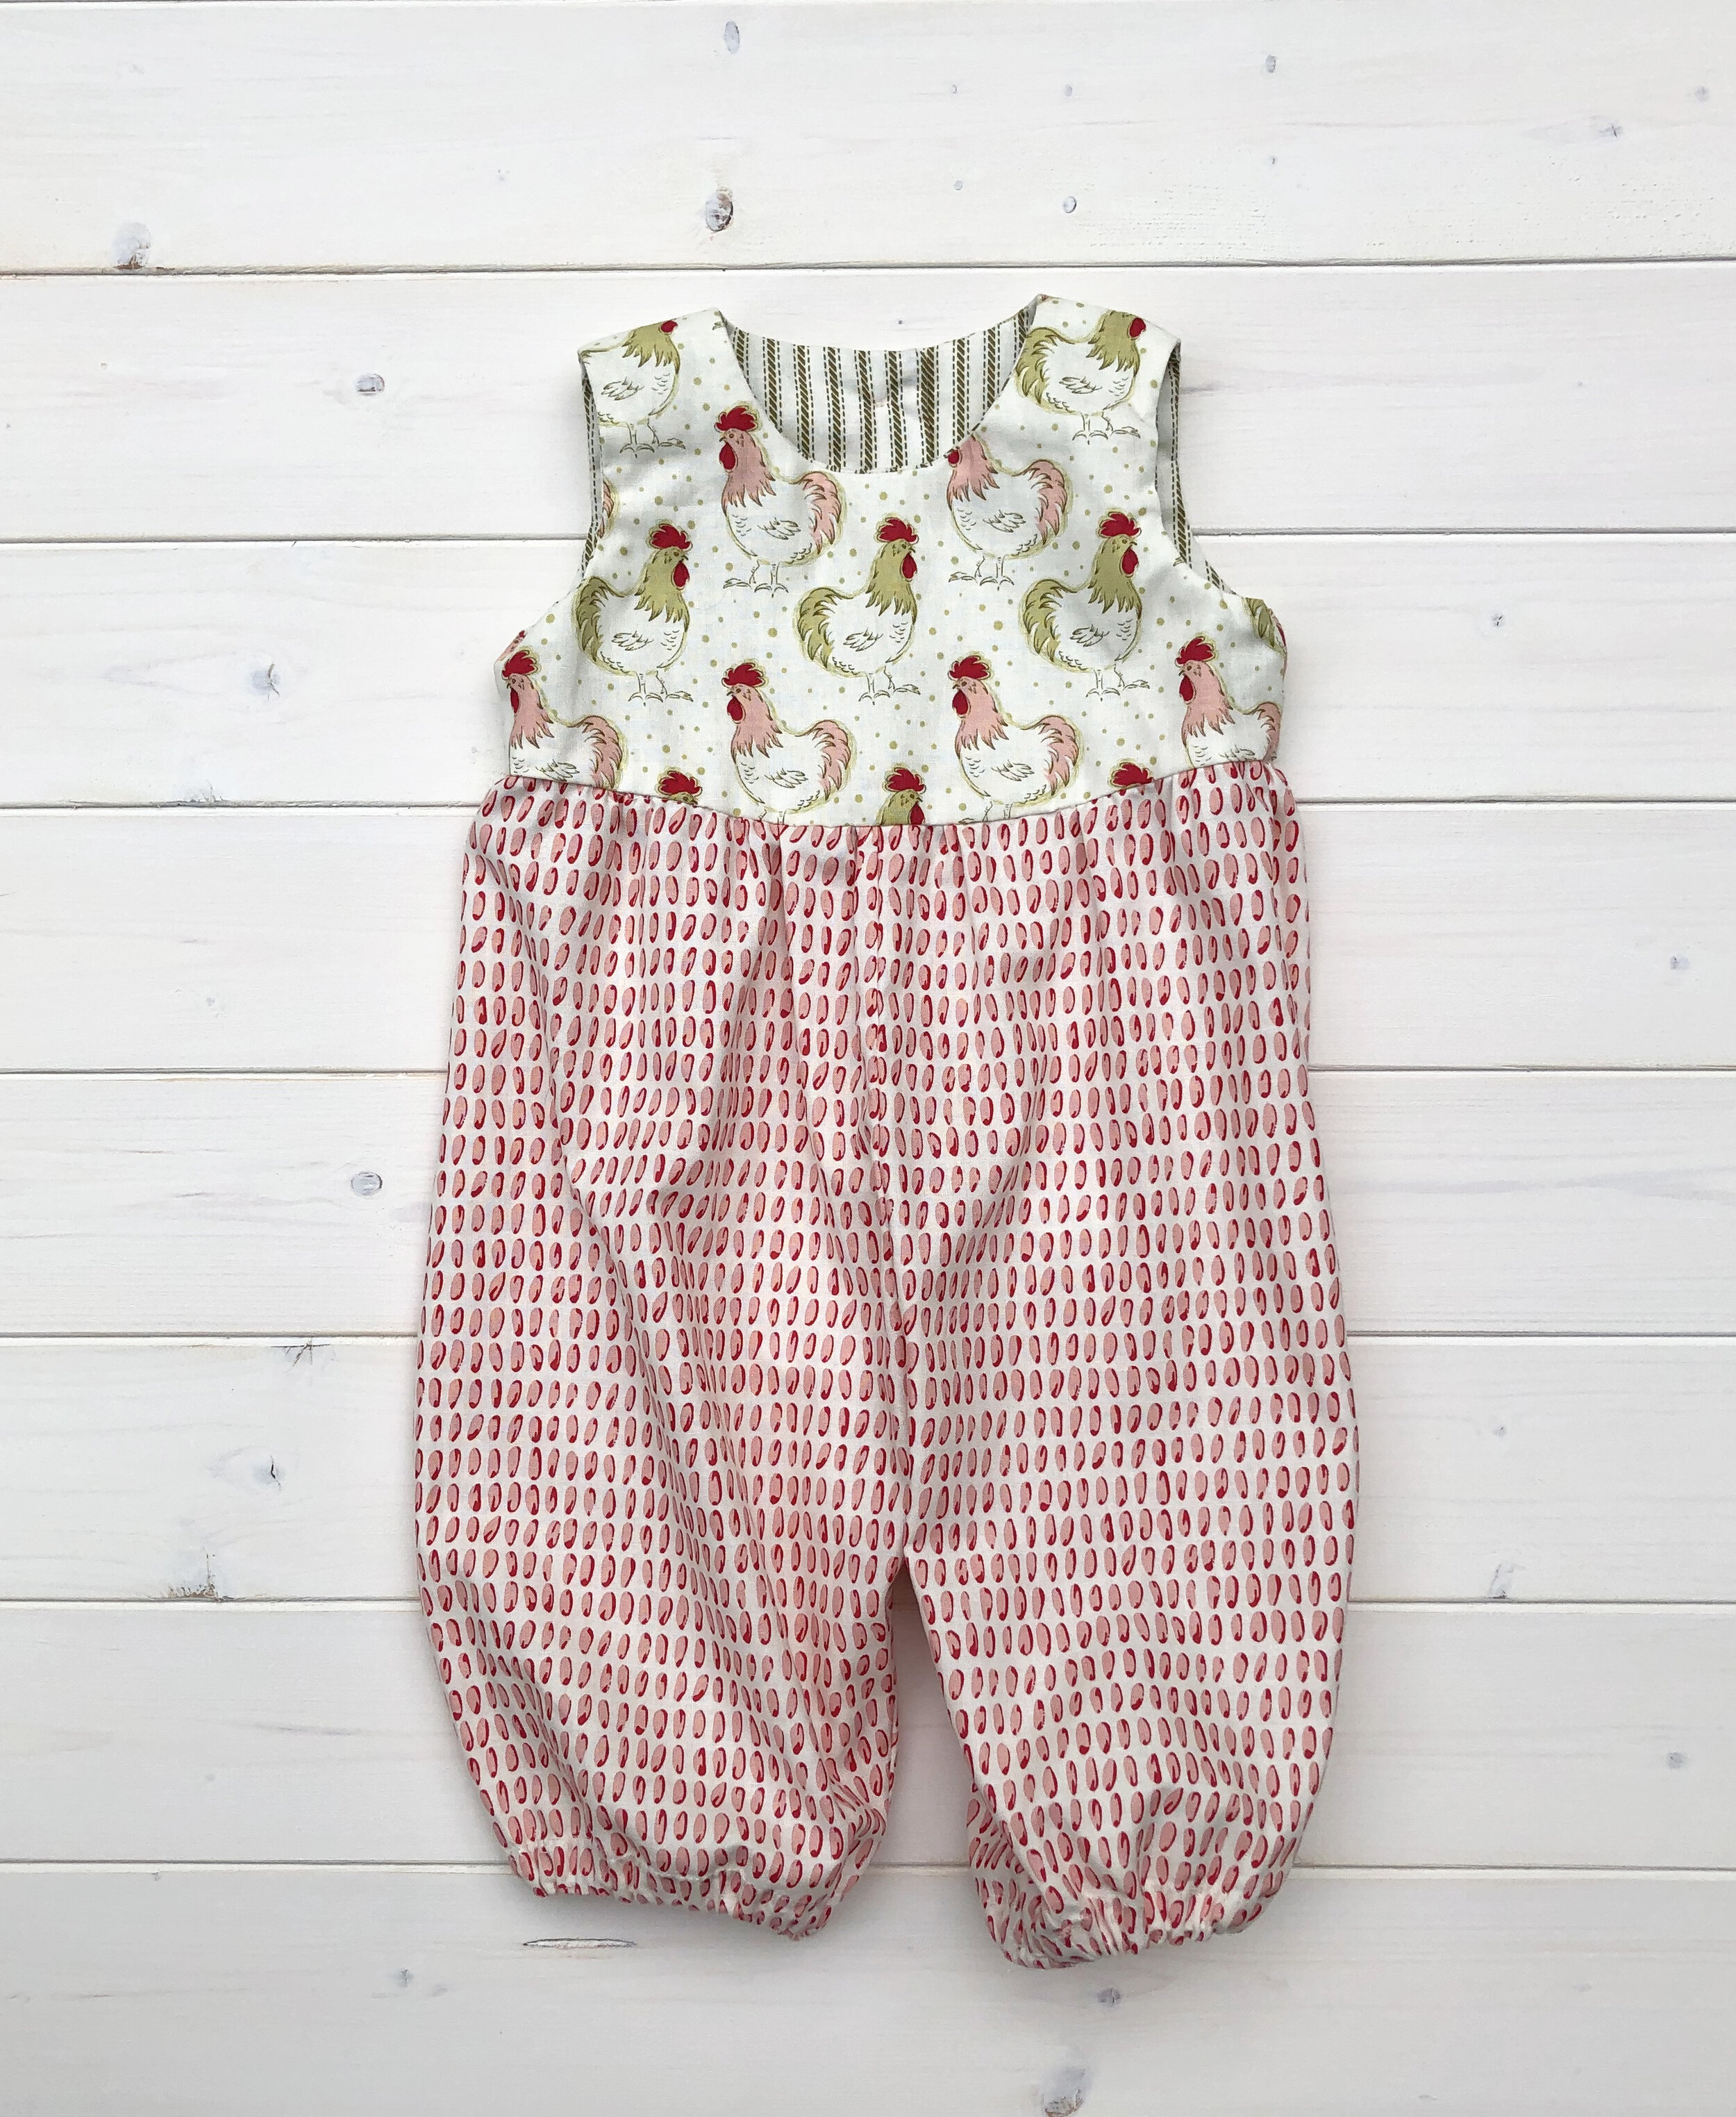
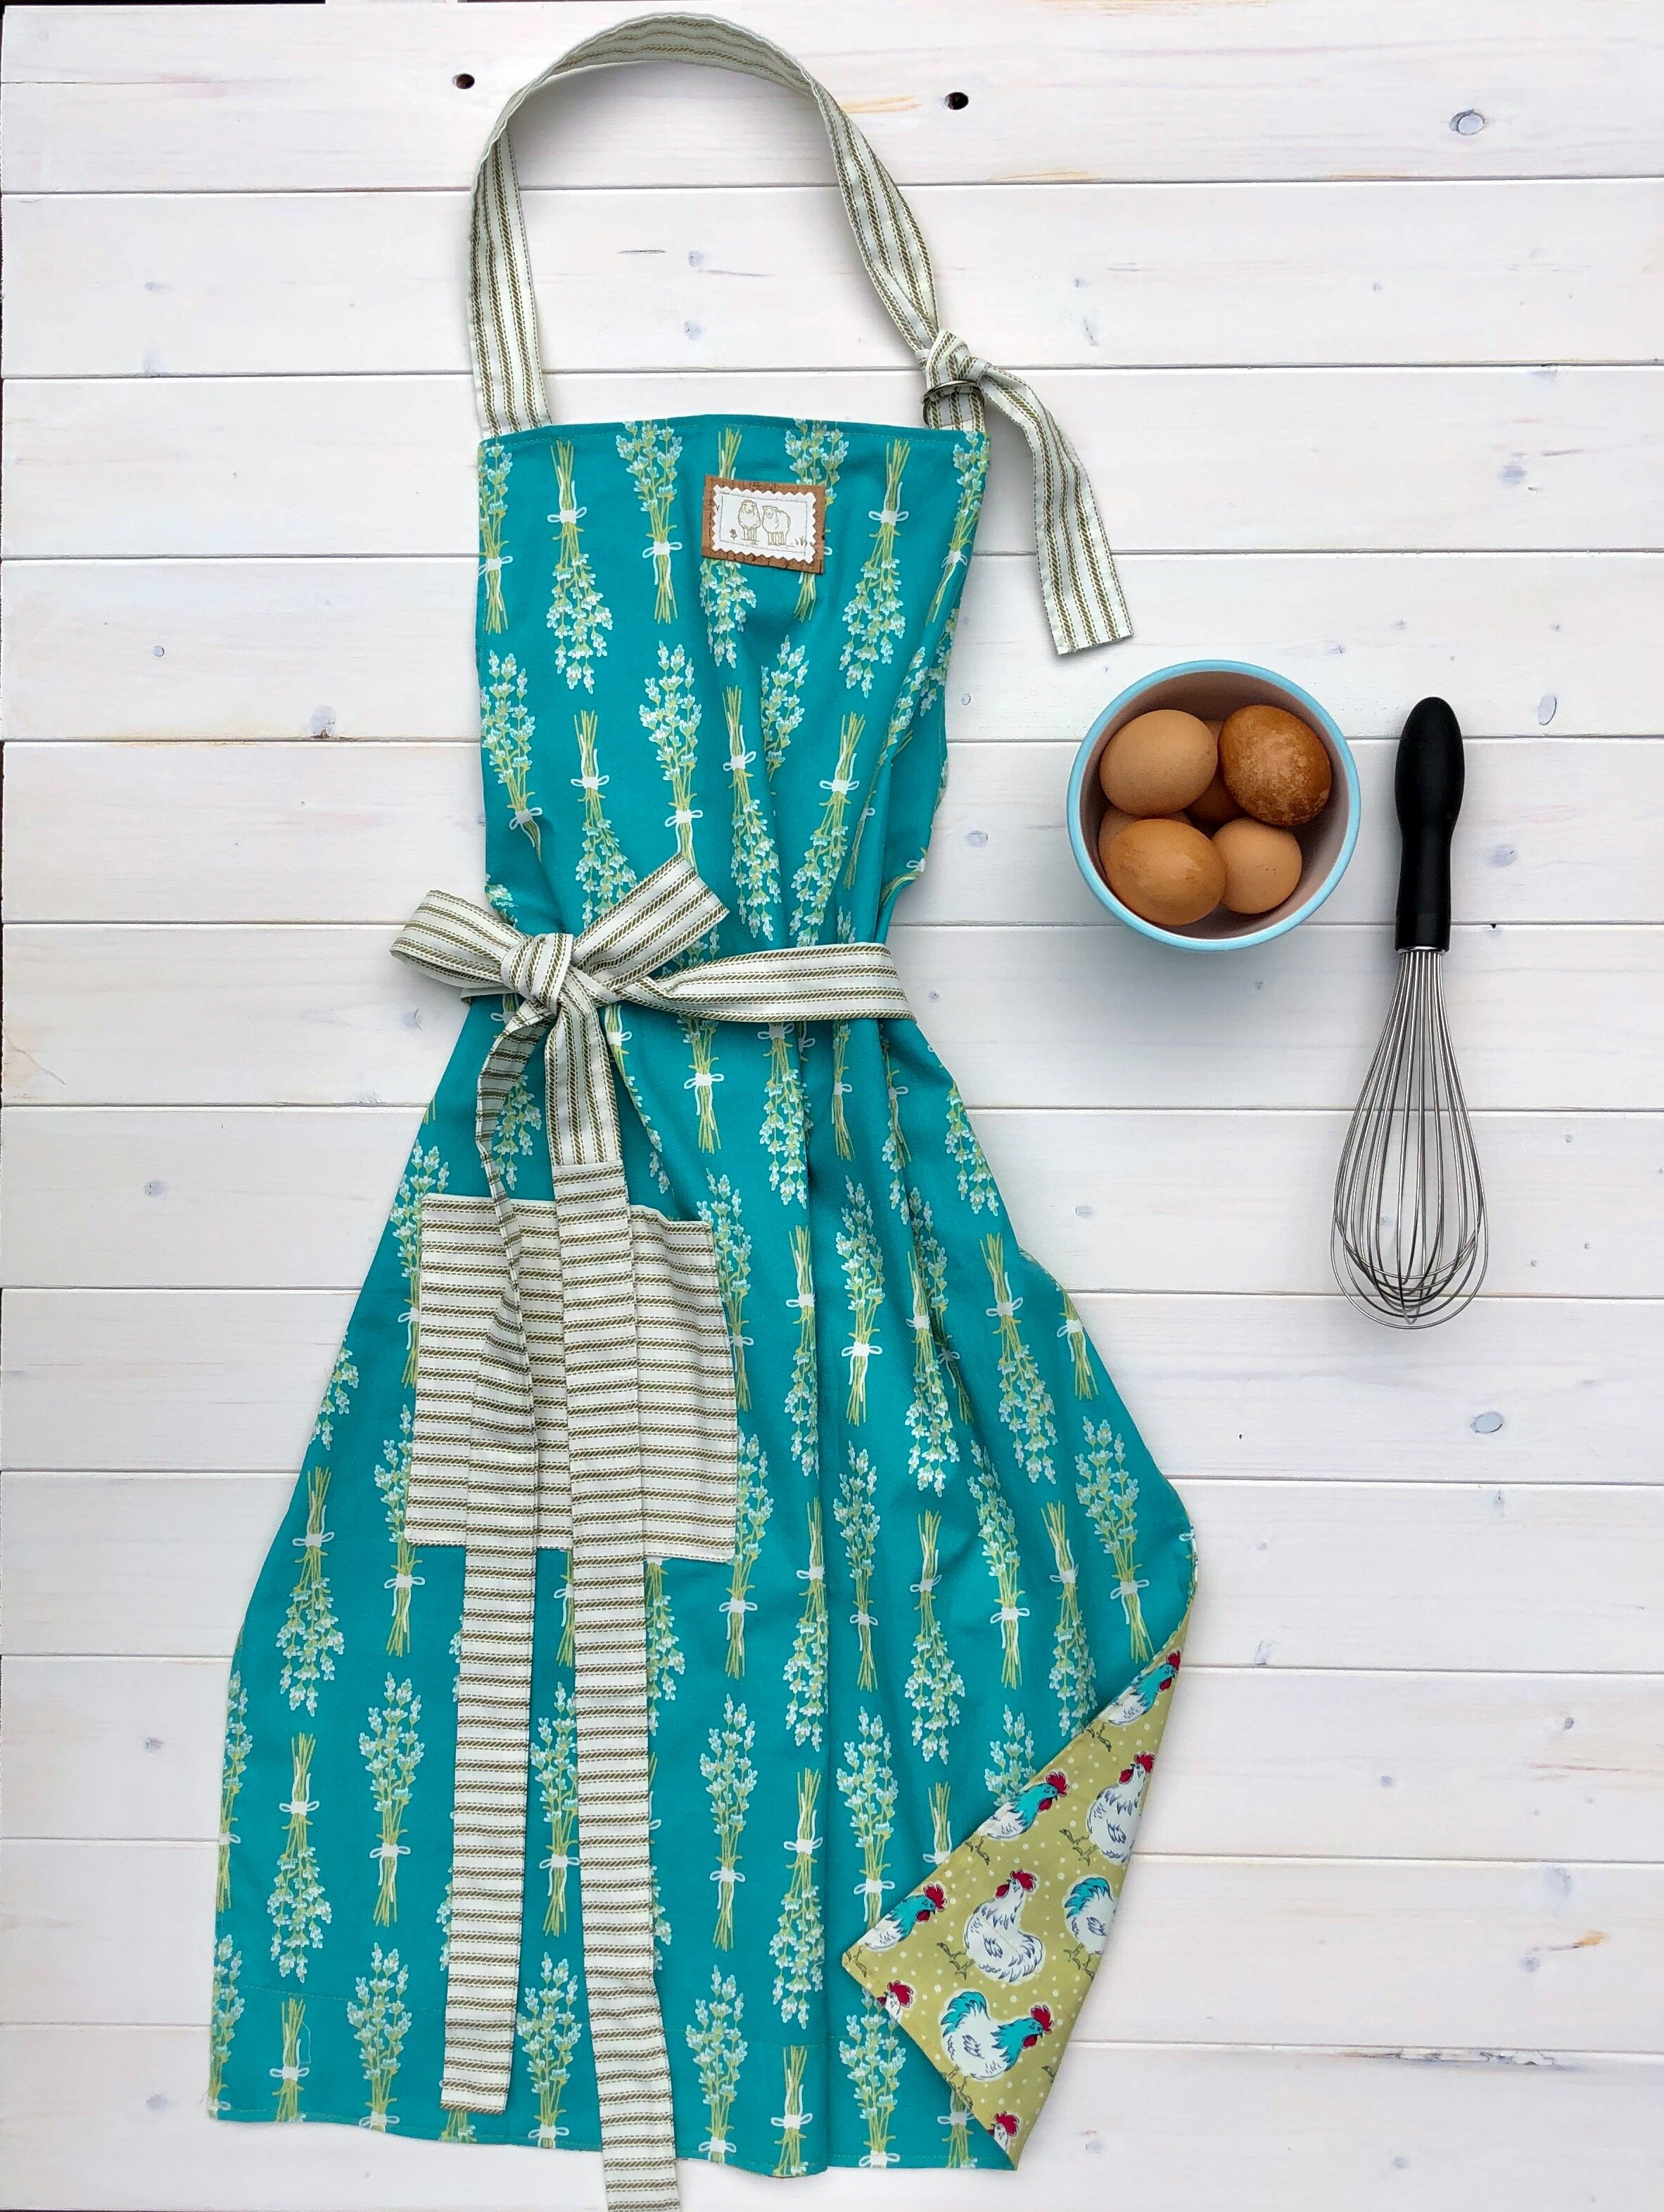
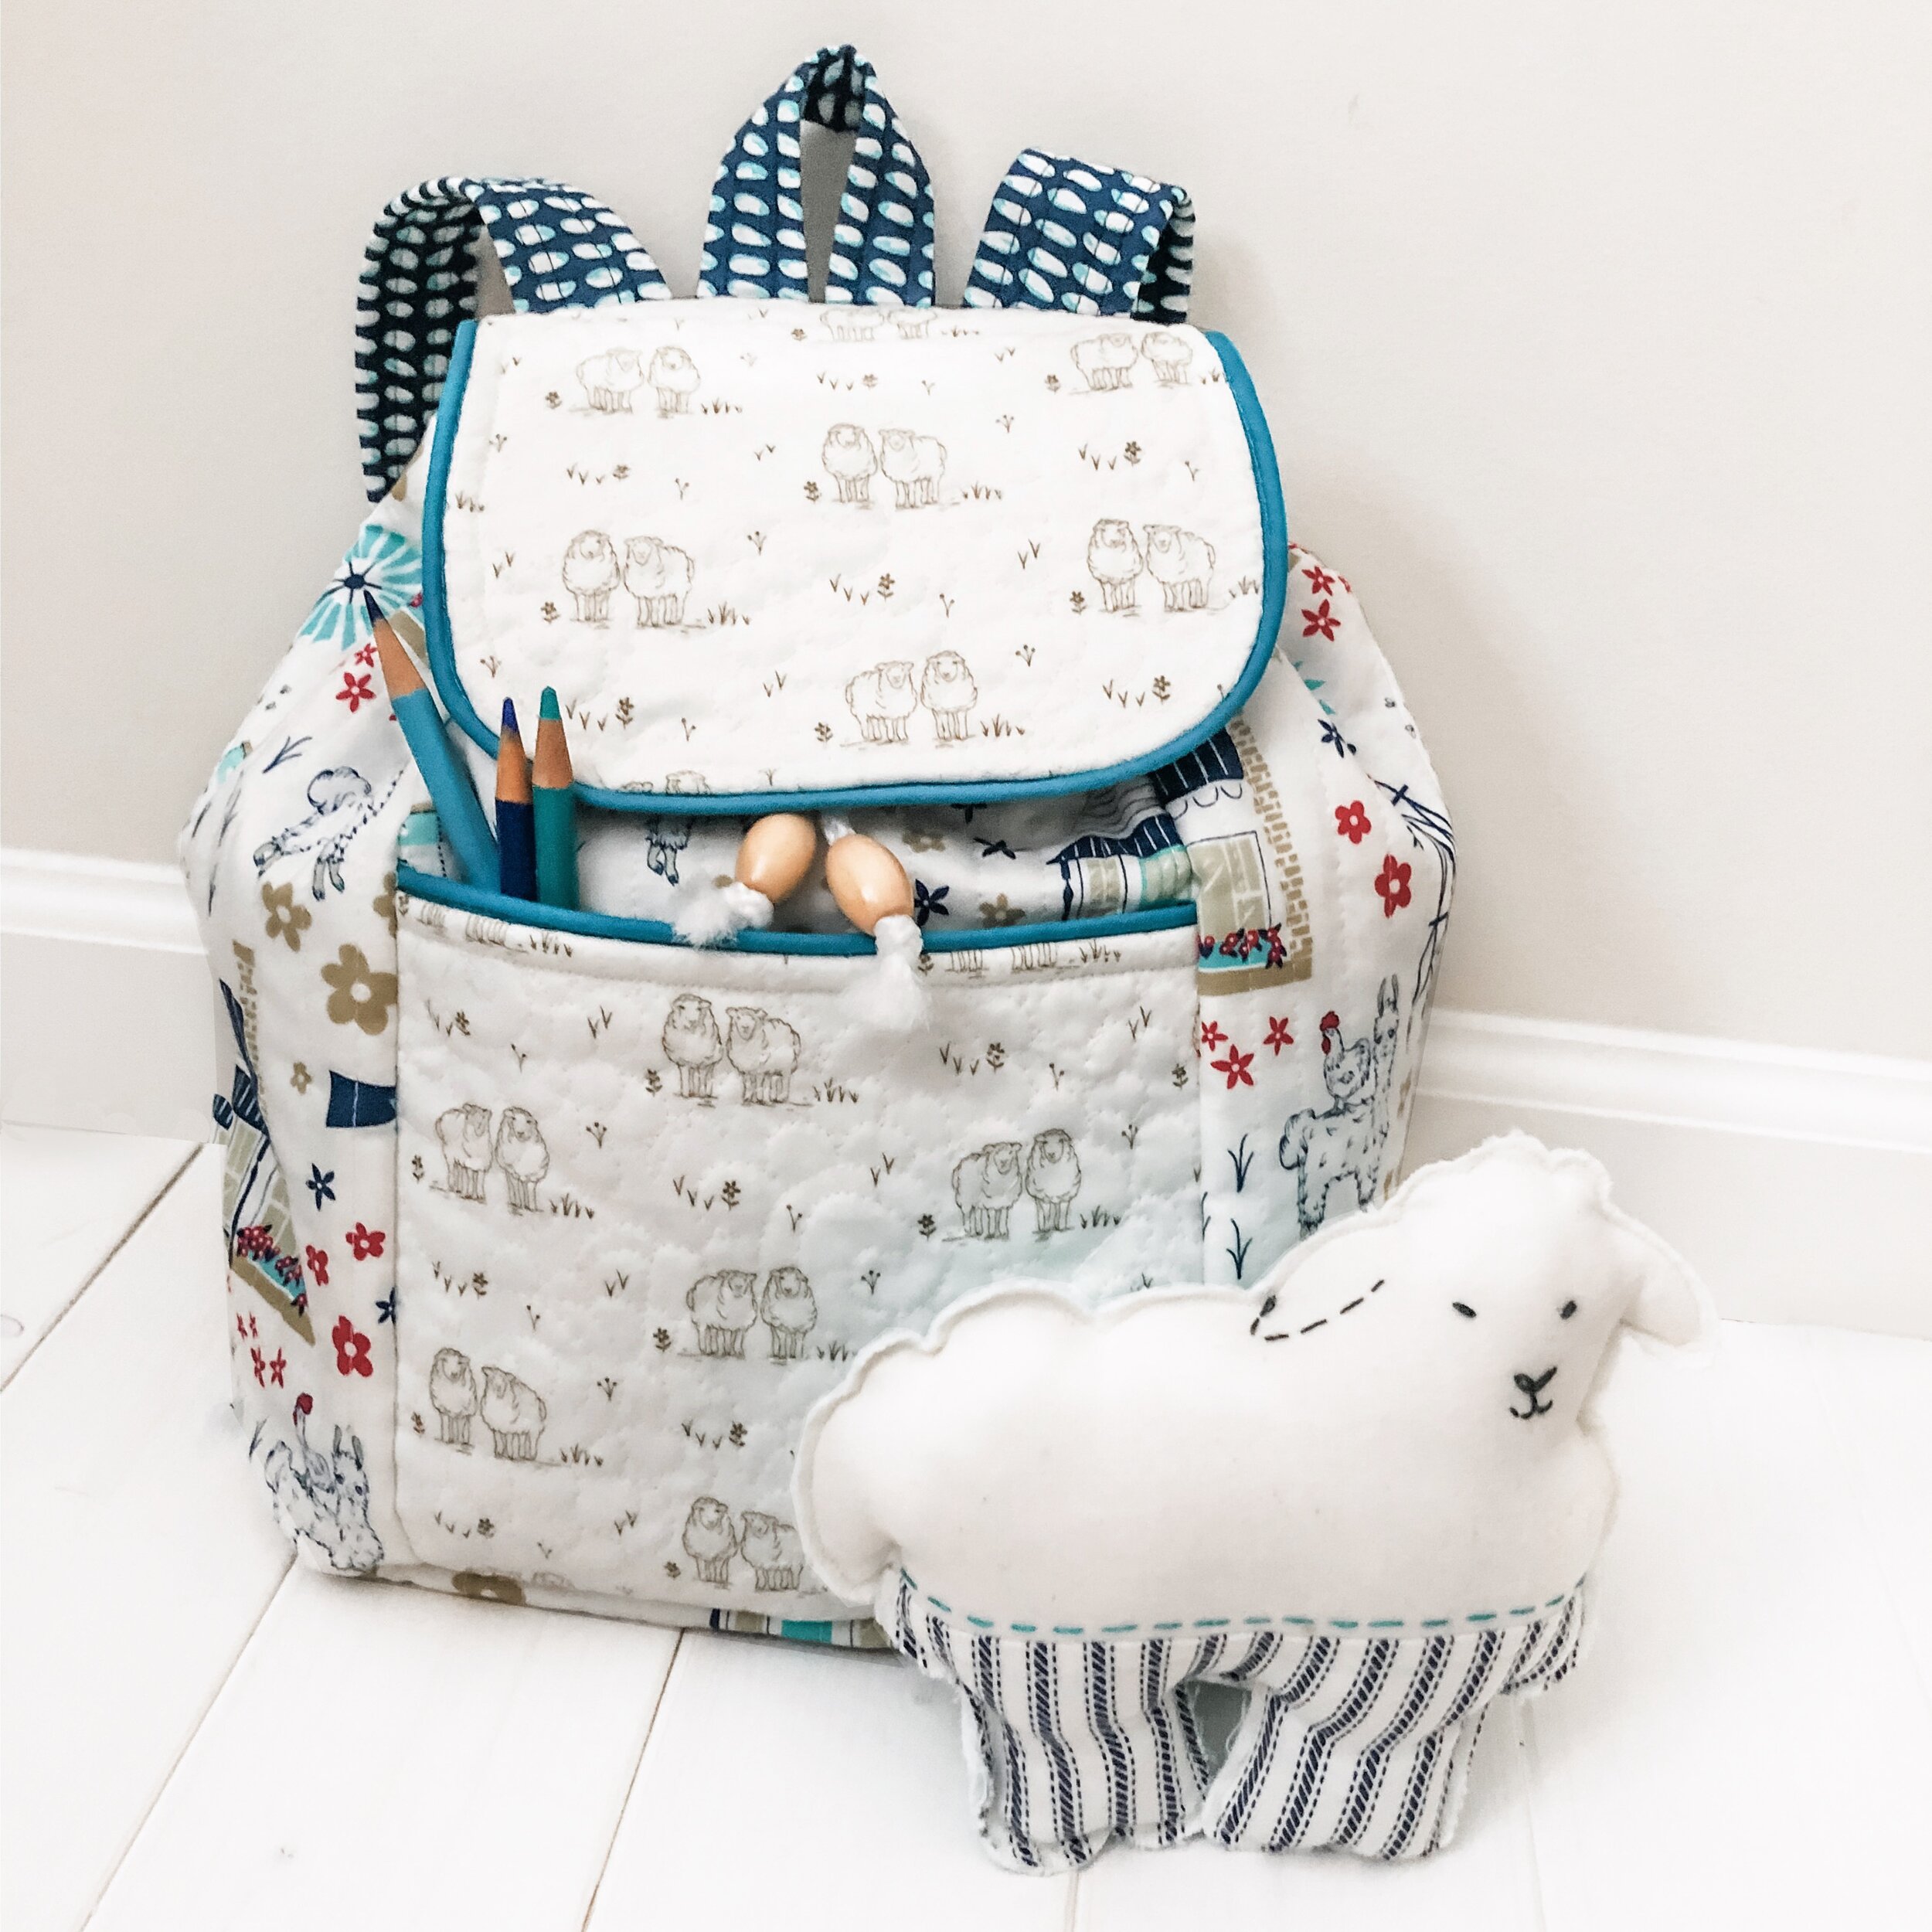
Each fabric design in Homestead Life holds a special piece of that story. From the little house, to the animals, bees, flowers and seeds. Even the simple ticking stripe brings visions of that sweet country life to my mind.
It has been beyond rewarding to bring these elements to life and sew them into quilts, garments and other items for the home.
Fabric will be in stores April 2020.
That’s a lot of talking, so here are some photos to look at :)
Check out my Make And Do tab for upcoming tutorials for Homestead Life fabric projects. View all of the patterns in the Art tab.
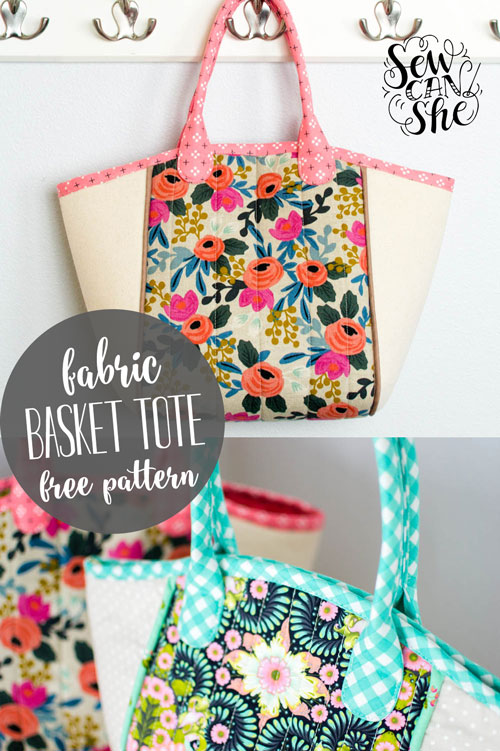
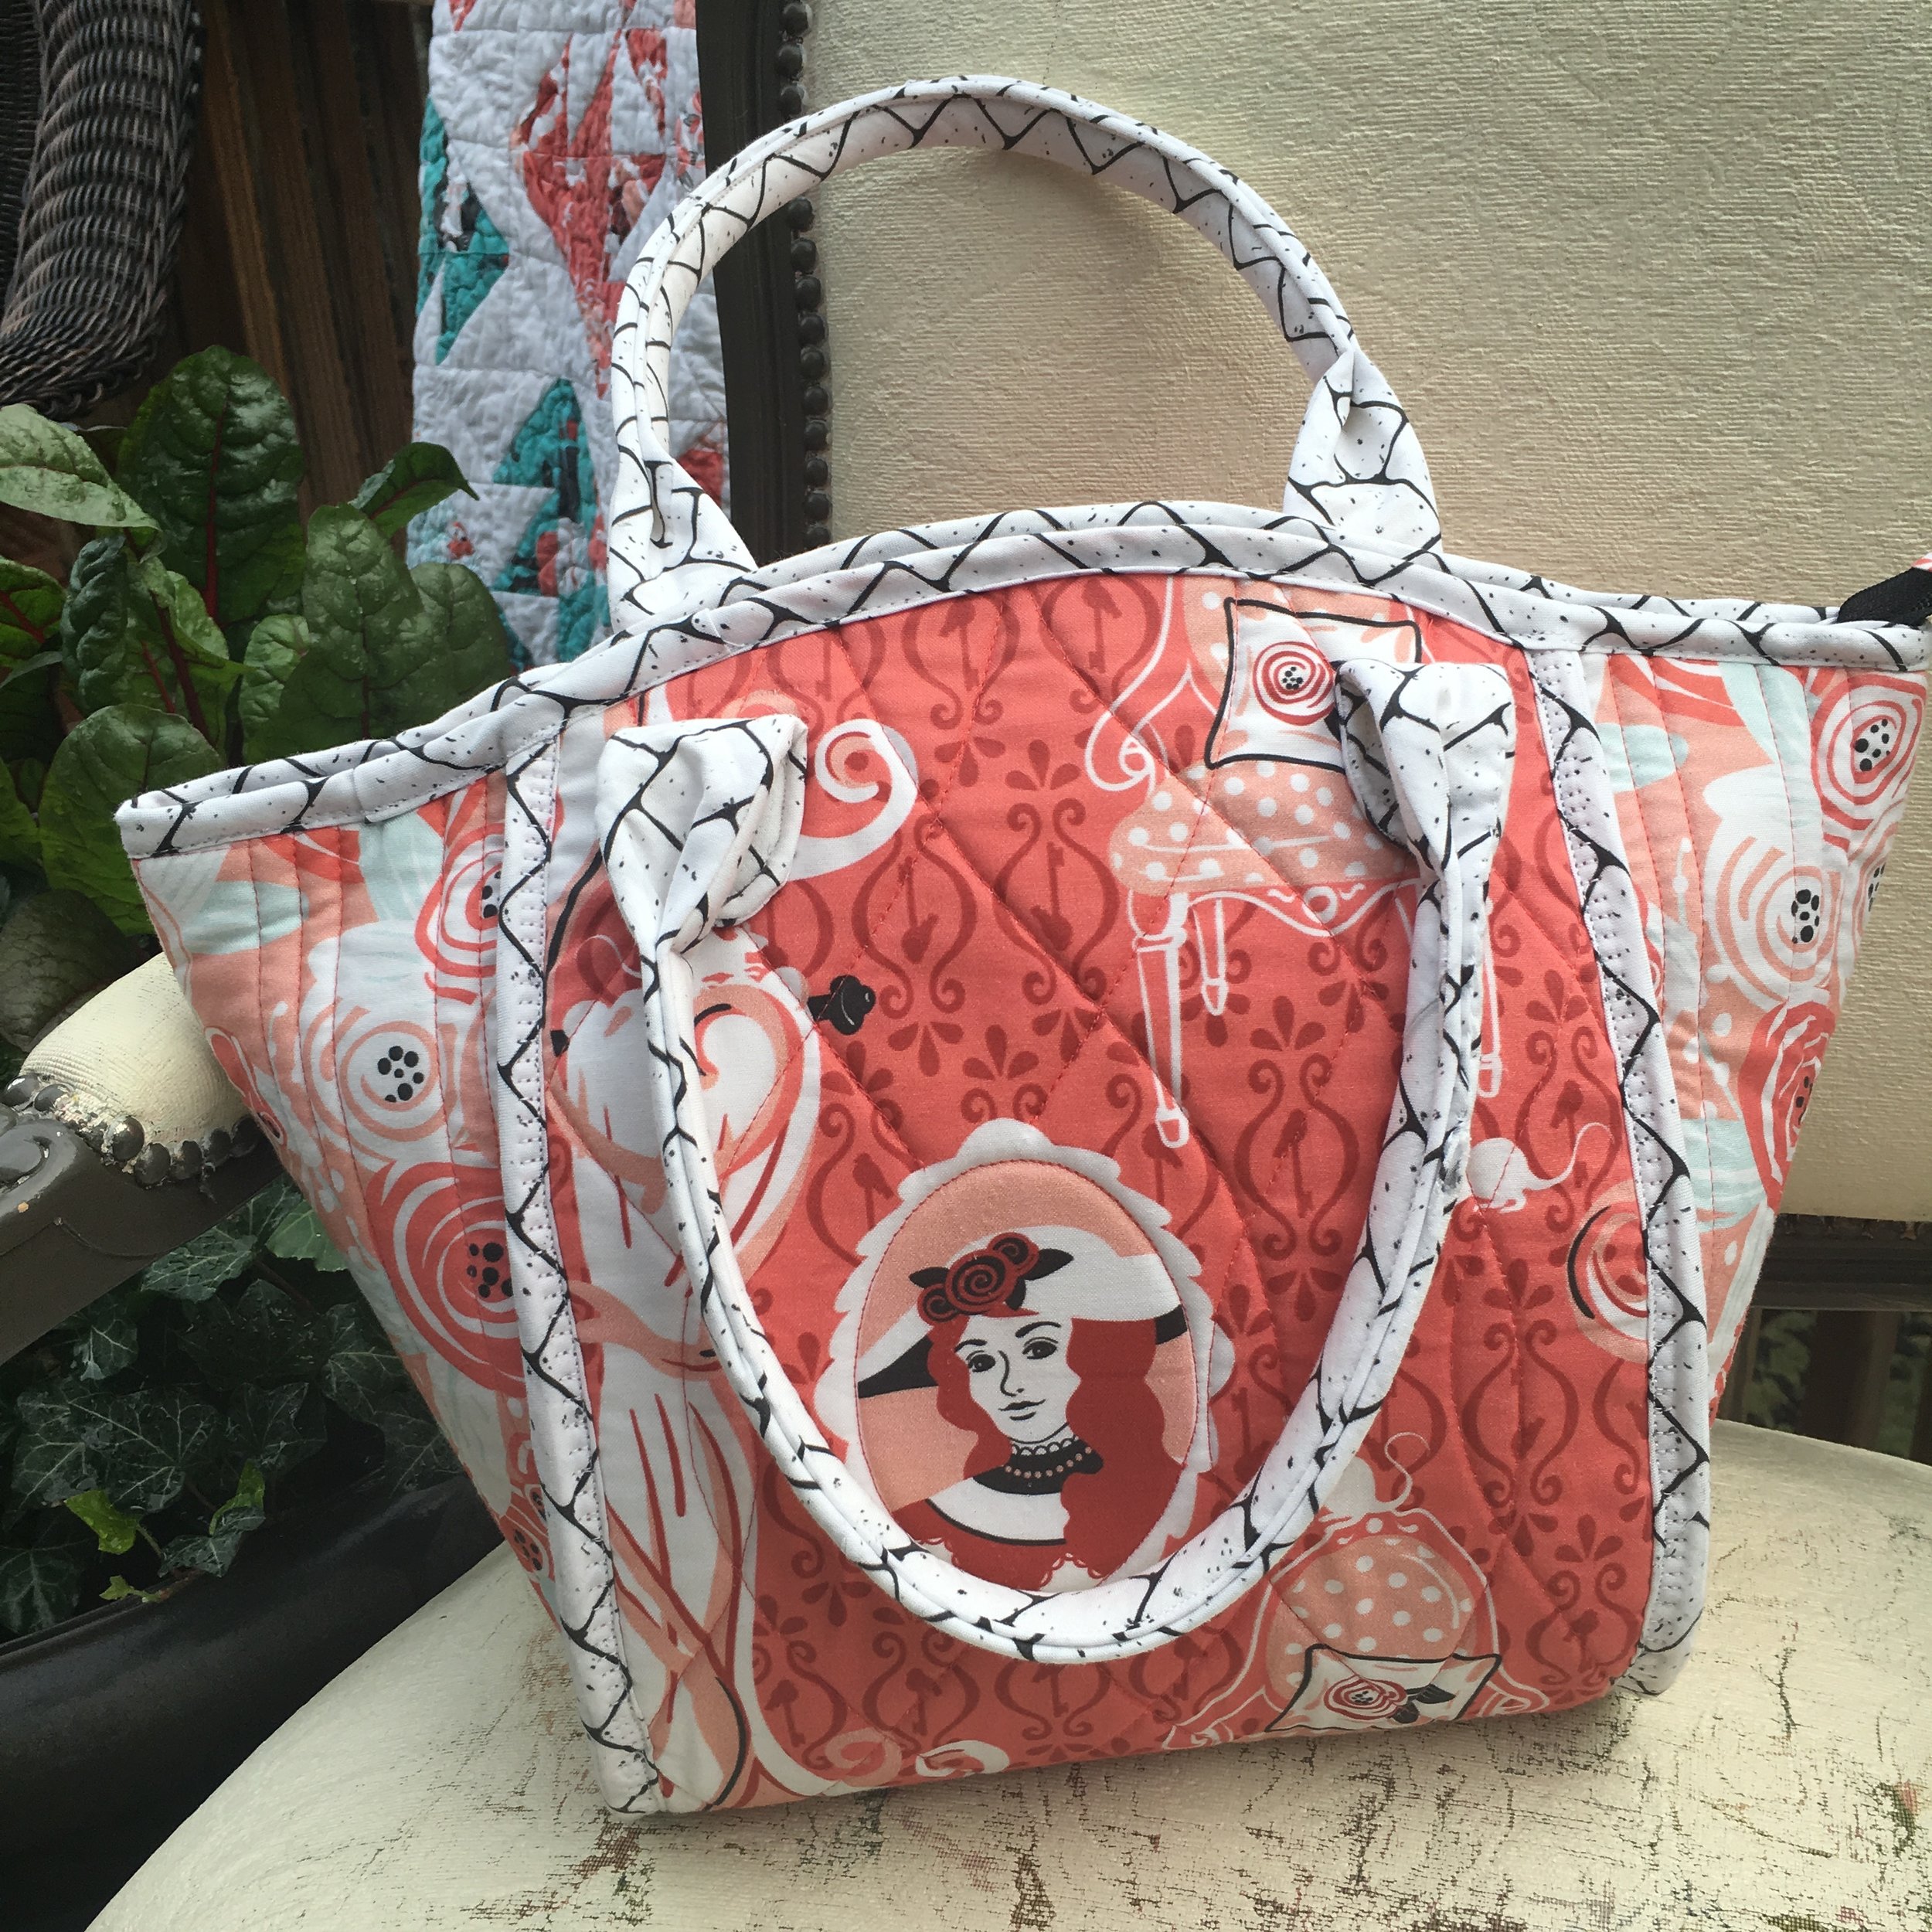
Basket Tote
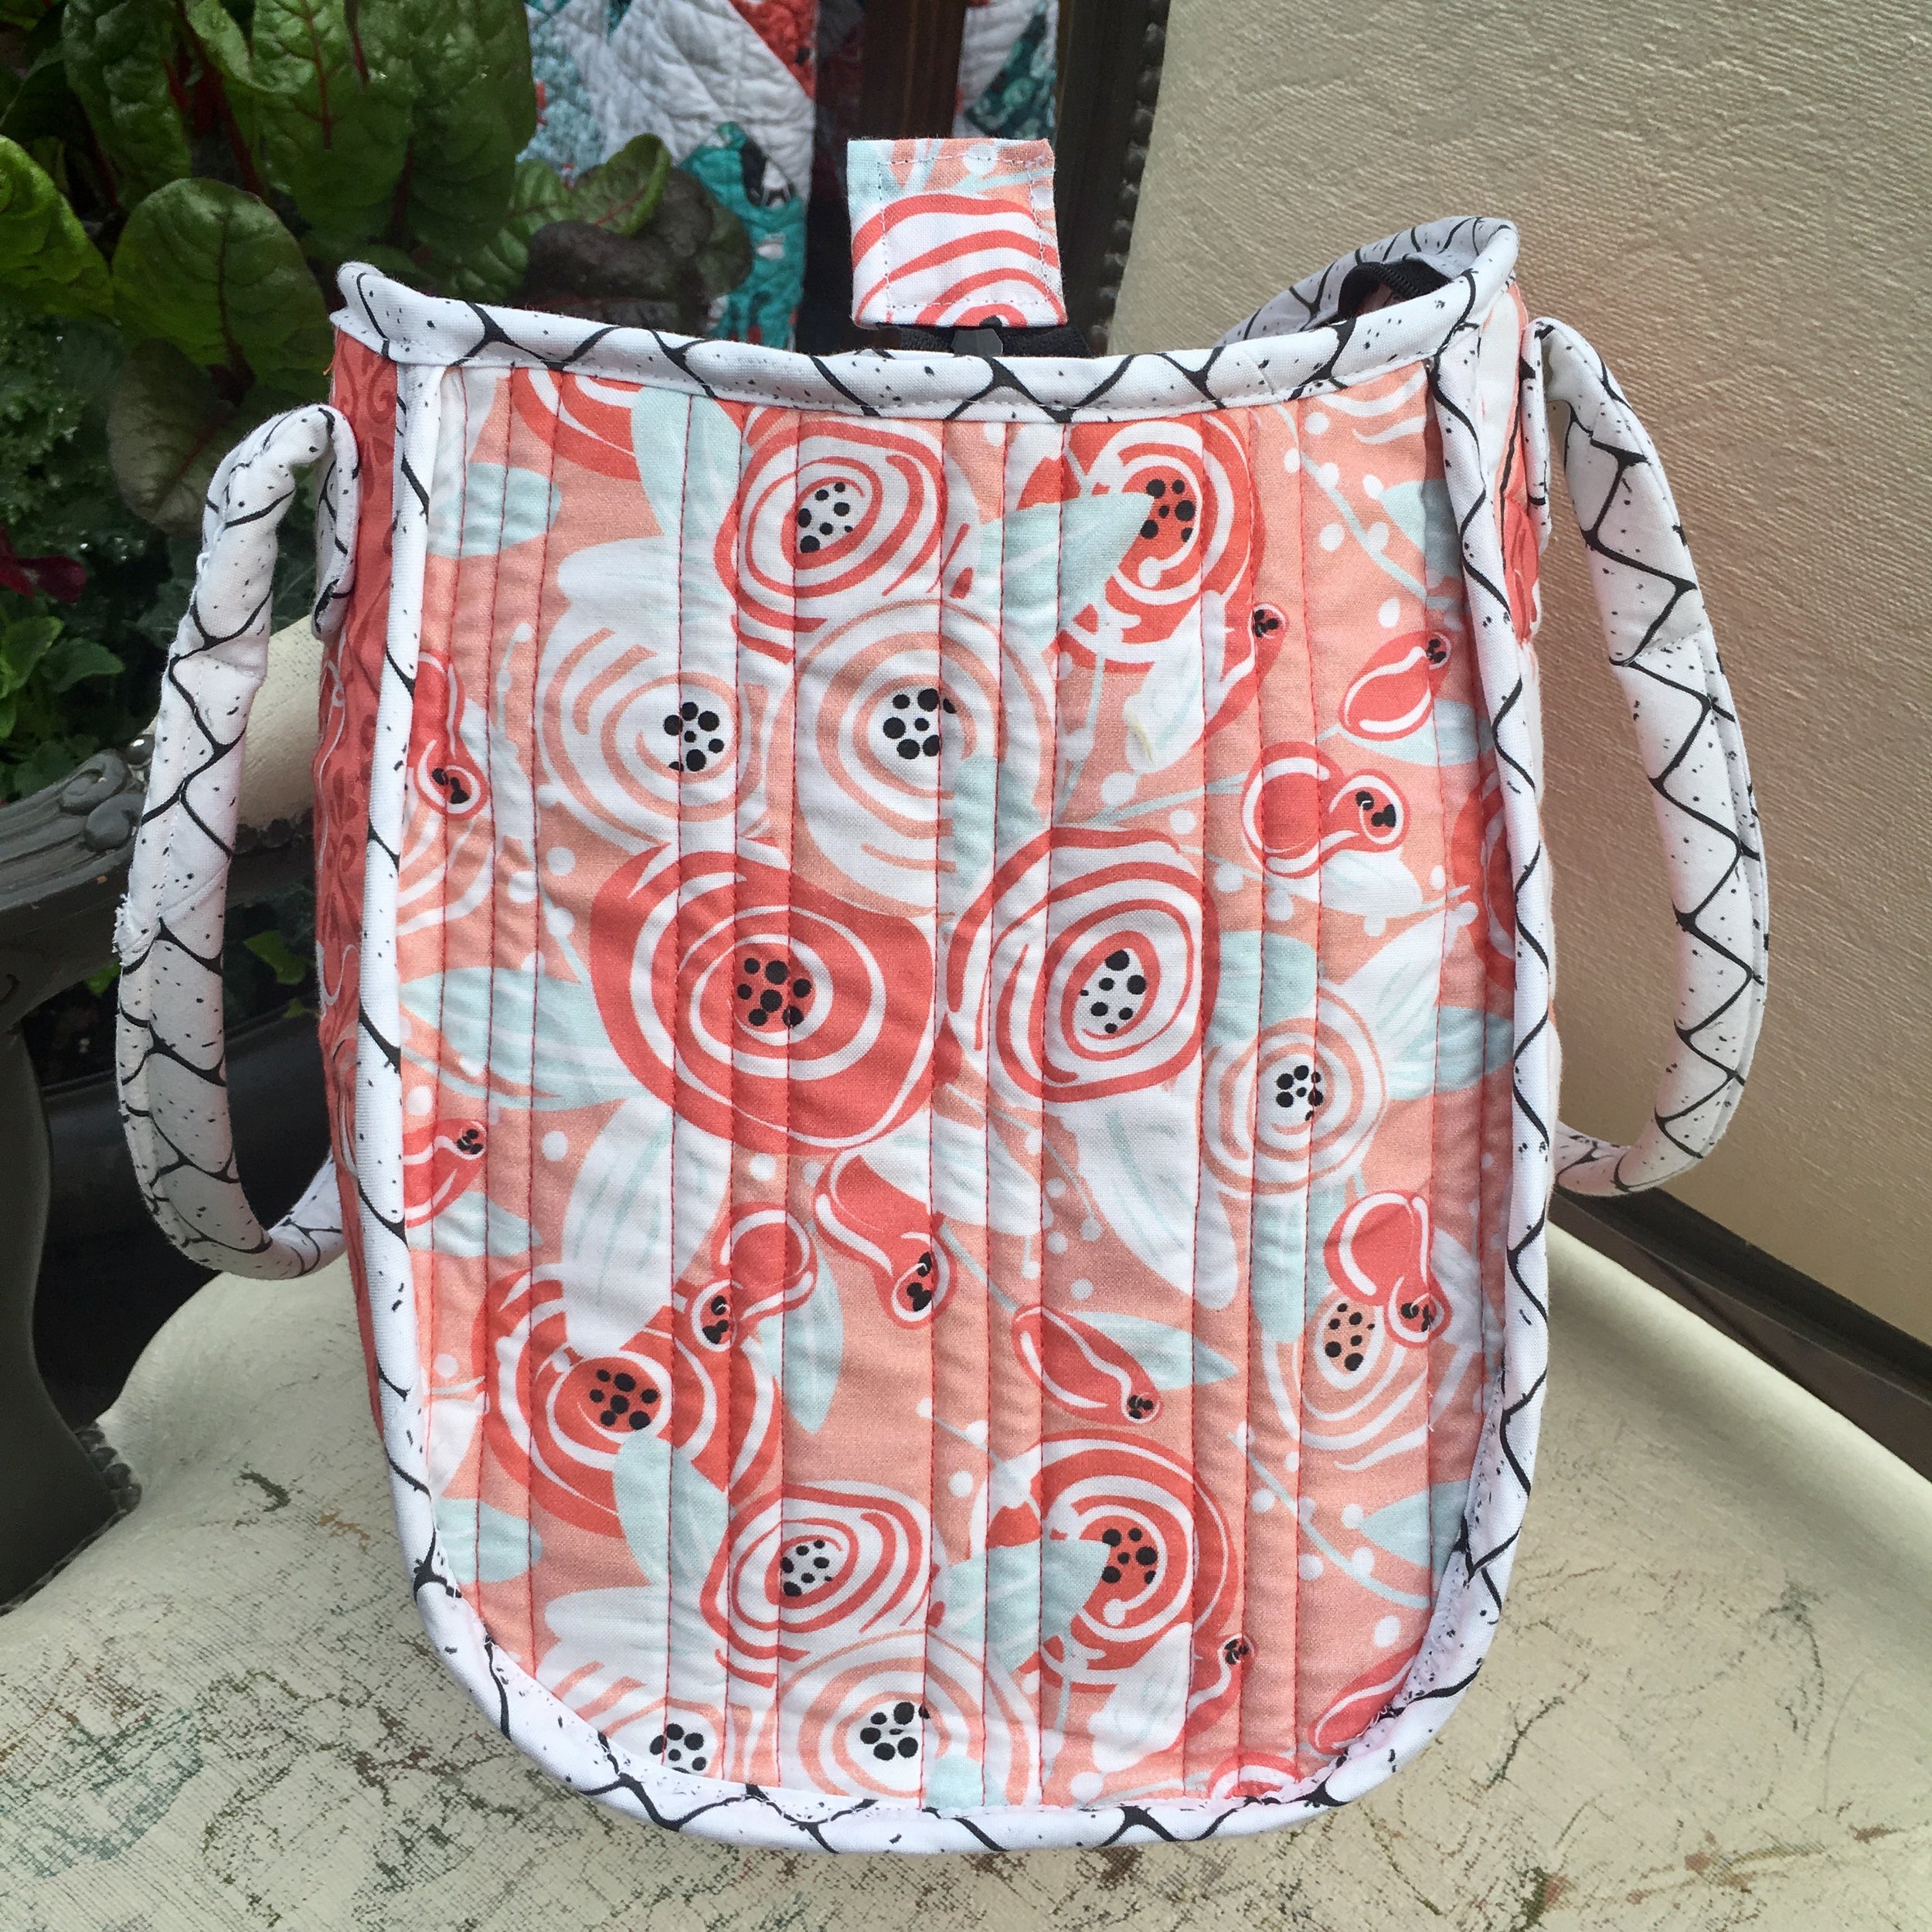
I made this Basket Tote using the free pattern and tutorial from Sew Can She, link here. The pattern and tutorial were easy to understand. There is also a link in the instructions to a tutorial for making the handles which I also followed, link here. I chose this bag to sew because I think the shape is great and I love a bag that can stand on it's own. I used fabric from my Secret Garden collection in my Spoonflower Shop.
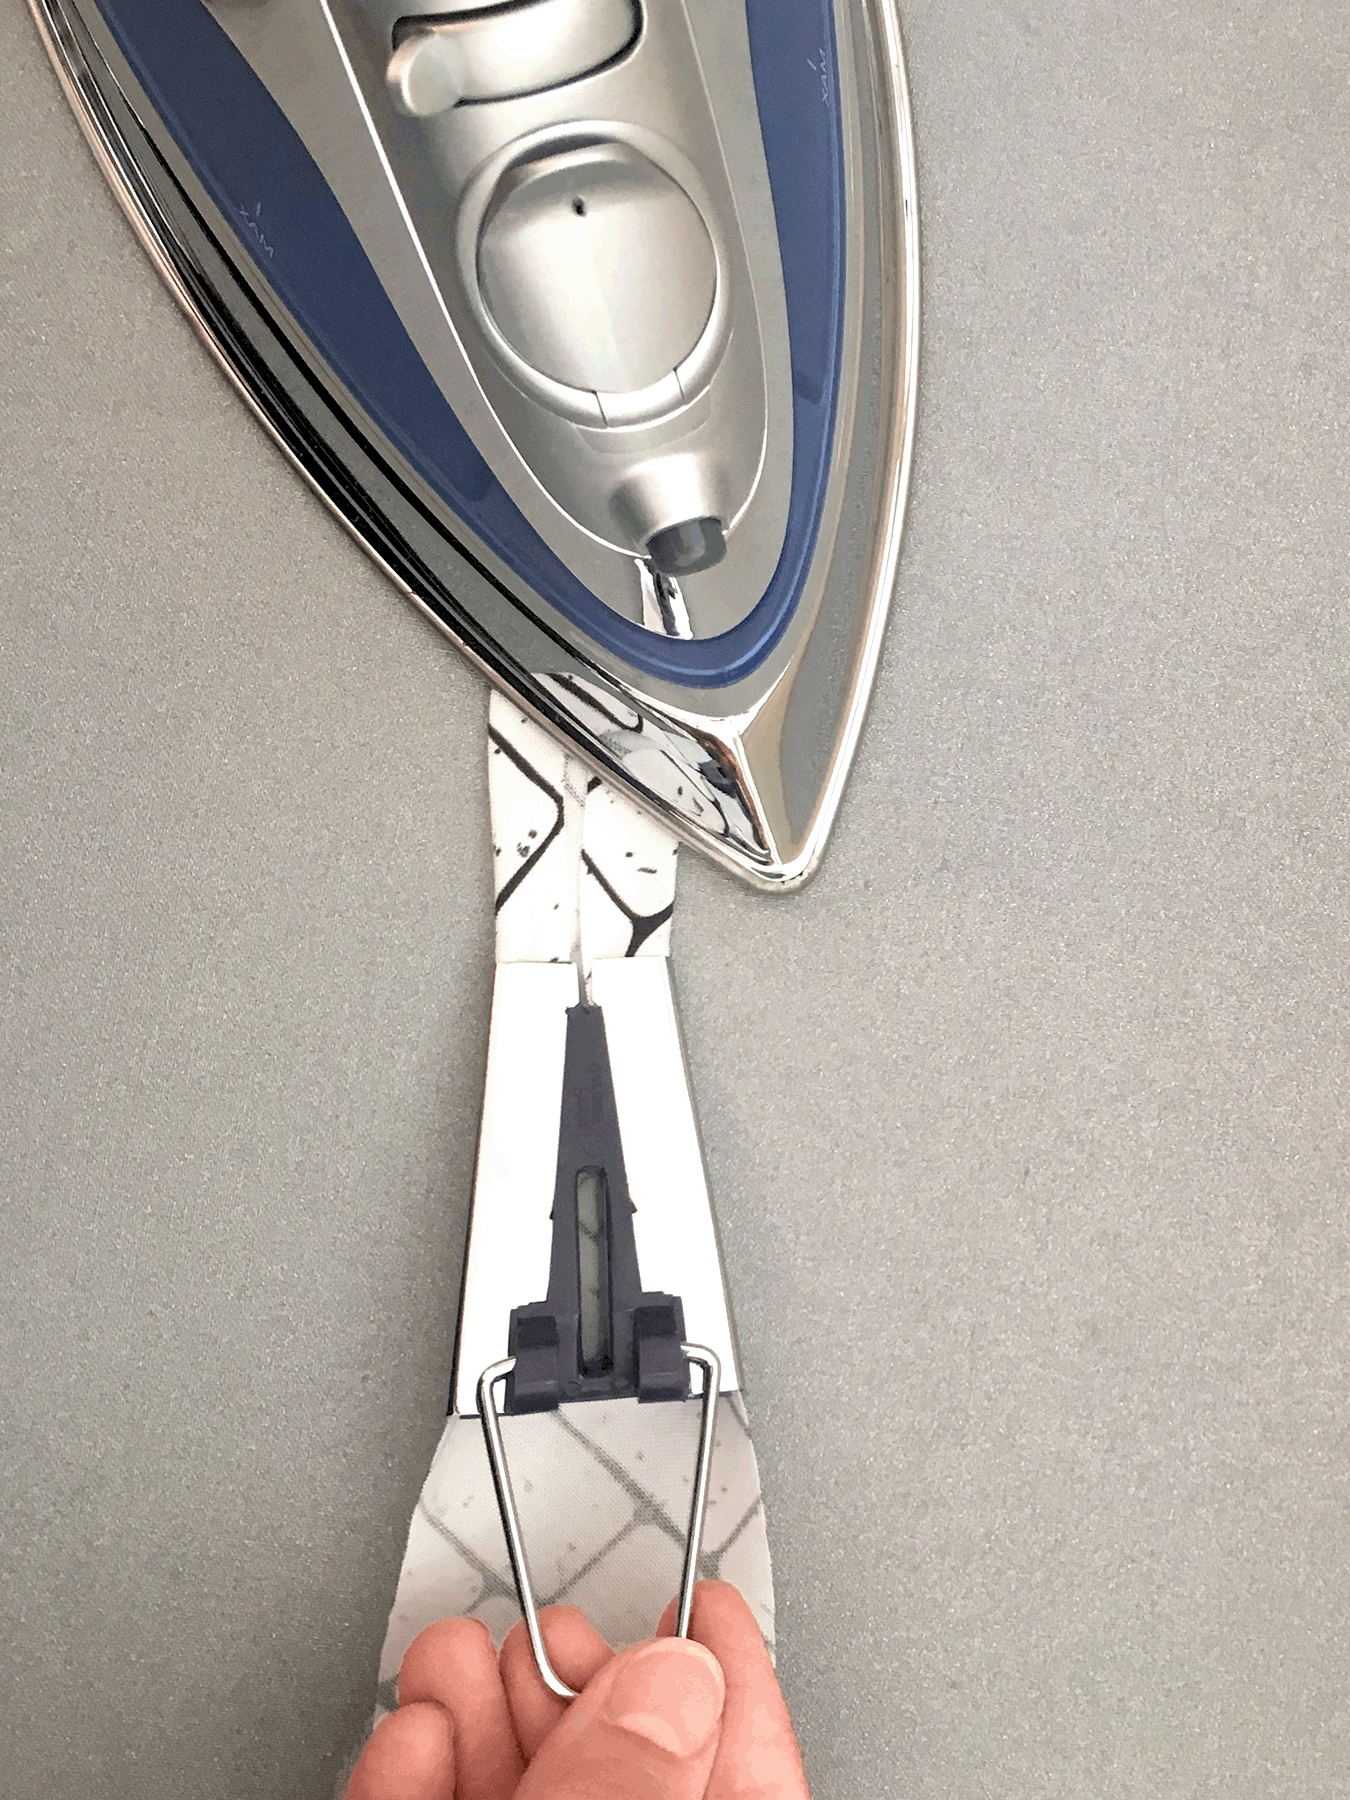
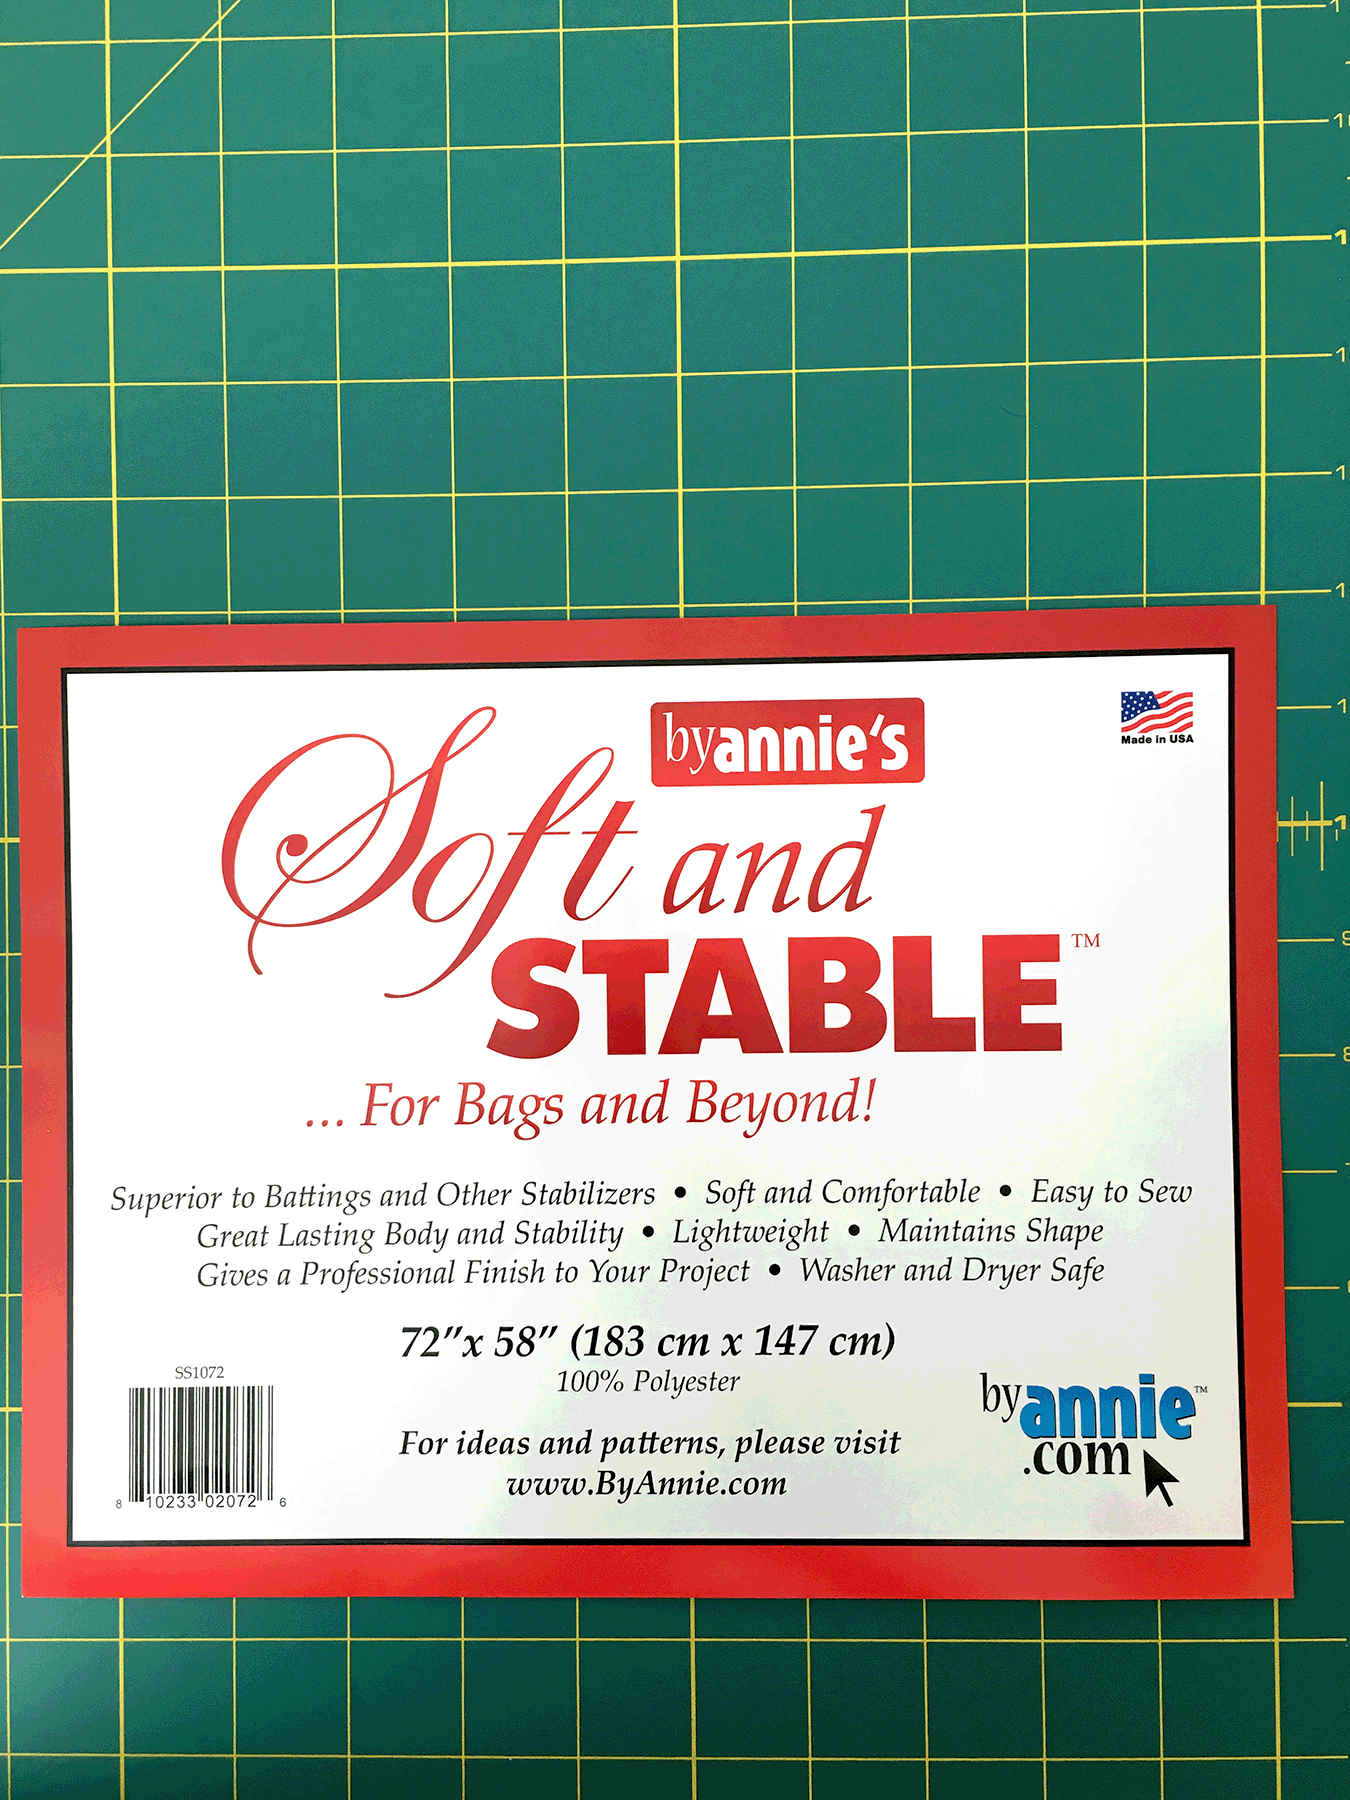
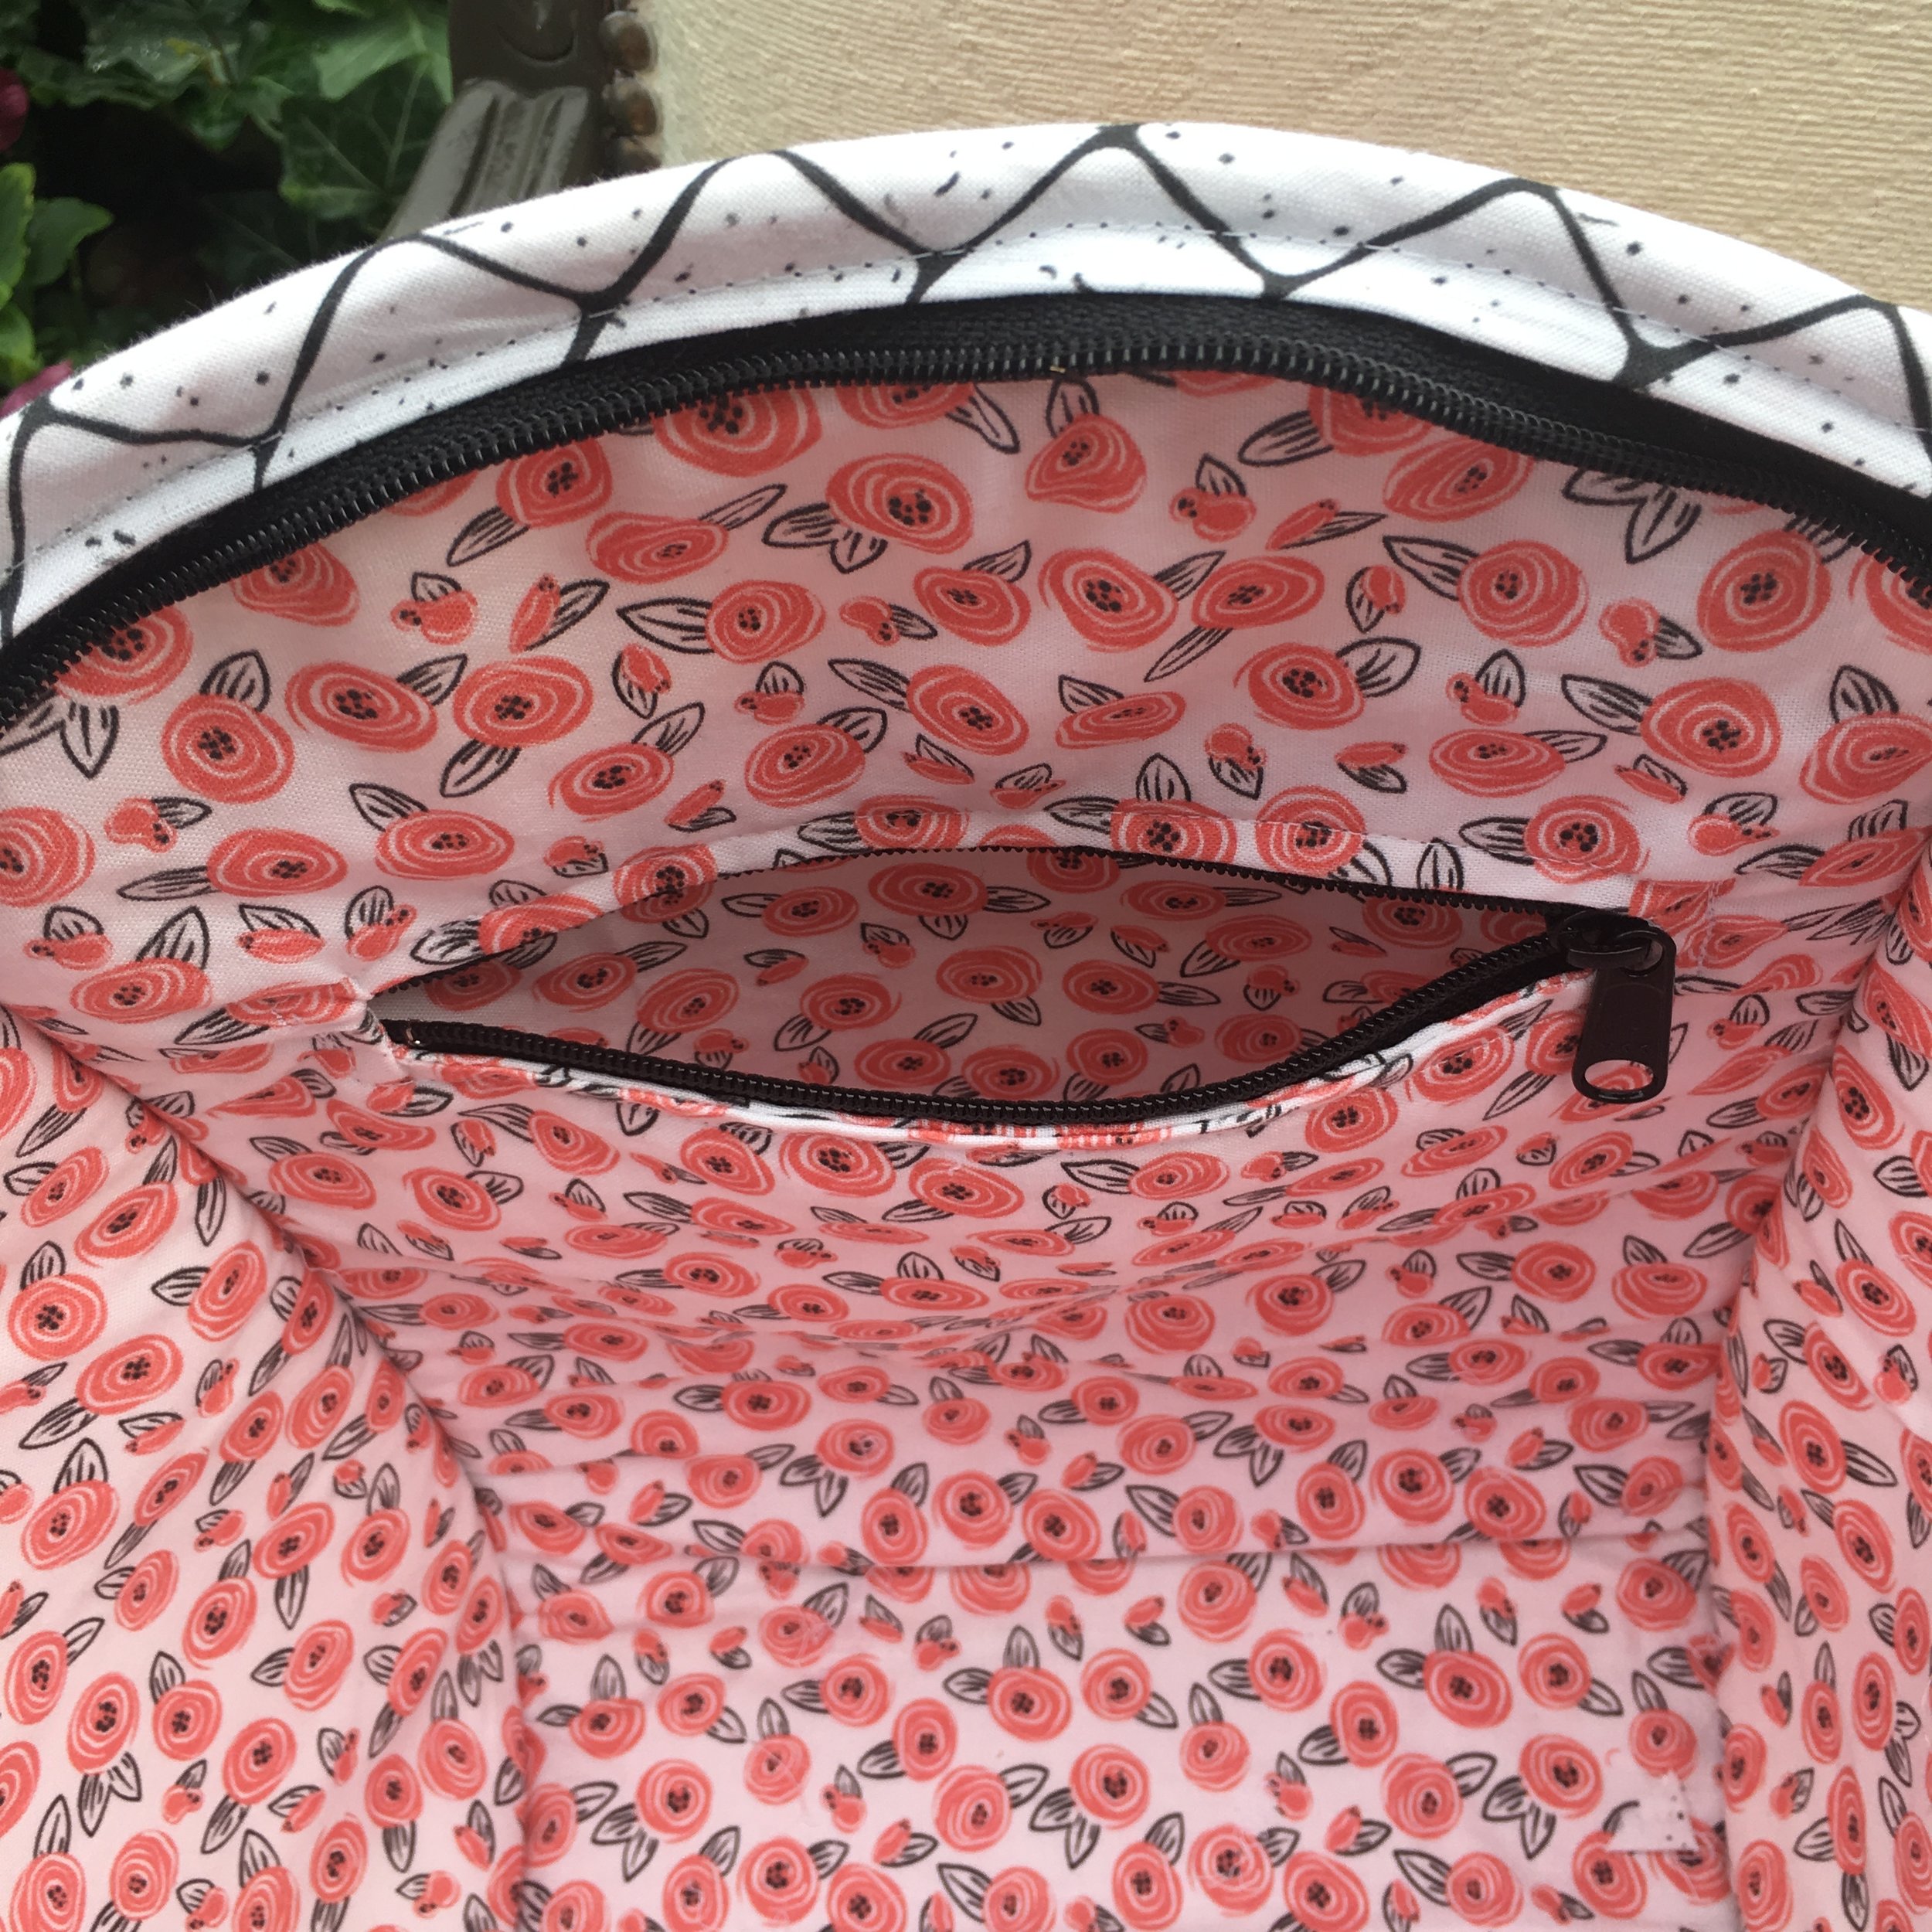
This pattern has the option of using a zipper or a magnetic closure. I chose the zipper and used a Handbag Zipper from ByAnnie.com. Its a great zipper. I also used by annie's Soft and Stable for the stabilizer. I love this stabilizer because its light and flexible yet really holds it's shape. If you are placing any order from ByAnnie.com, I recommend you order the zipper color card to have on hand for ordering in the future. I made my own bias tape, which is the first time I have done this. It's pretty easy to make and I think it really adds a nice detail. There is a tutorial link in the pattern but I learned how from a Youtube tutorial by Dana Willard of MADE Everyday. I used the Clover 25mm bias tape maker to make double fold bias tape.
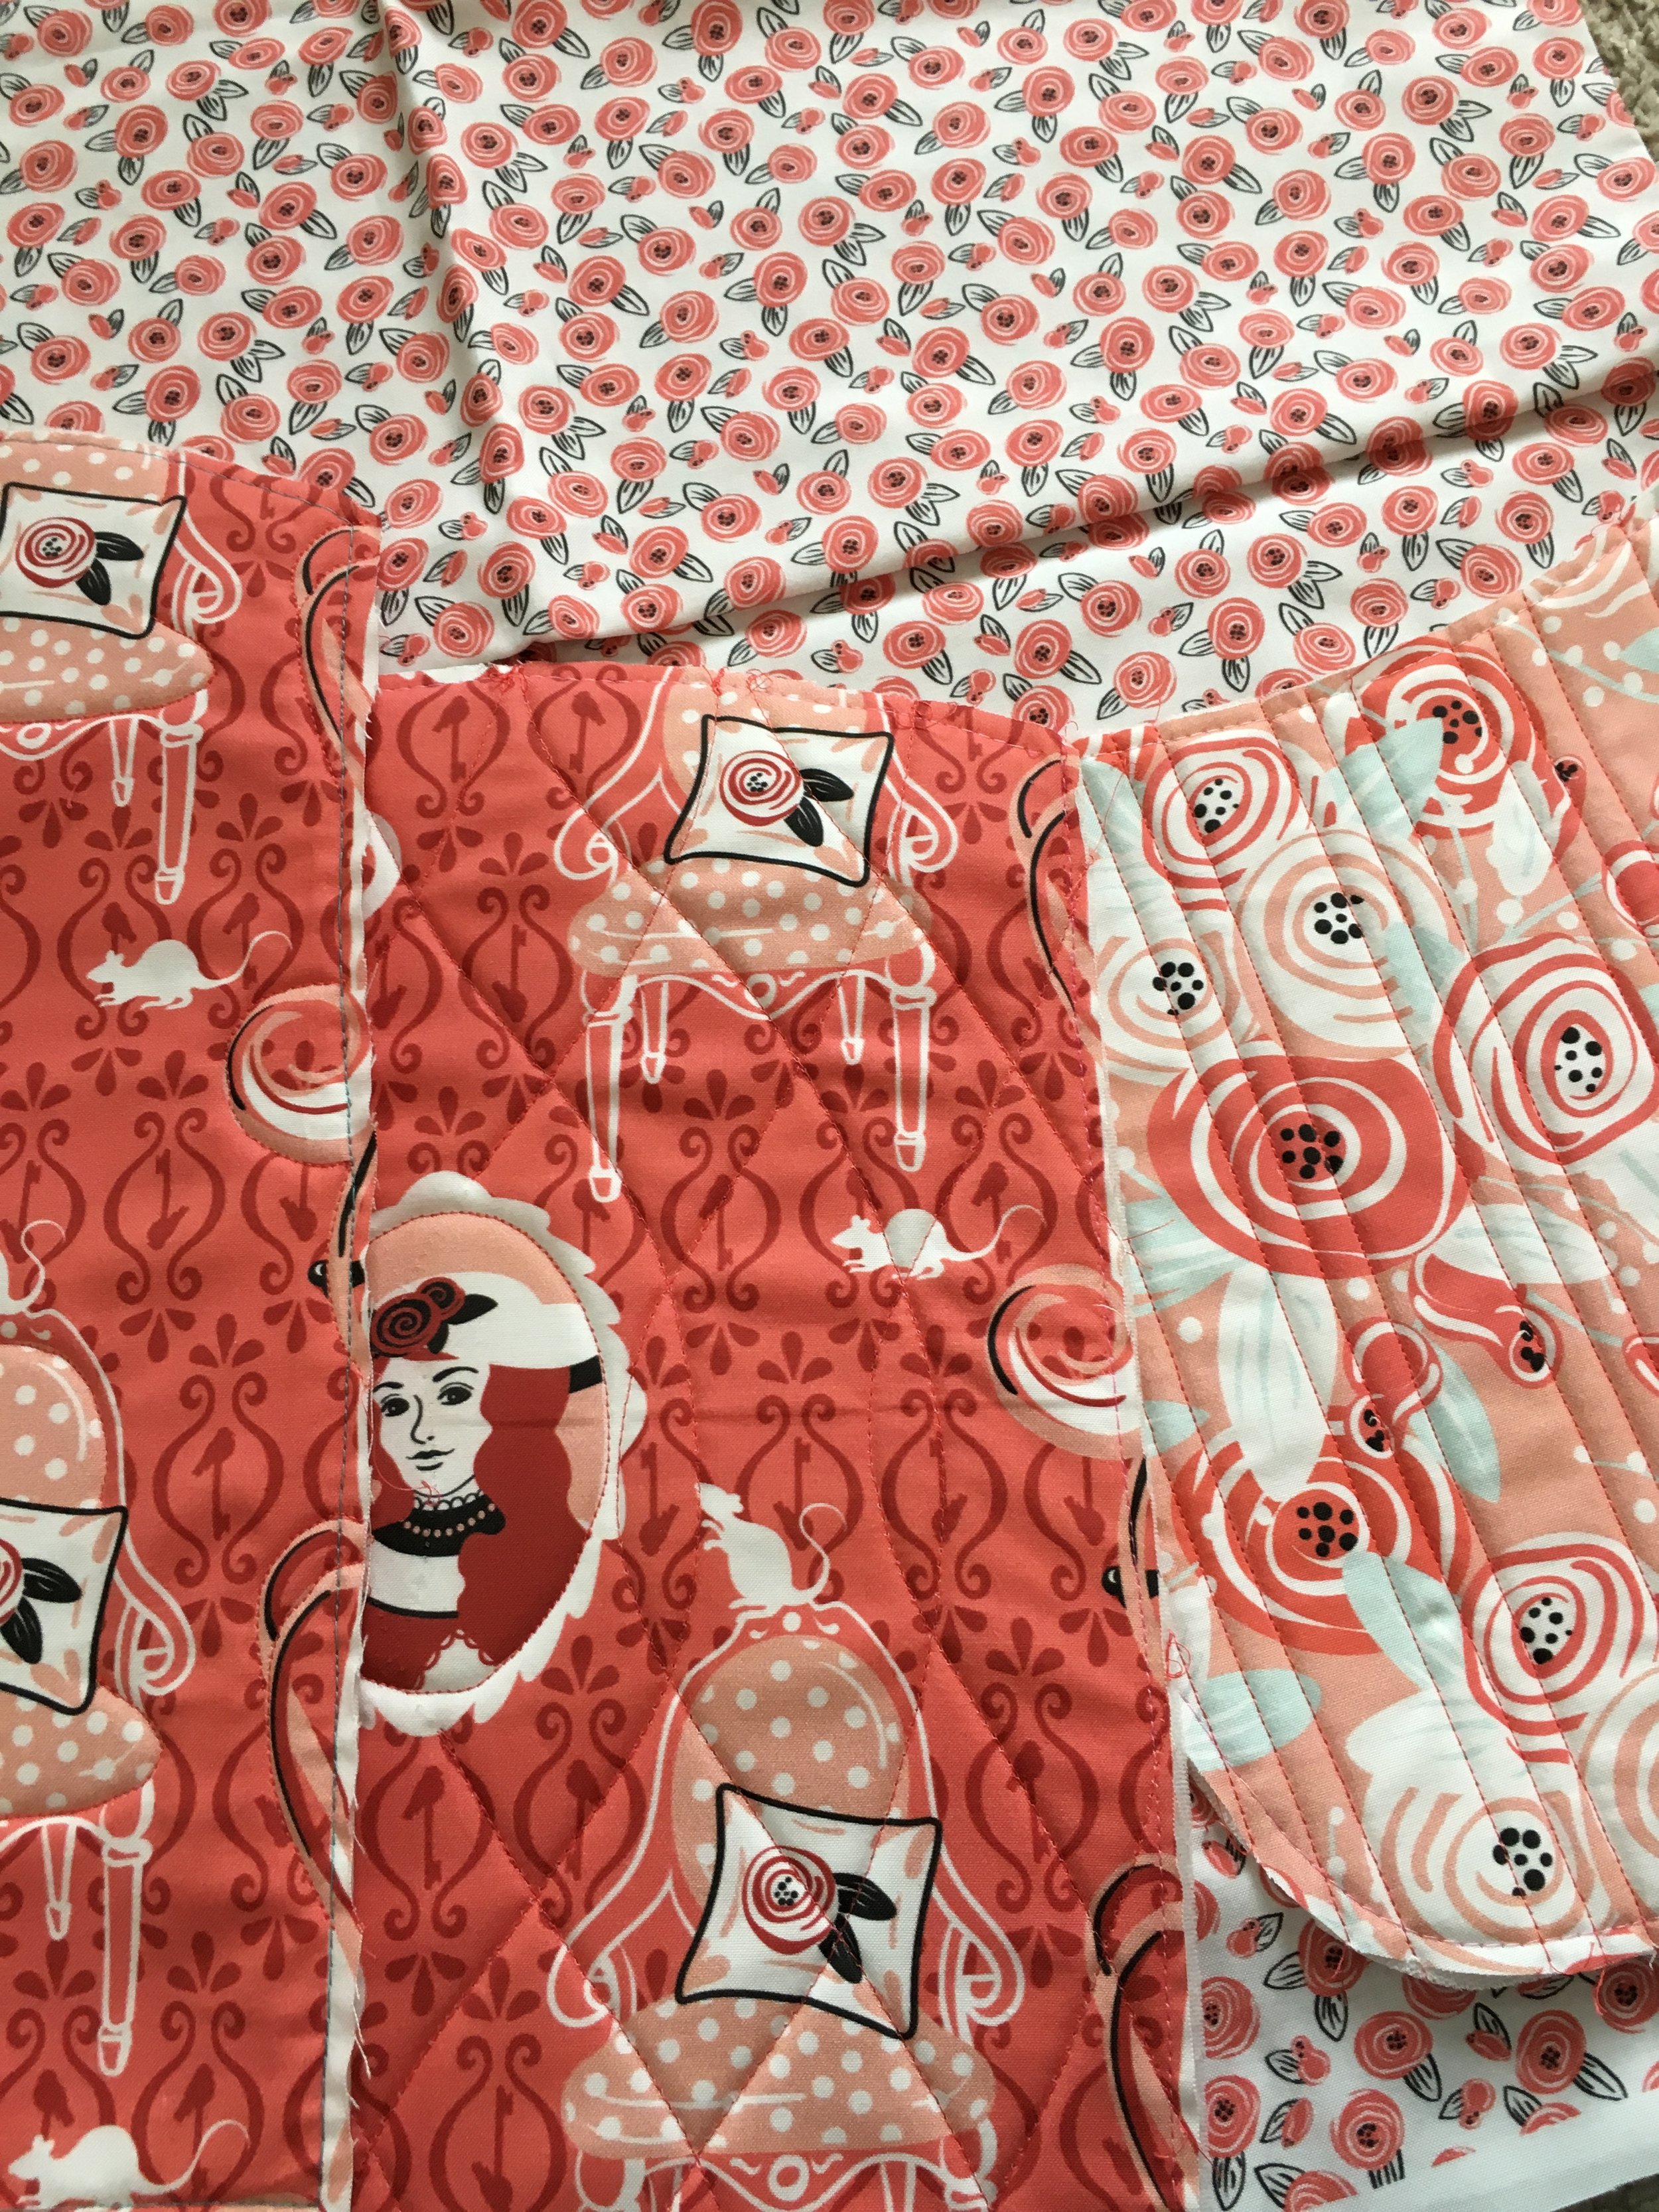
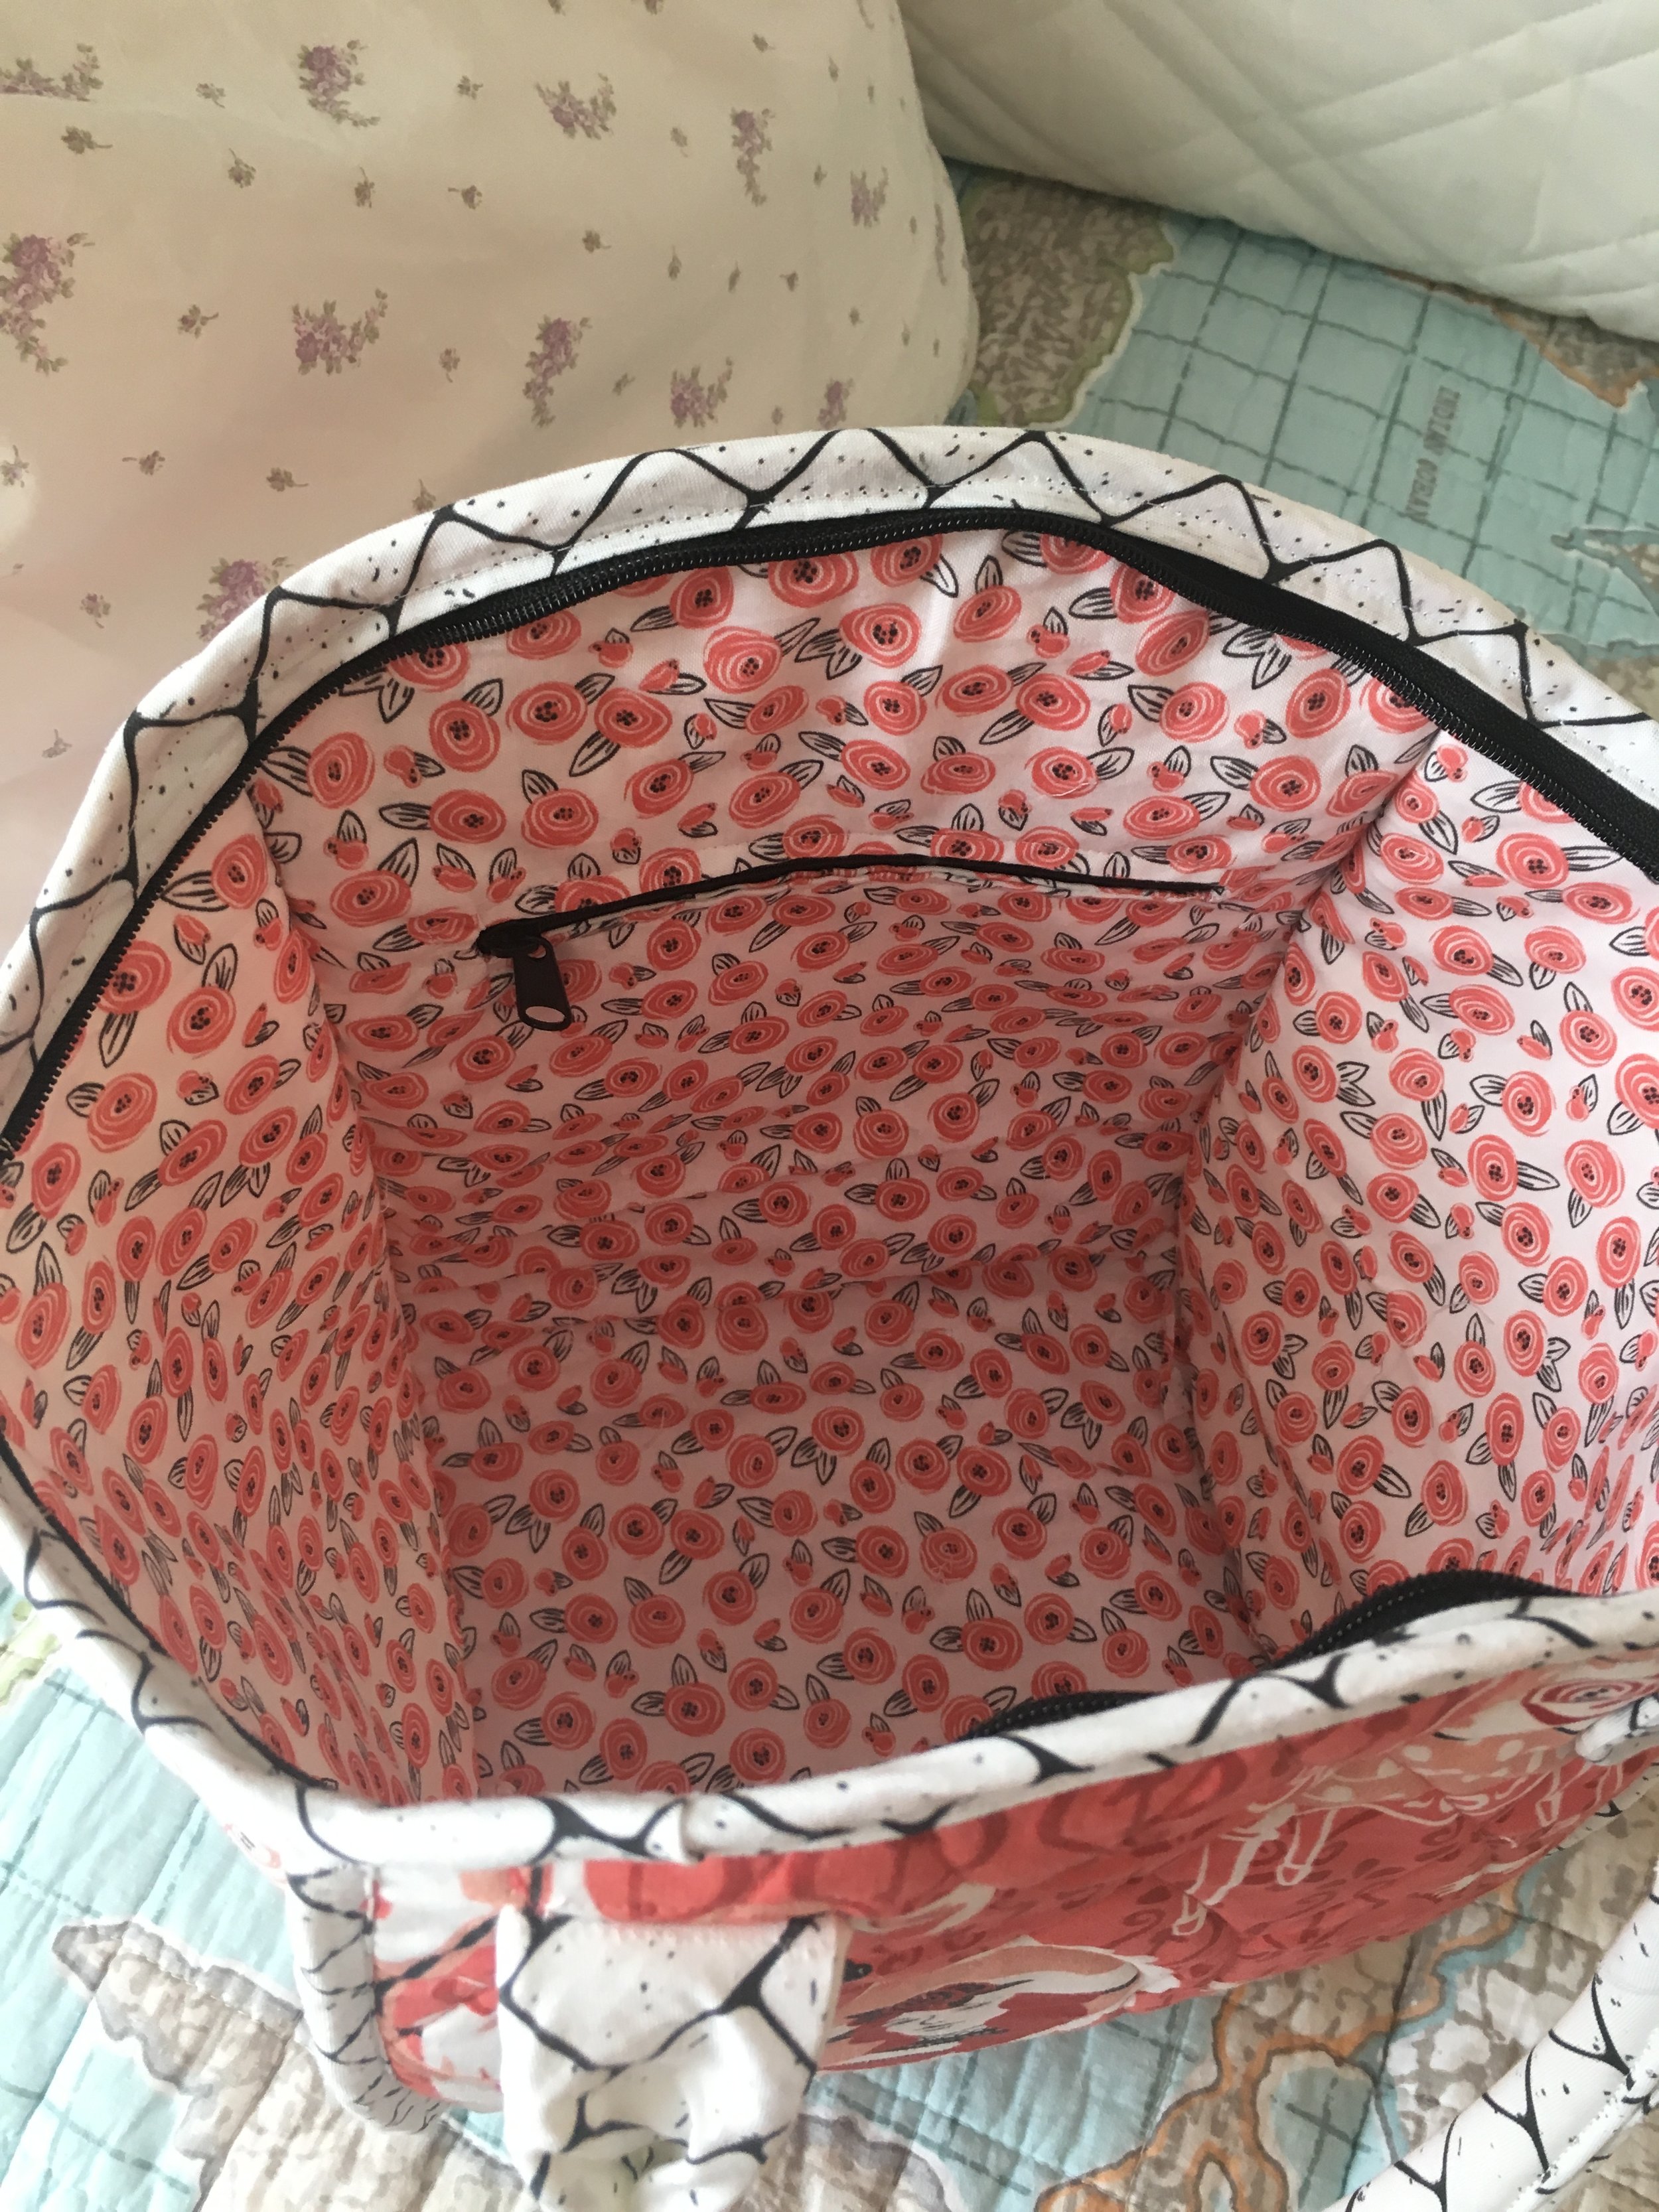
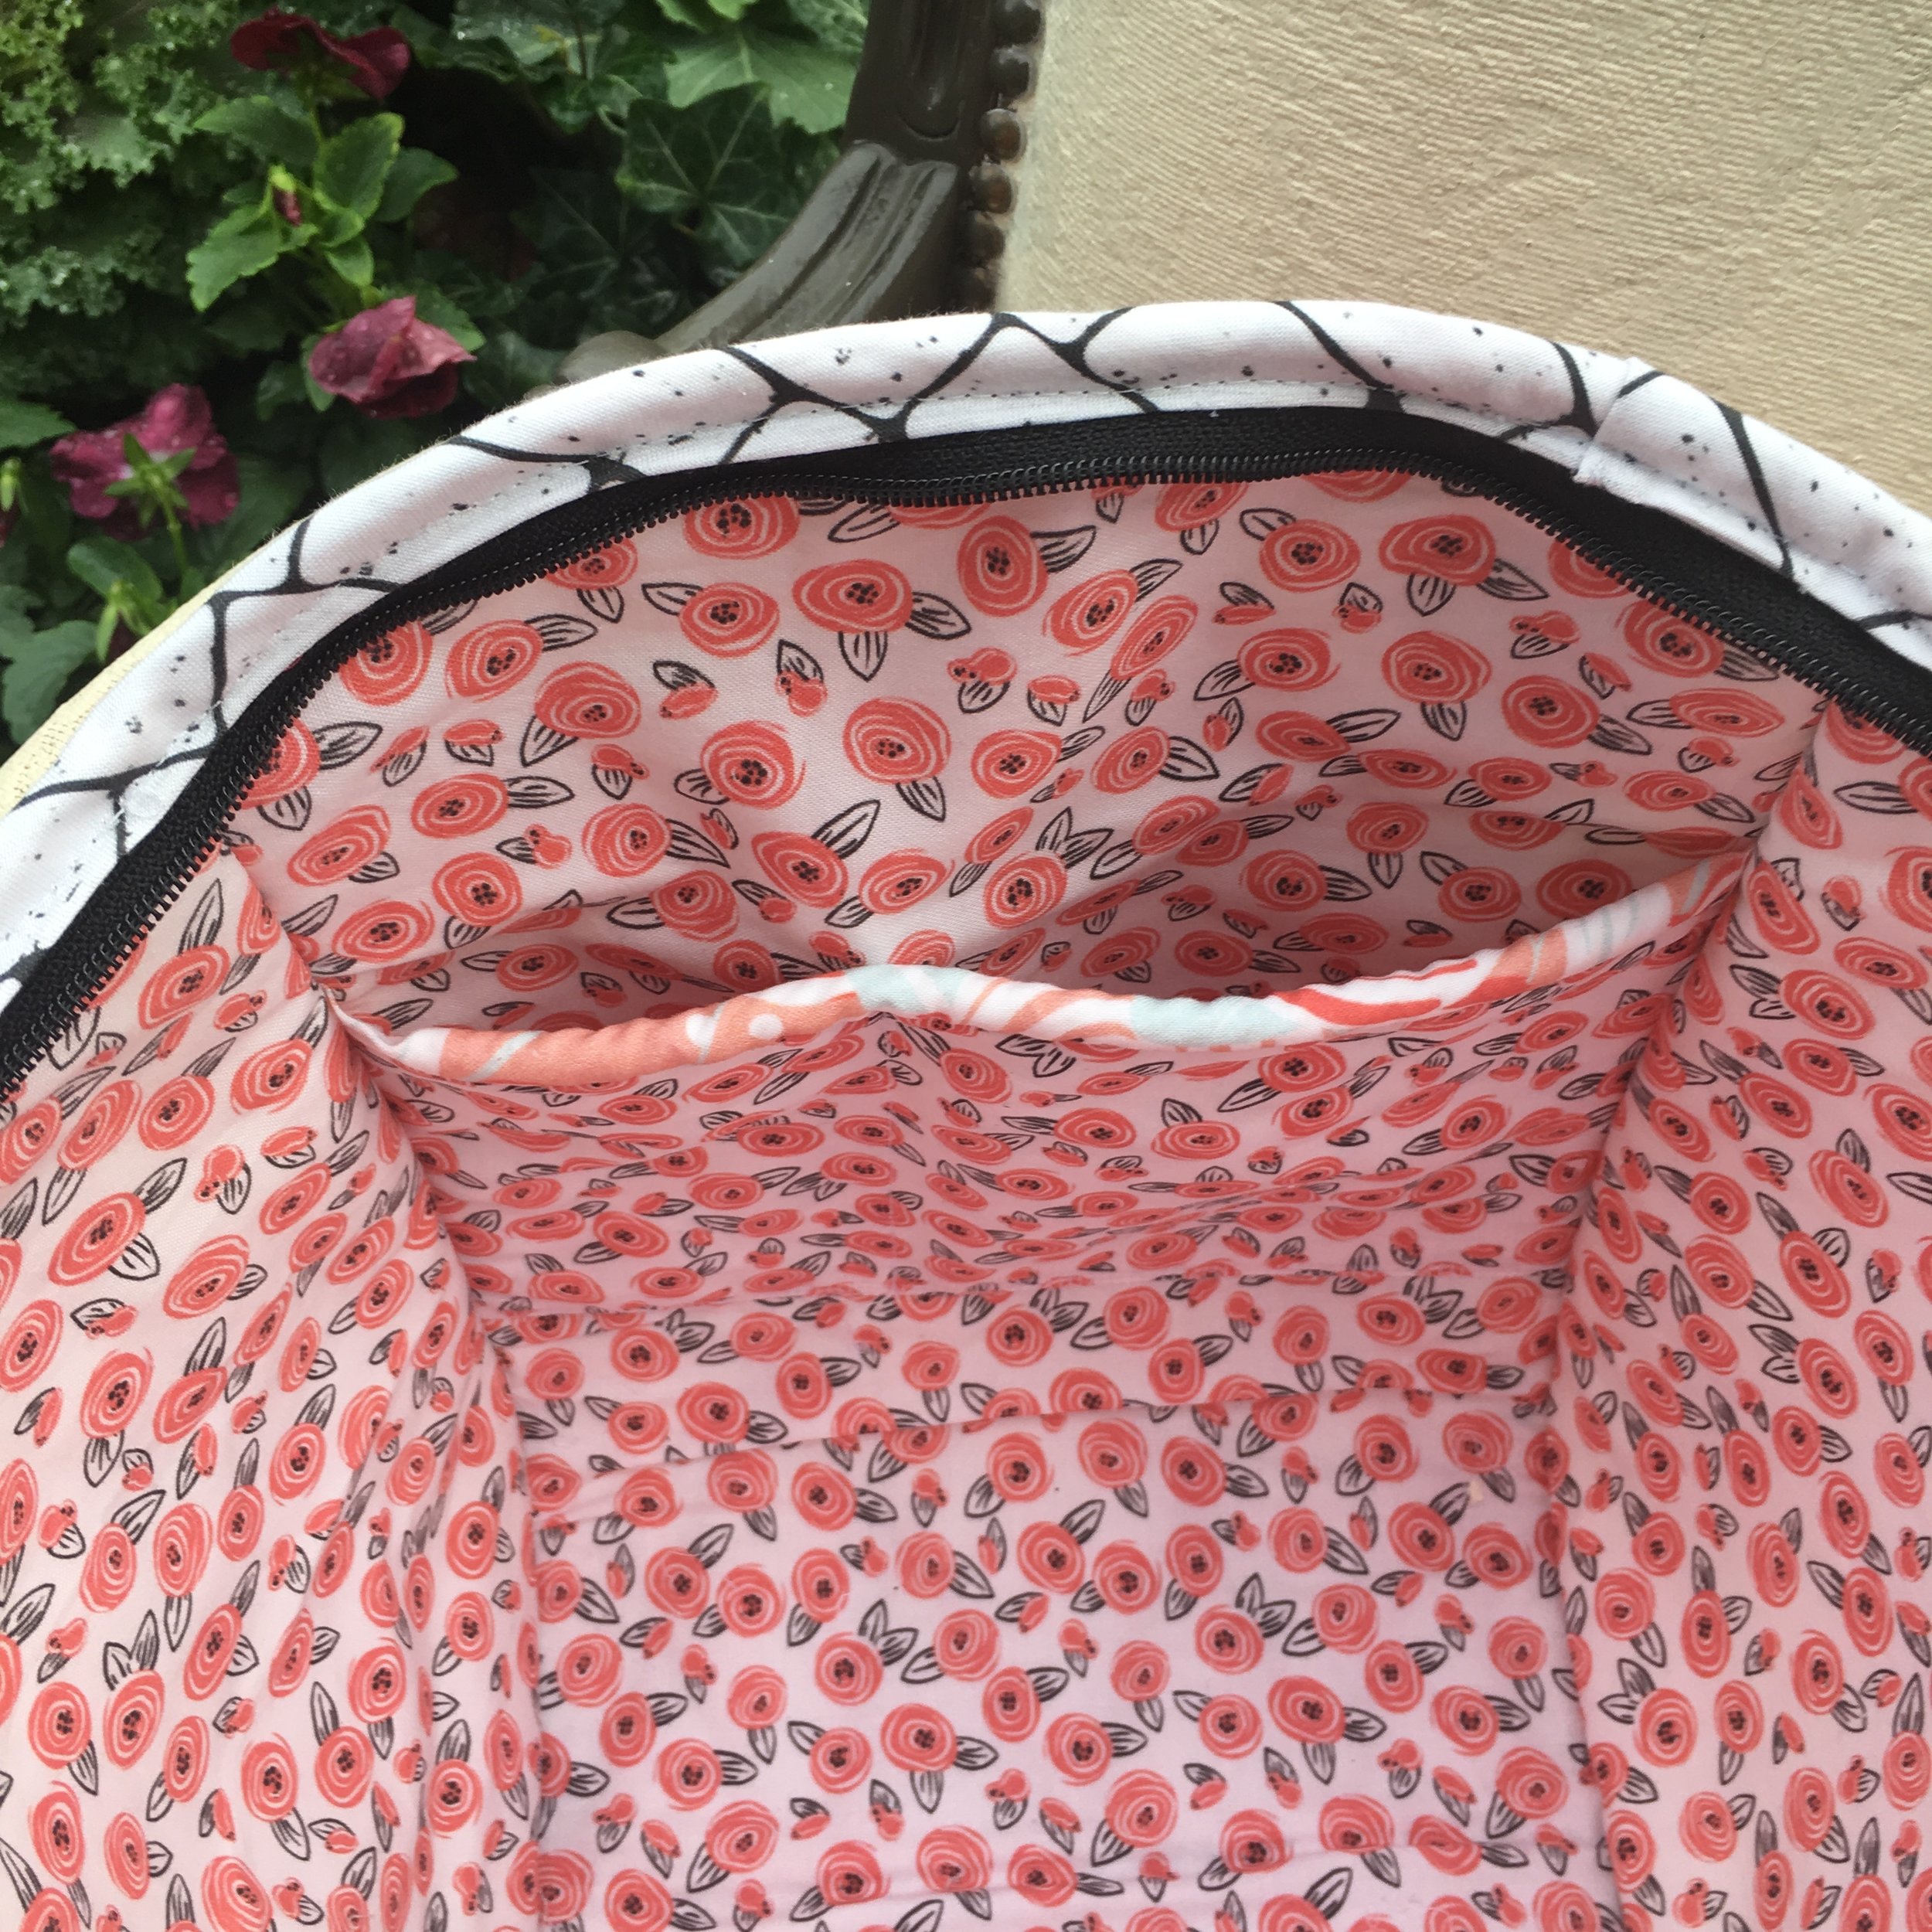
I followed the pattern with the exception of the lining. I prefer the lining inside a bag to be more secure. After the outside pieces were quilted to the stabilizer, I used them as a guide to cut the lining pieces. I added a zipper pocket on one side of the lining and a divided pocket to the other side. Then, with the outside and lining placed wrong sides together, I sewed the seams leaving the raw edge to the outside of the bag. I covered the seams with the bias tape using the blanket stitch on my sewing machine. Then I sewed the zipper in on the top, and finished it off with bias tape.
This is a perfect medium sized bag. I sewed this in early fall so It will just have to be decoration for my sewing space until spring. I haven't decided if I'm going to use it or give it as a gift.
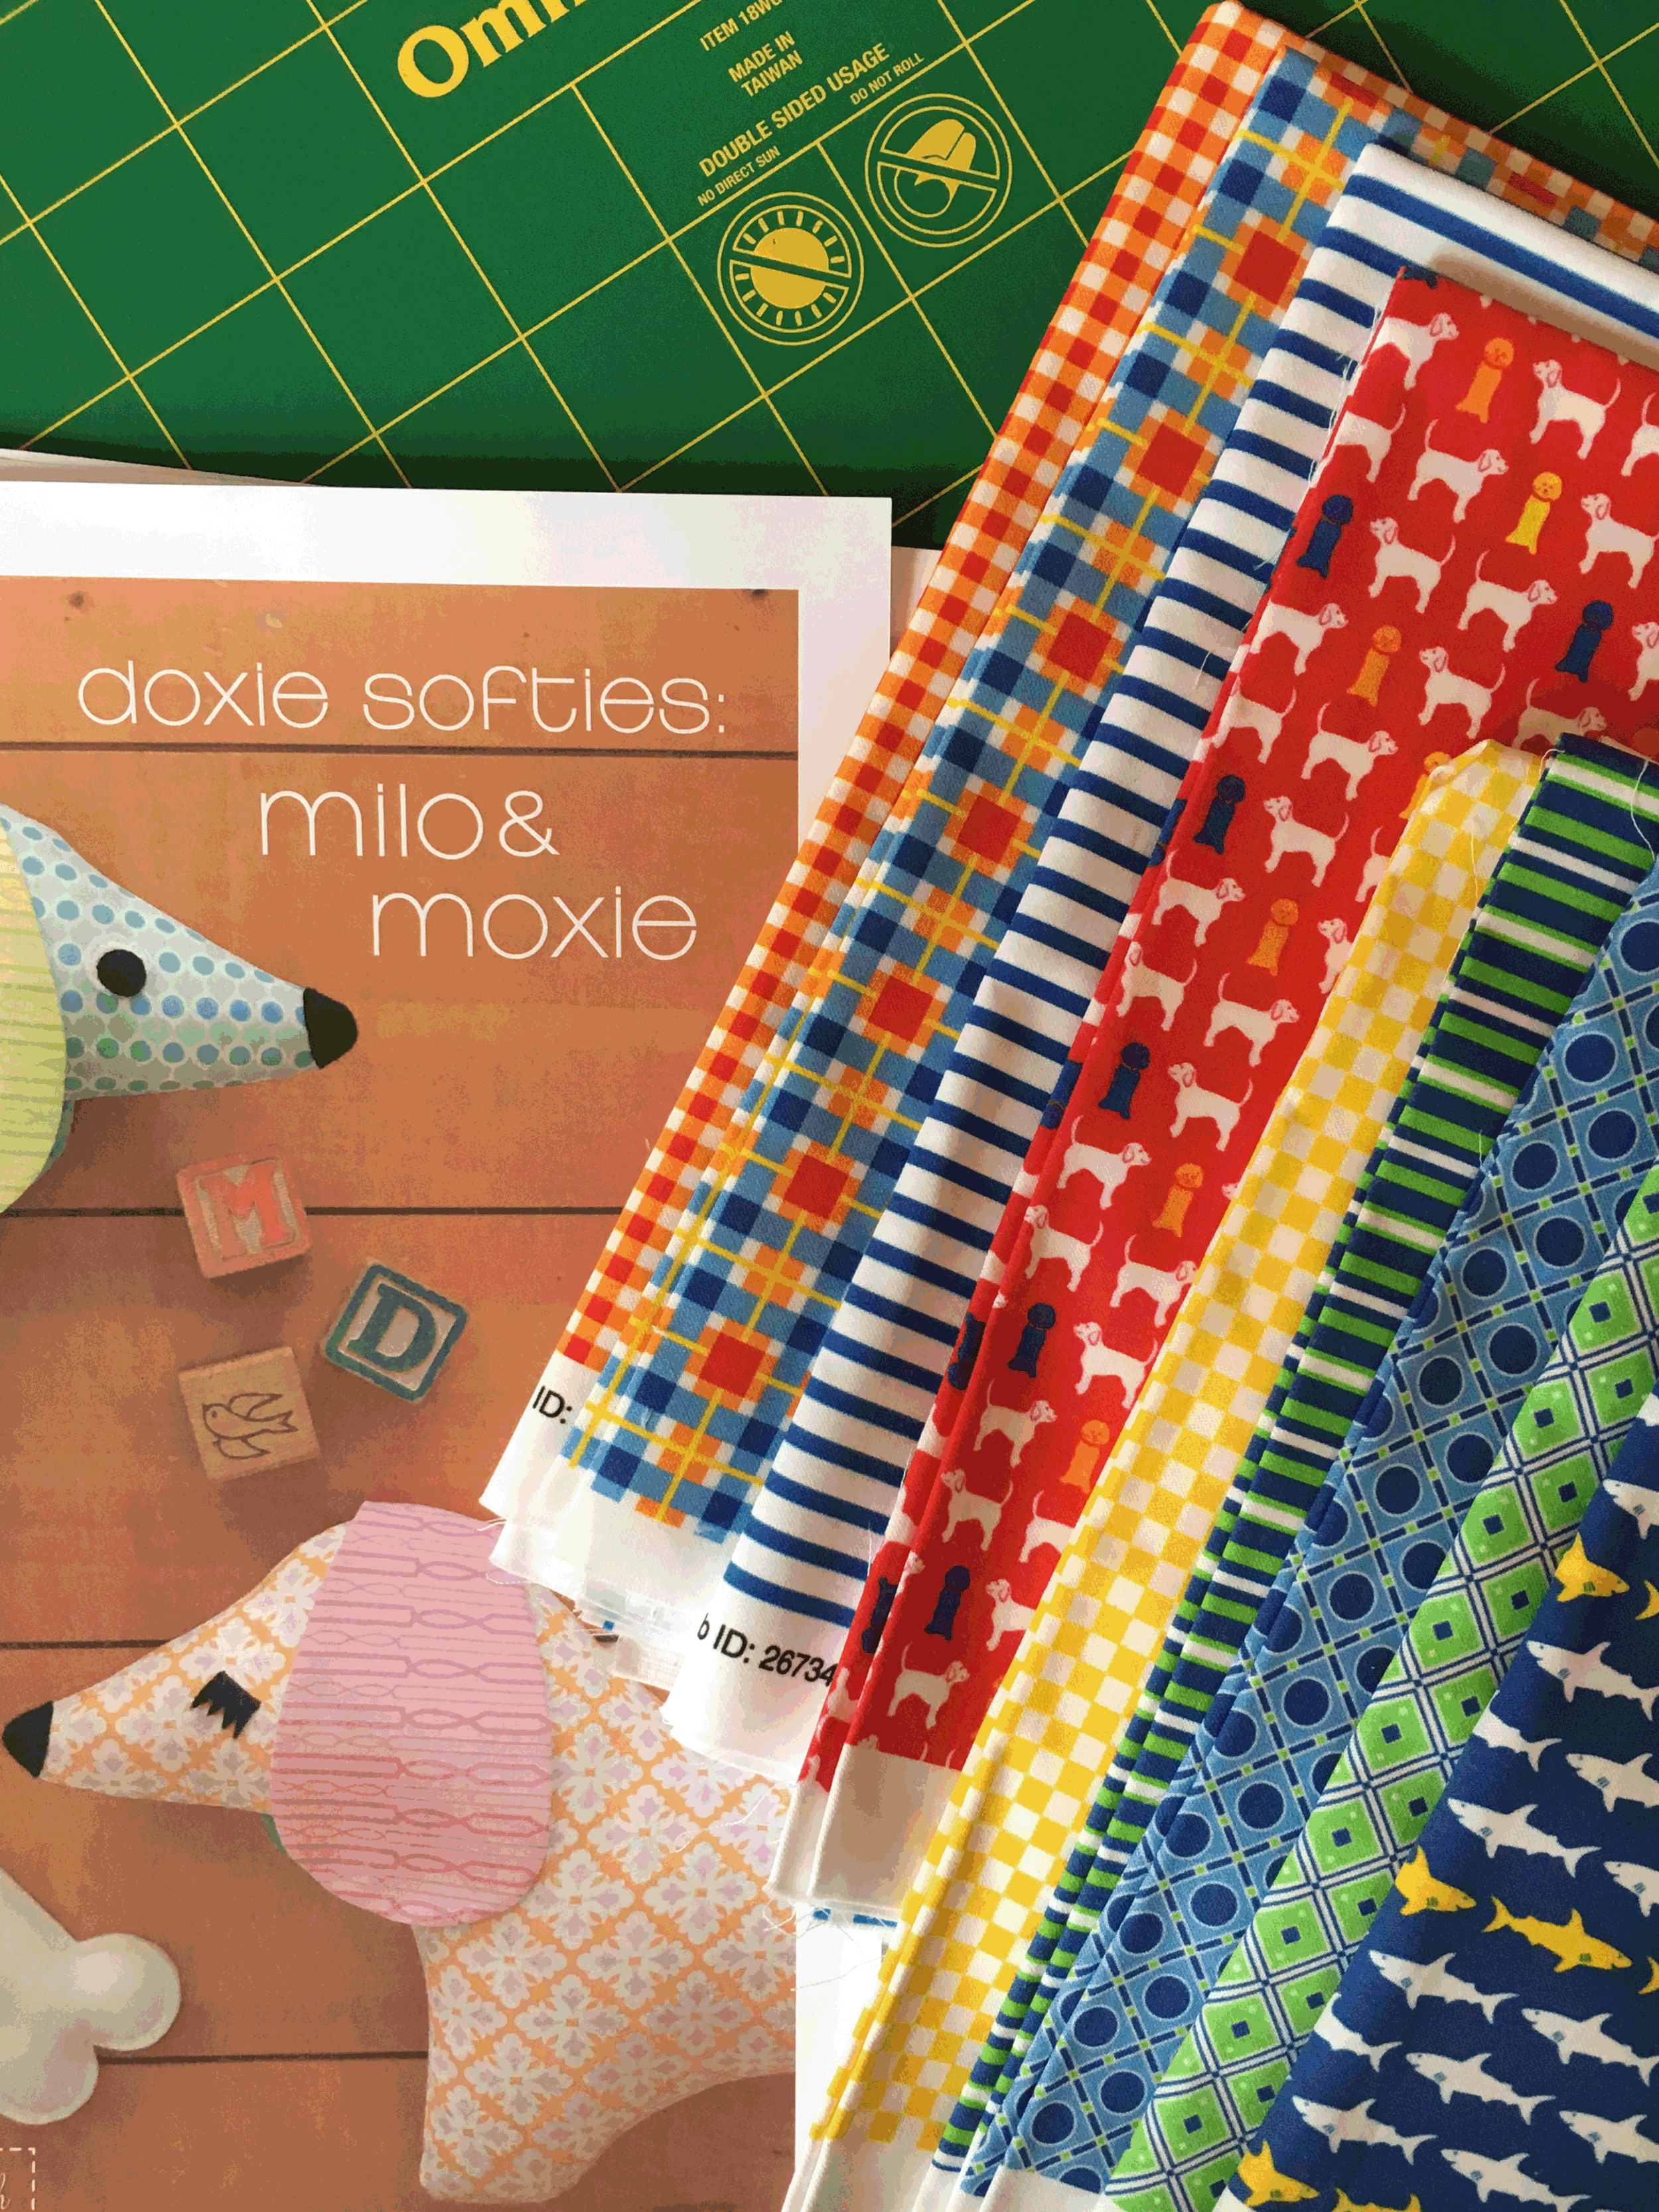
Milo and Moxie
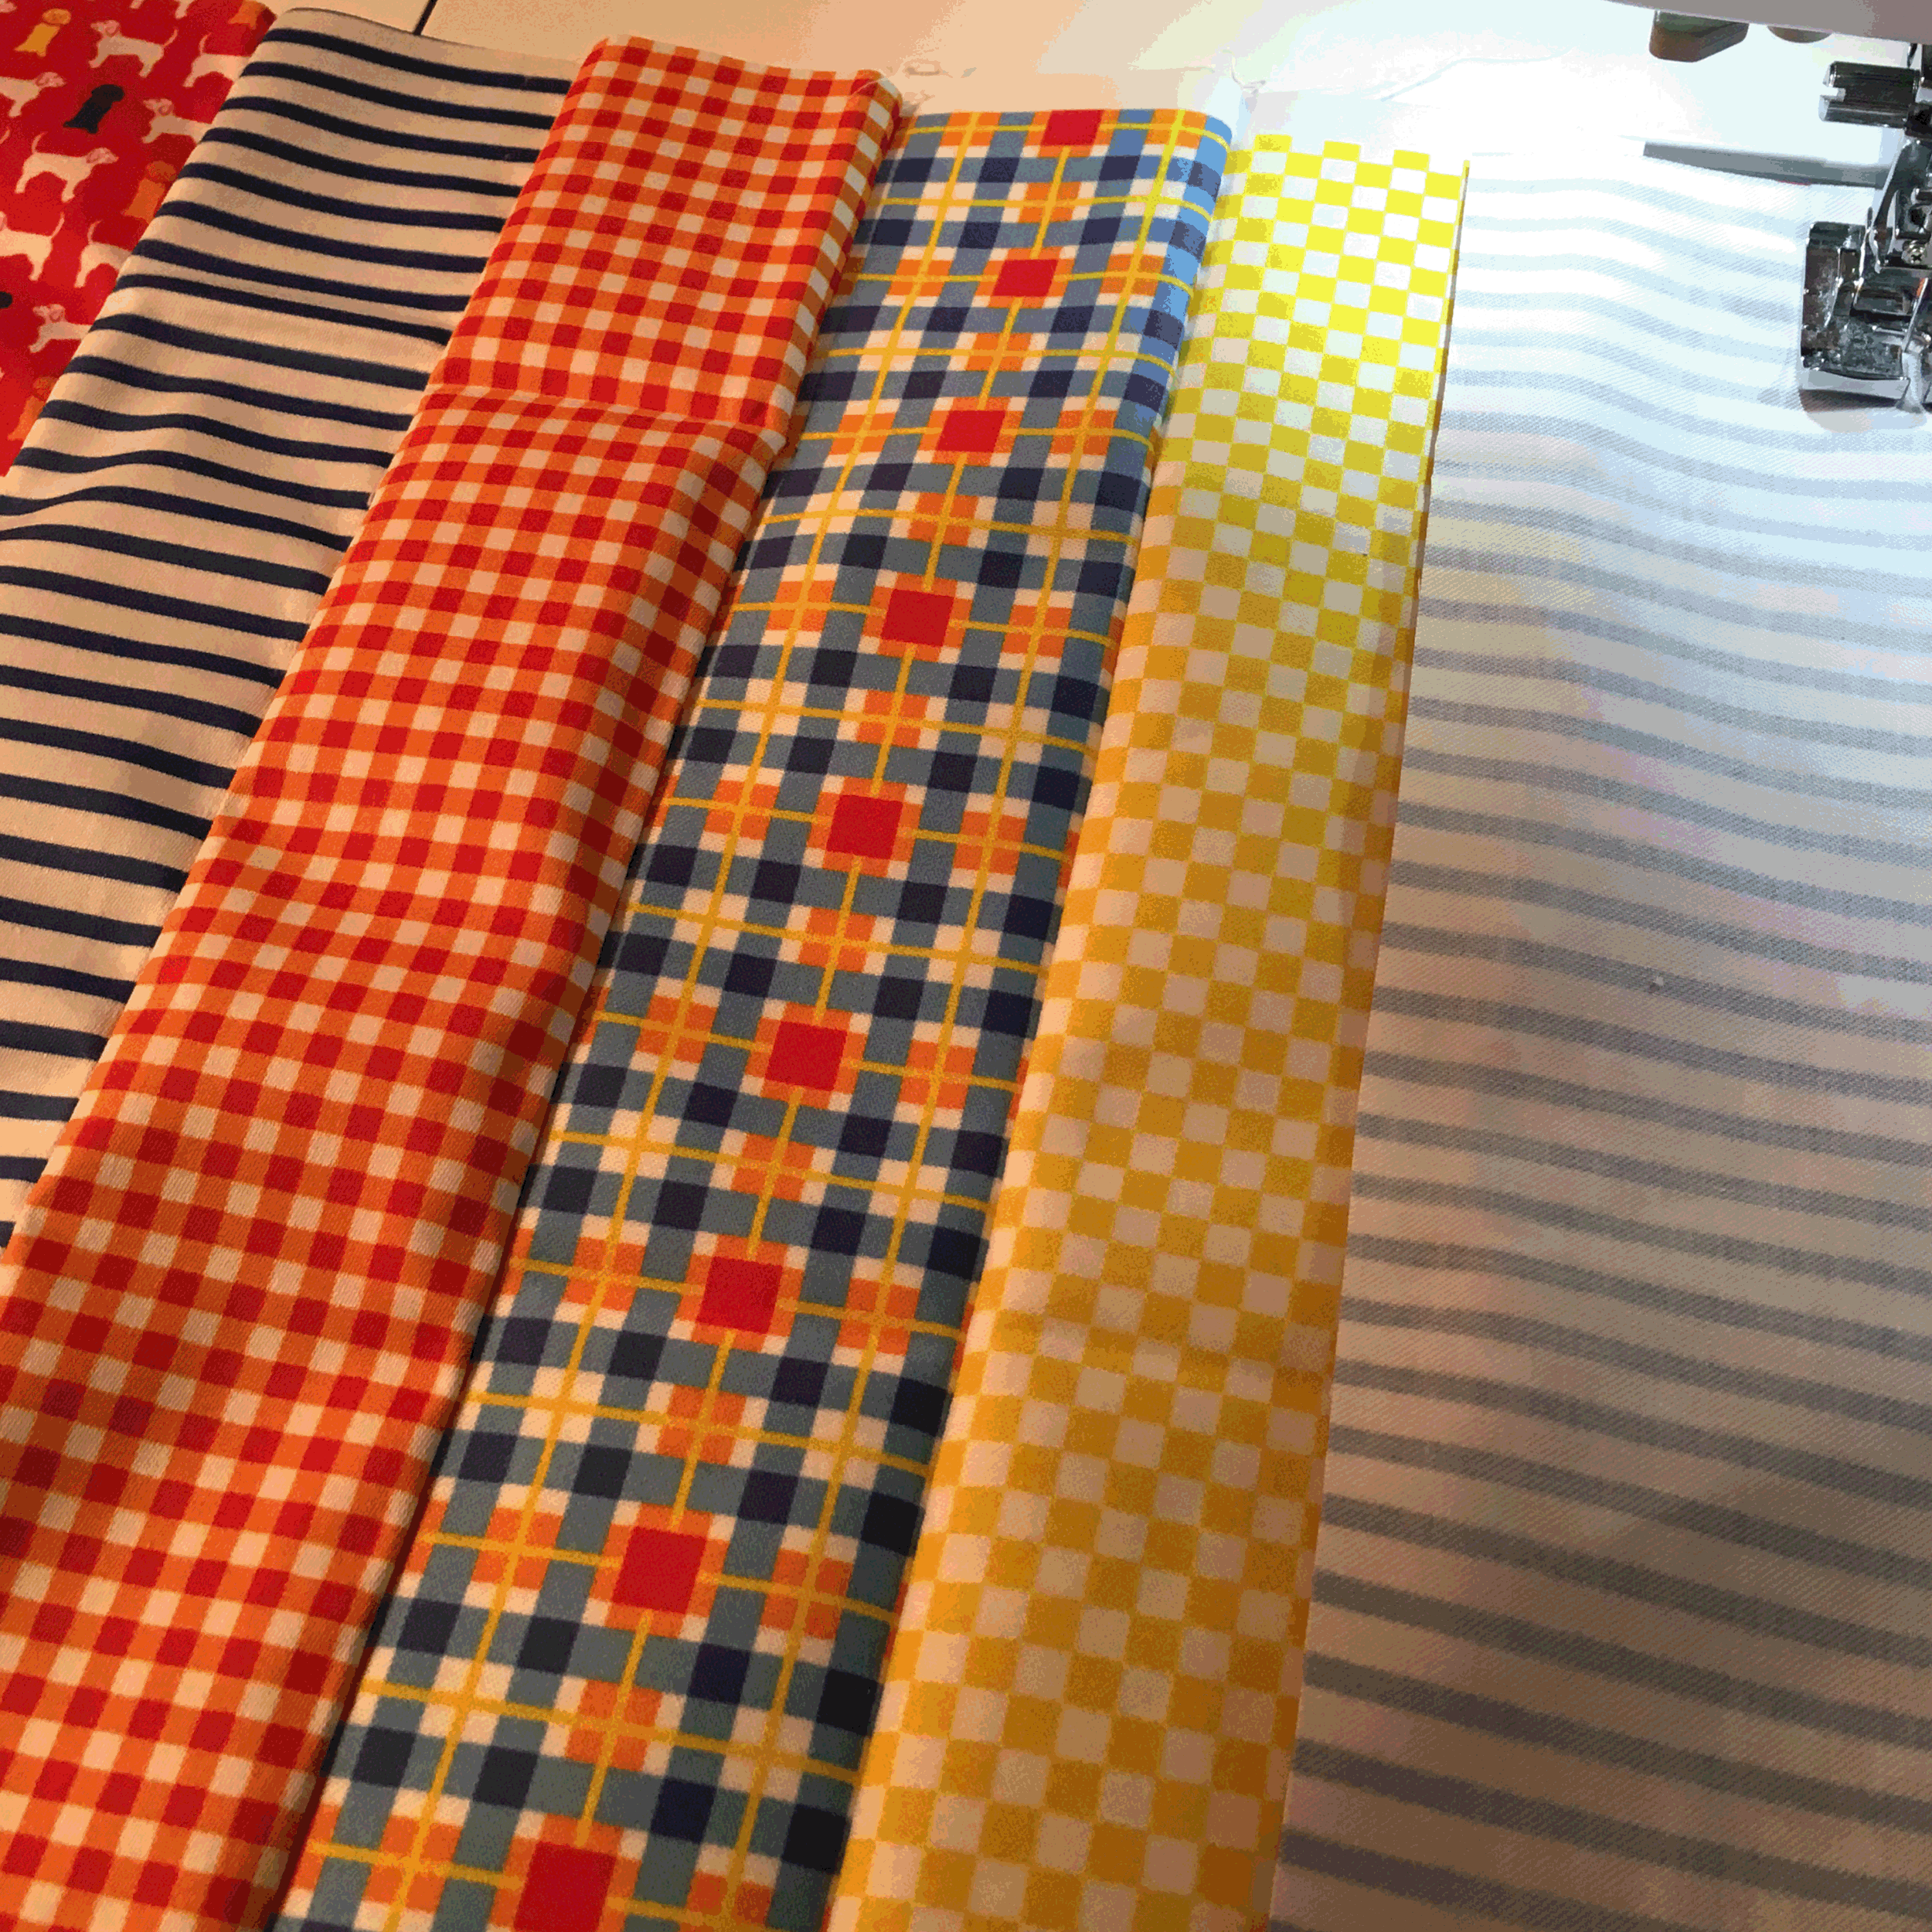
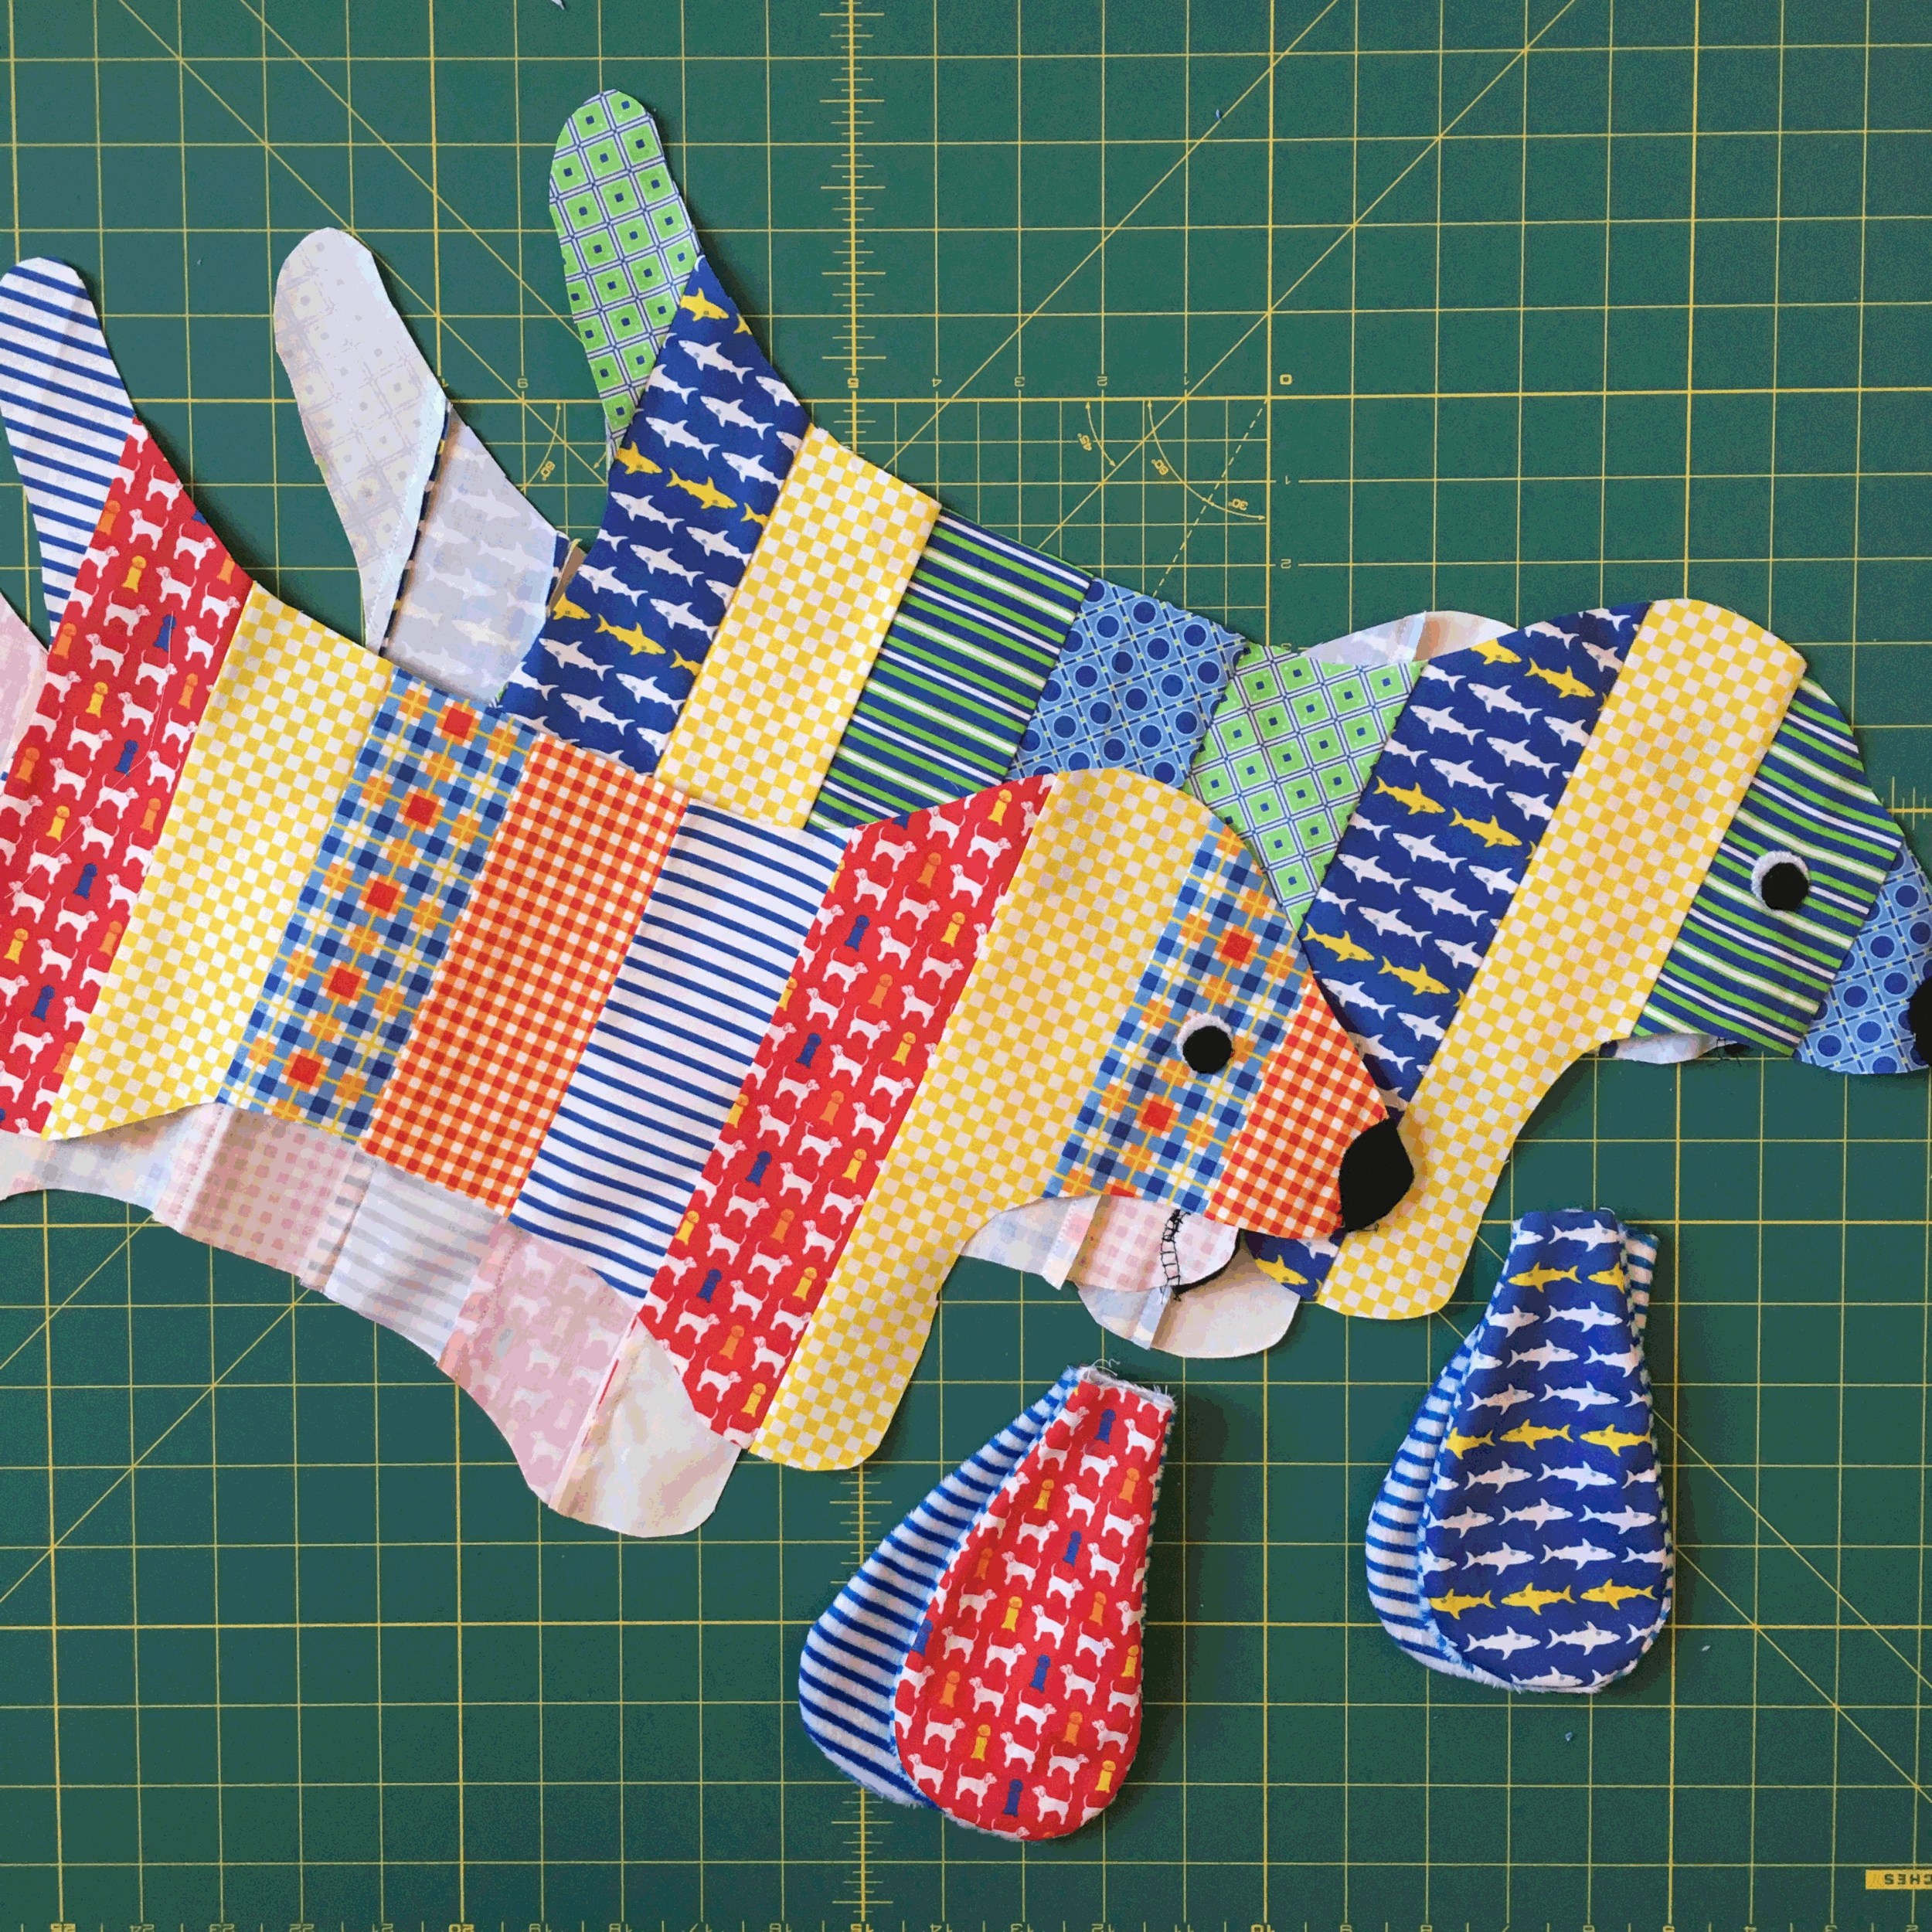
One morning this summer my grandsons and I decided to make these cute dachshund stuffed toys from retro mama, Here . We purchased the pattern download from her etsy shop, Here. We printed the pattern and we were off, cutting, sewing, stuffing..... well, not so fast. That would have been great, except I wanted the boys to learn a little about what I do when I say that I design fabric on my computer. I had them each choose one thing they would like to have on their Milo's fabric. They decided on dogs and sharks. I designed those patterns along with small coordinates to go along with them using their favorite colors.
I downloaded them on the Spoonflower website, ordered a fat quarter of each, and we waited anxiously to receive them in the mail. I also made a small blue pinstripe and ordered it in the minky fabric to use for a soft underside on their ears.
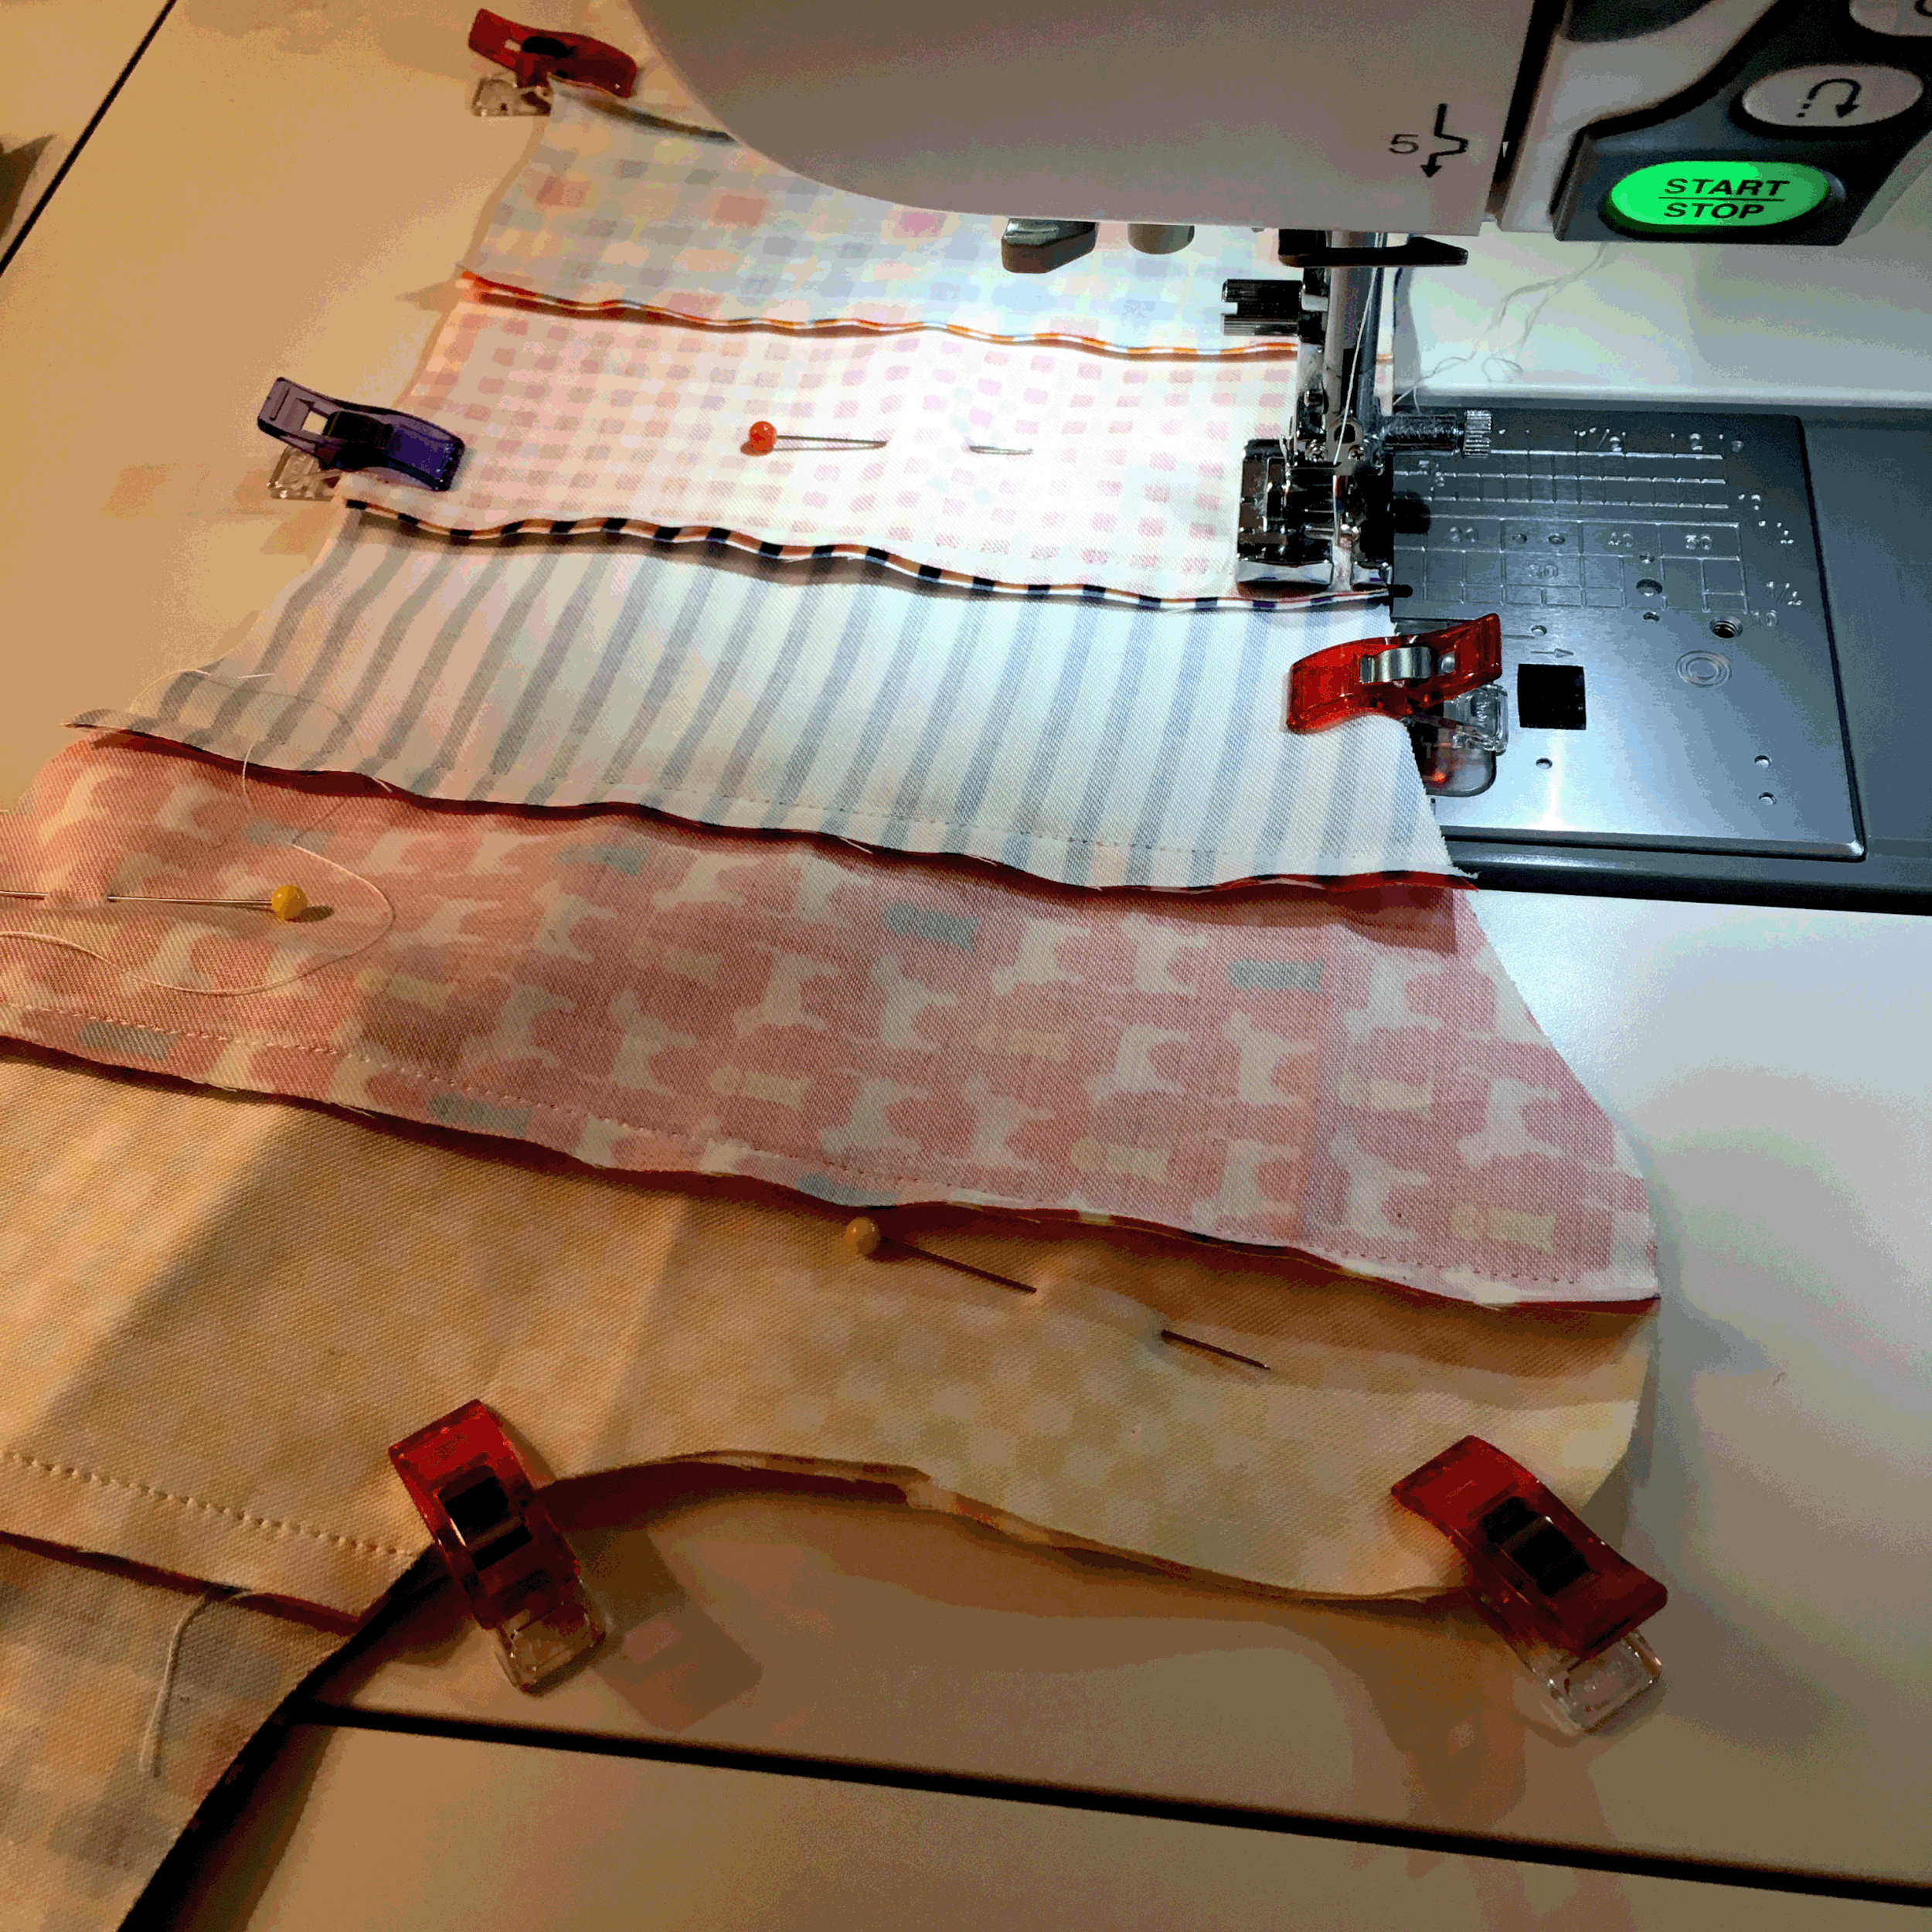
This was a really fun project. The instructions were clear and it went together pretty easily. There were two places that were a little tricky. The first was when I cut the pattern pieces from the sewn together strips, making sure the seams stayed connected until I sewed the two sides together. The second was sewing the final ladder stitch to close the bottom after it was stuffed. The ladder stitch is normally pretty easy for closing the last seam, but I wanted the stuffing to be really tight so that made it a little more difficult. But the best part was giving them to the boys! I finished them just in time to have them waiting on their pillows for our next sleepover :)
Sadie's Dream for a Cure
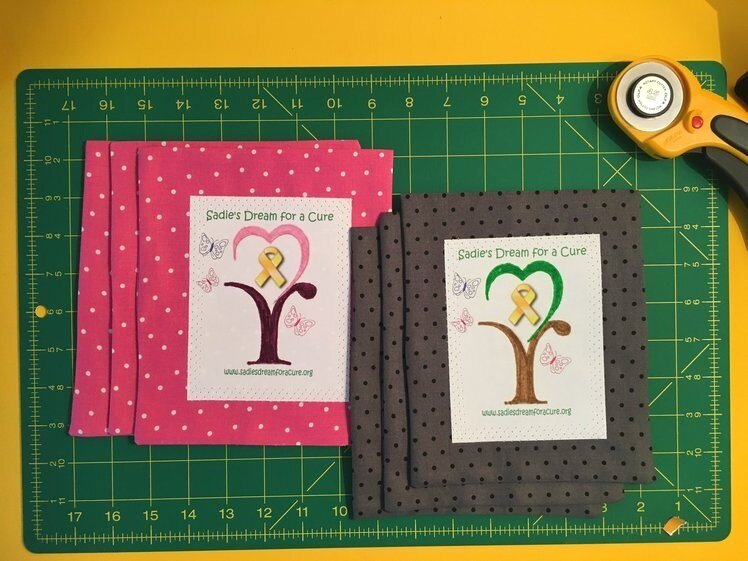
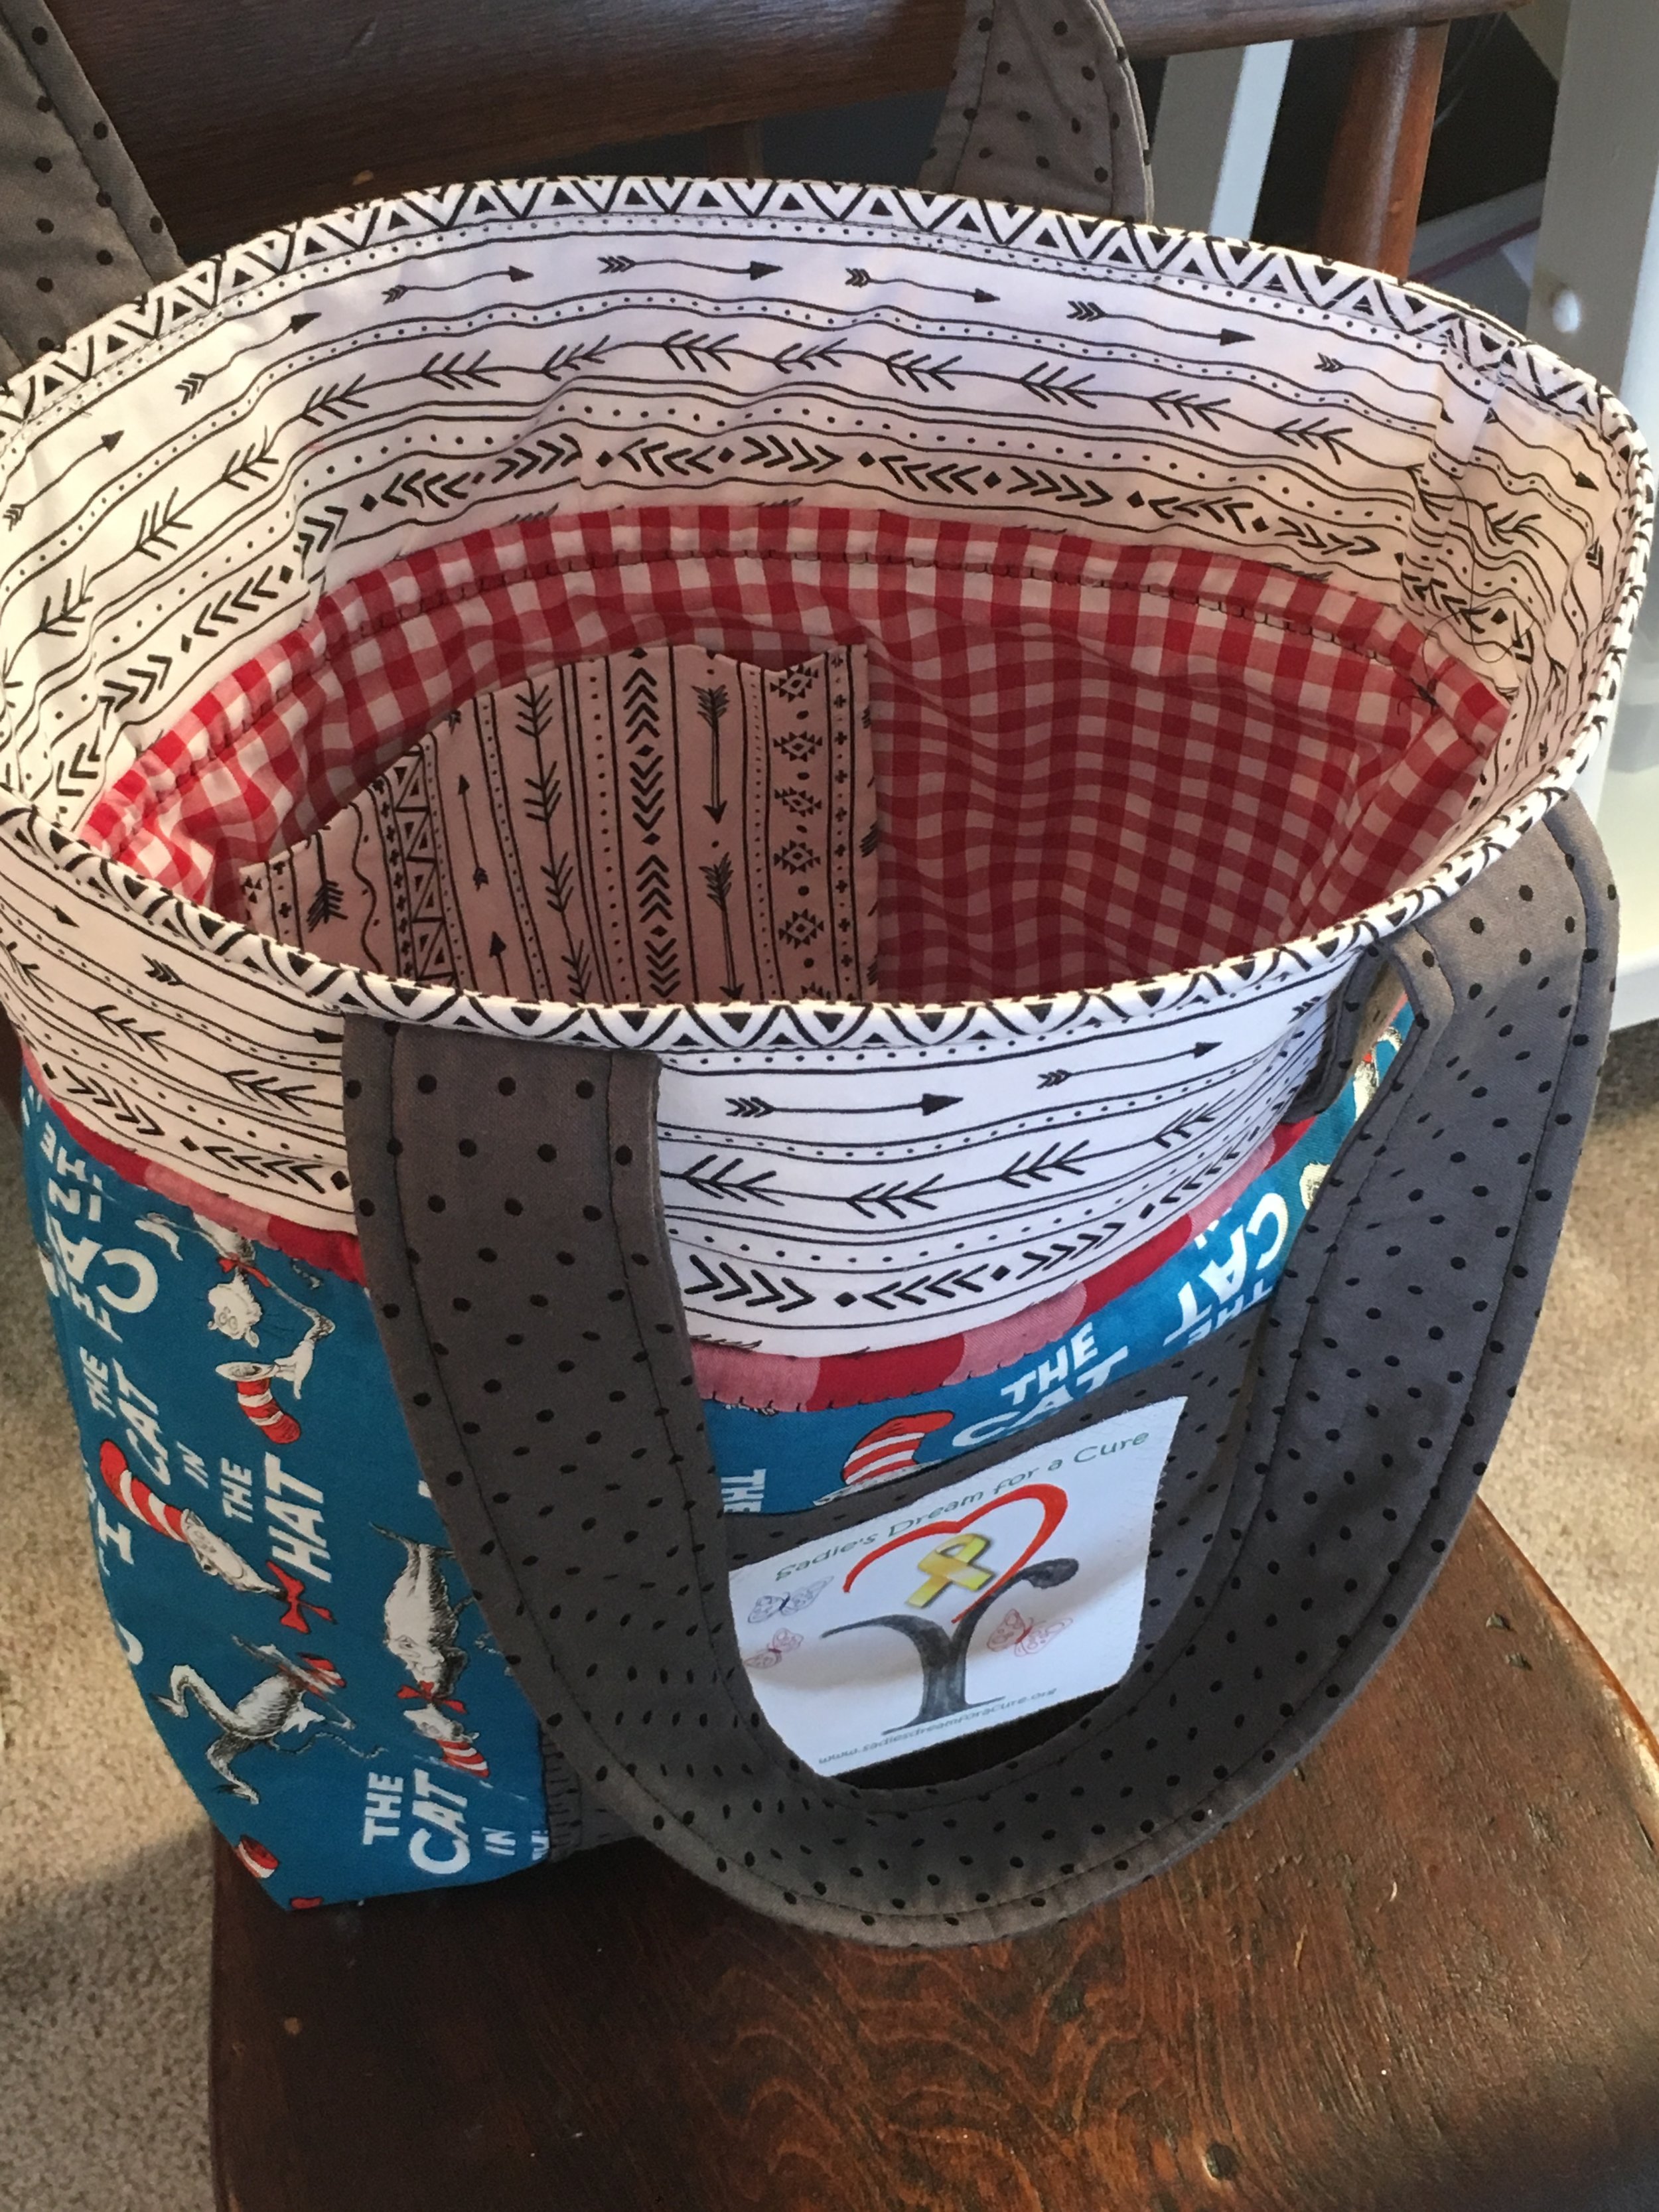
I recently purchased a new sewing machine. I have always been fortunate enough to have sewing machines handed down to me but this is the first time I actually purchased my own. I found Sadie's Dream for a Cure online and thought this would be a perfect way to get used to my new machine. This is a wonderful Charity that donates tote bags filled with activities for children to do while they are in the hospital receiving cancer treatment. You can read Sadie's Dream for a Cure's story here. http://www.sadiesdreamforacure.org/
I found the instructions for my machine on YouTube which was a great way to learn how to use it. The coffee was especially helpful too :) . I may or may not have watched Several Hallmark movies during the making of the tote bags. And it's possible that I'm secretly plotting my family's move to small town where I'll become best friends with the wise owner of the local diner, but that's a whole different post ;) .
I downloaded the pattern and instructions and the labels were mailed to me. I requested 4 labels, one for each of my children, however I received 6 so I made all 6 and decided that would be just right because I have 2 grandchildren as well. I think they usually send extra labels that you can give to someone or you can send them back.
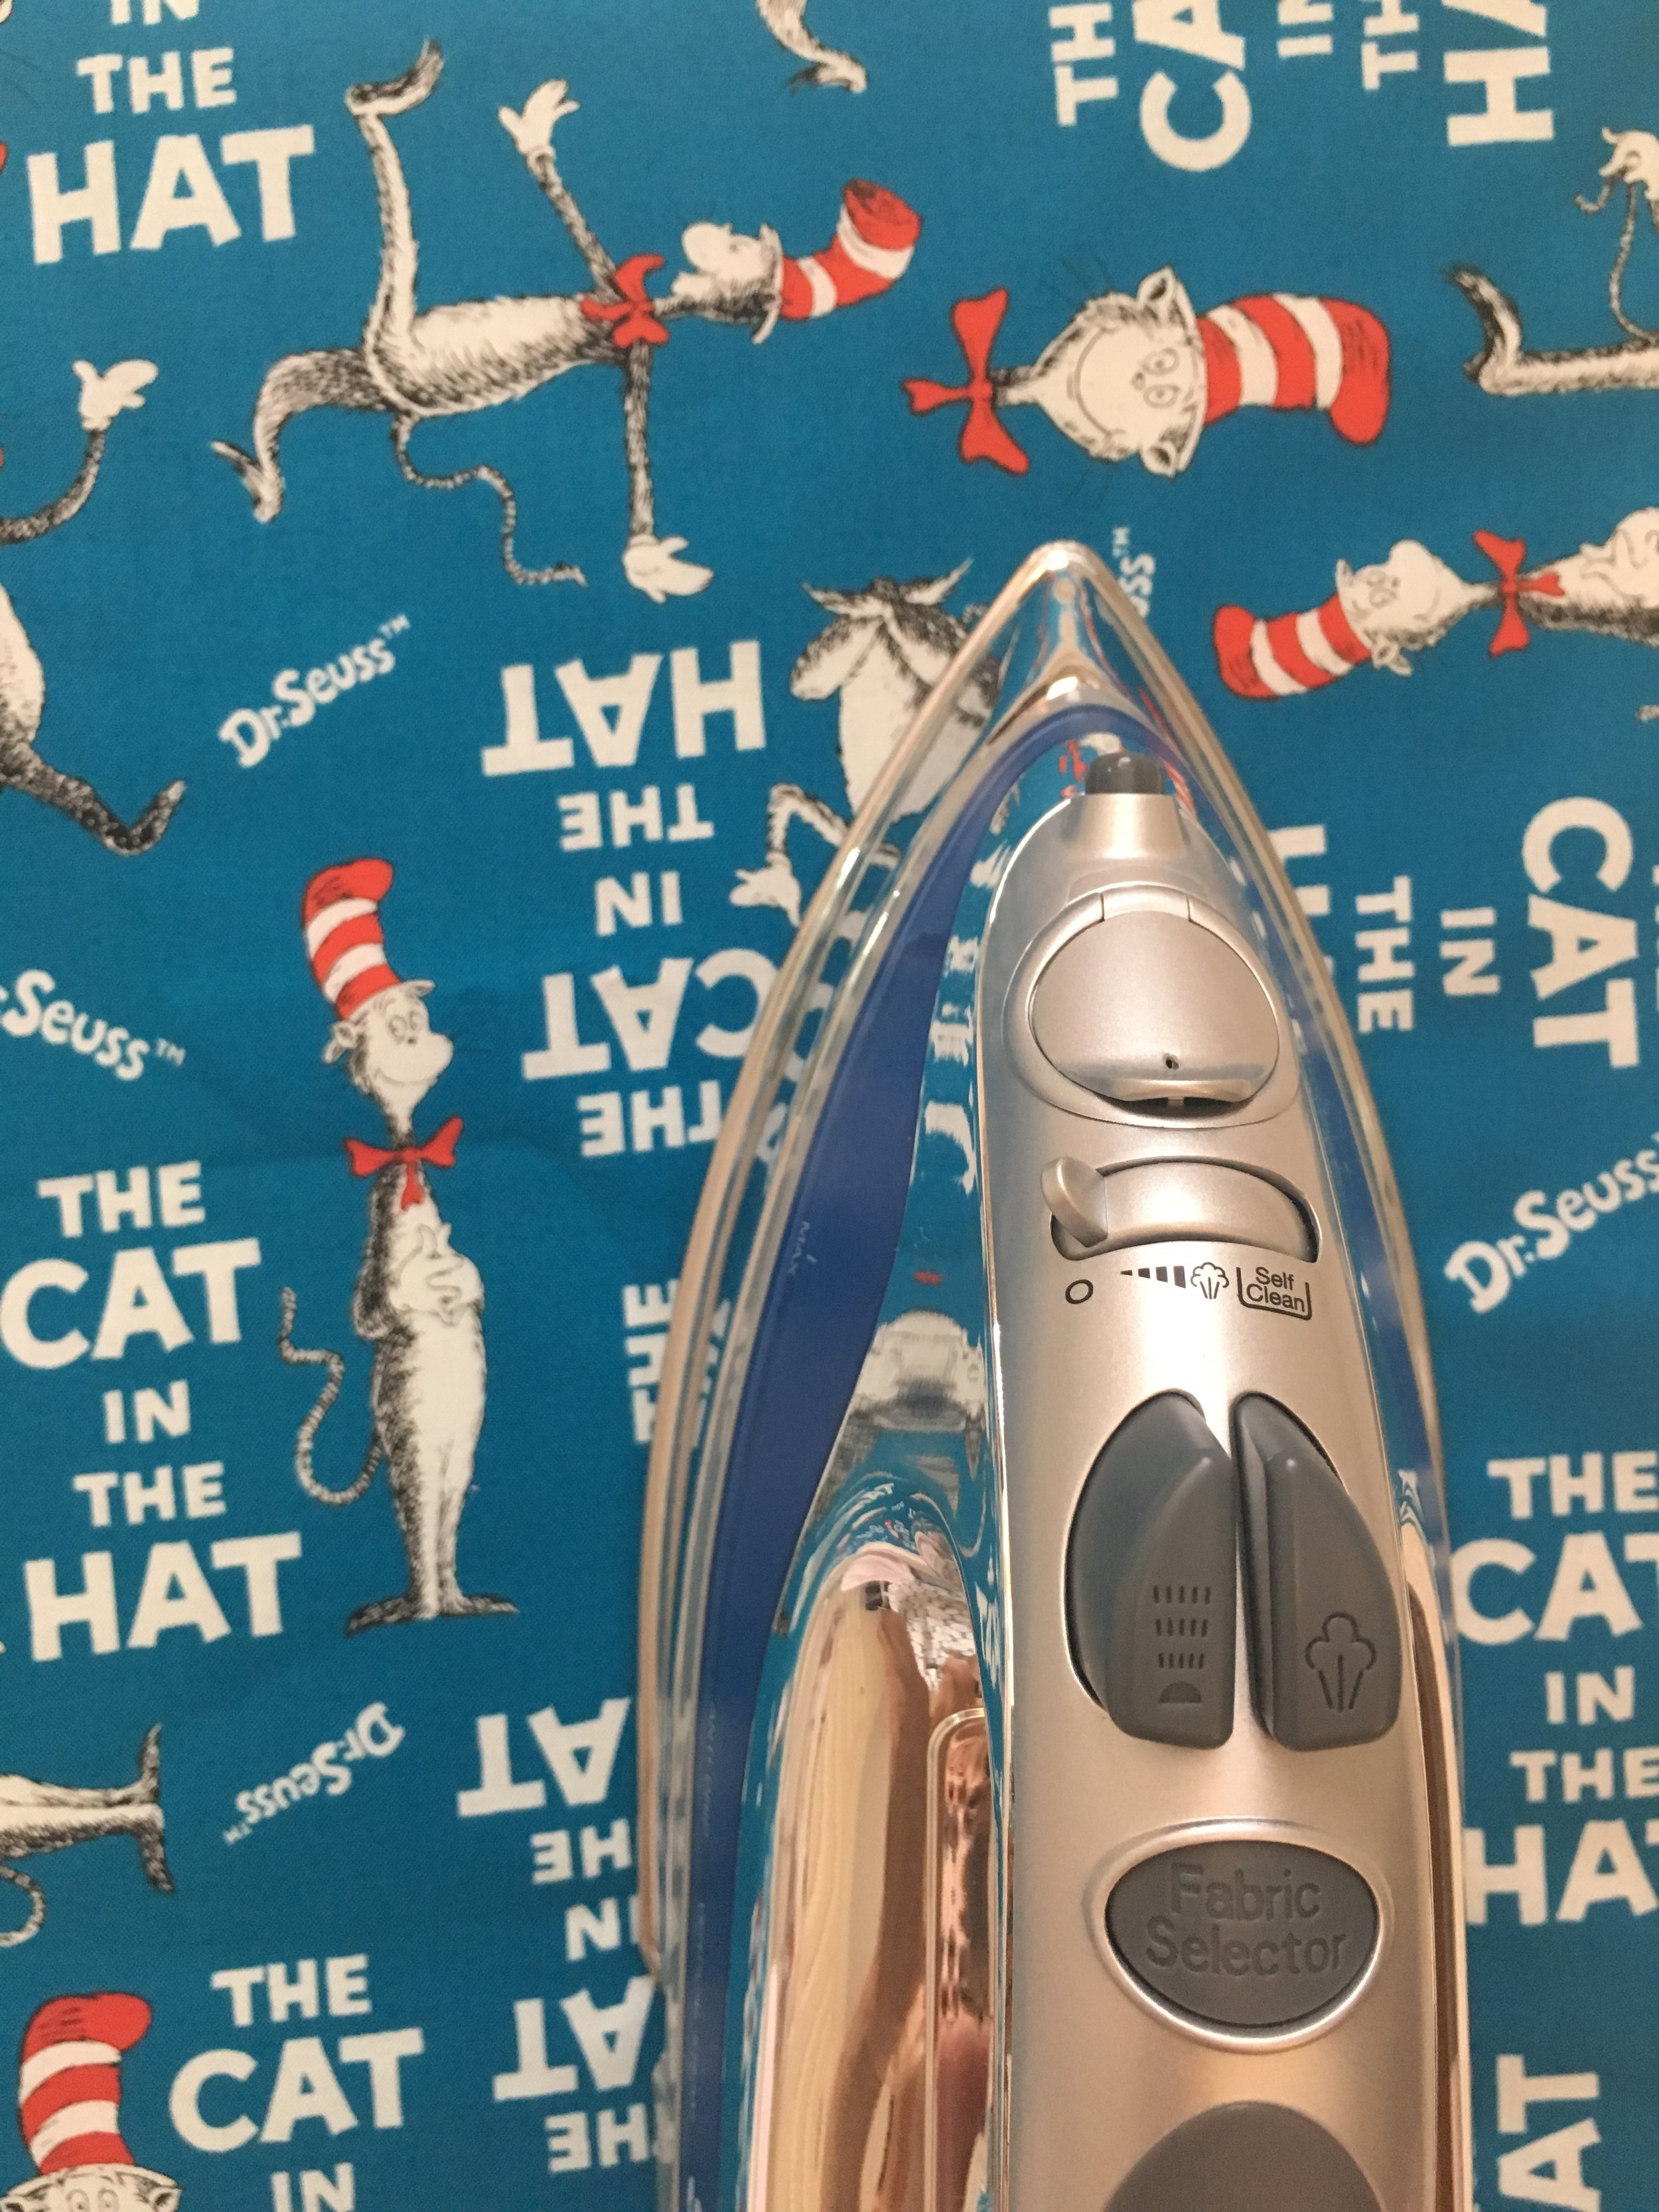
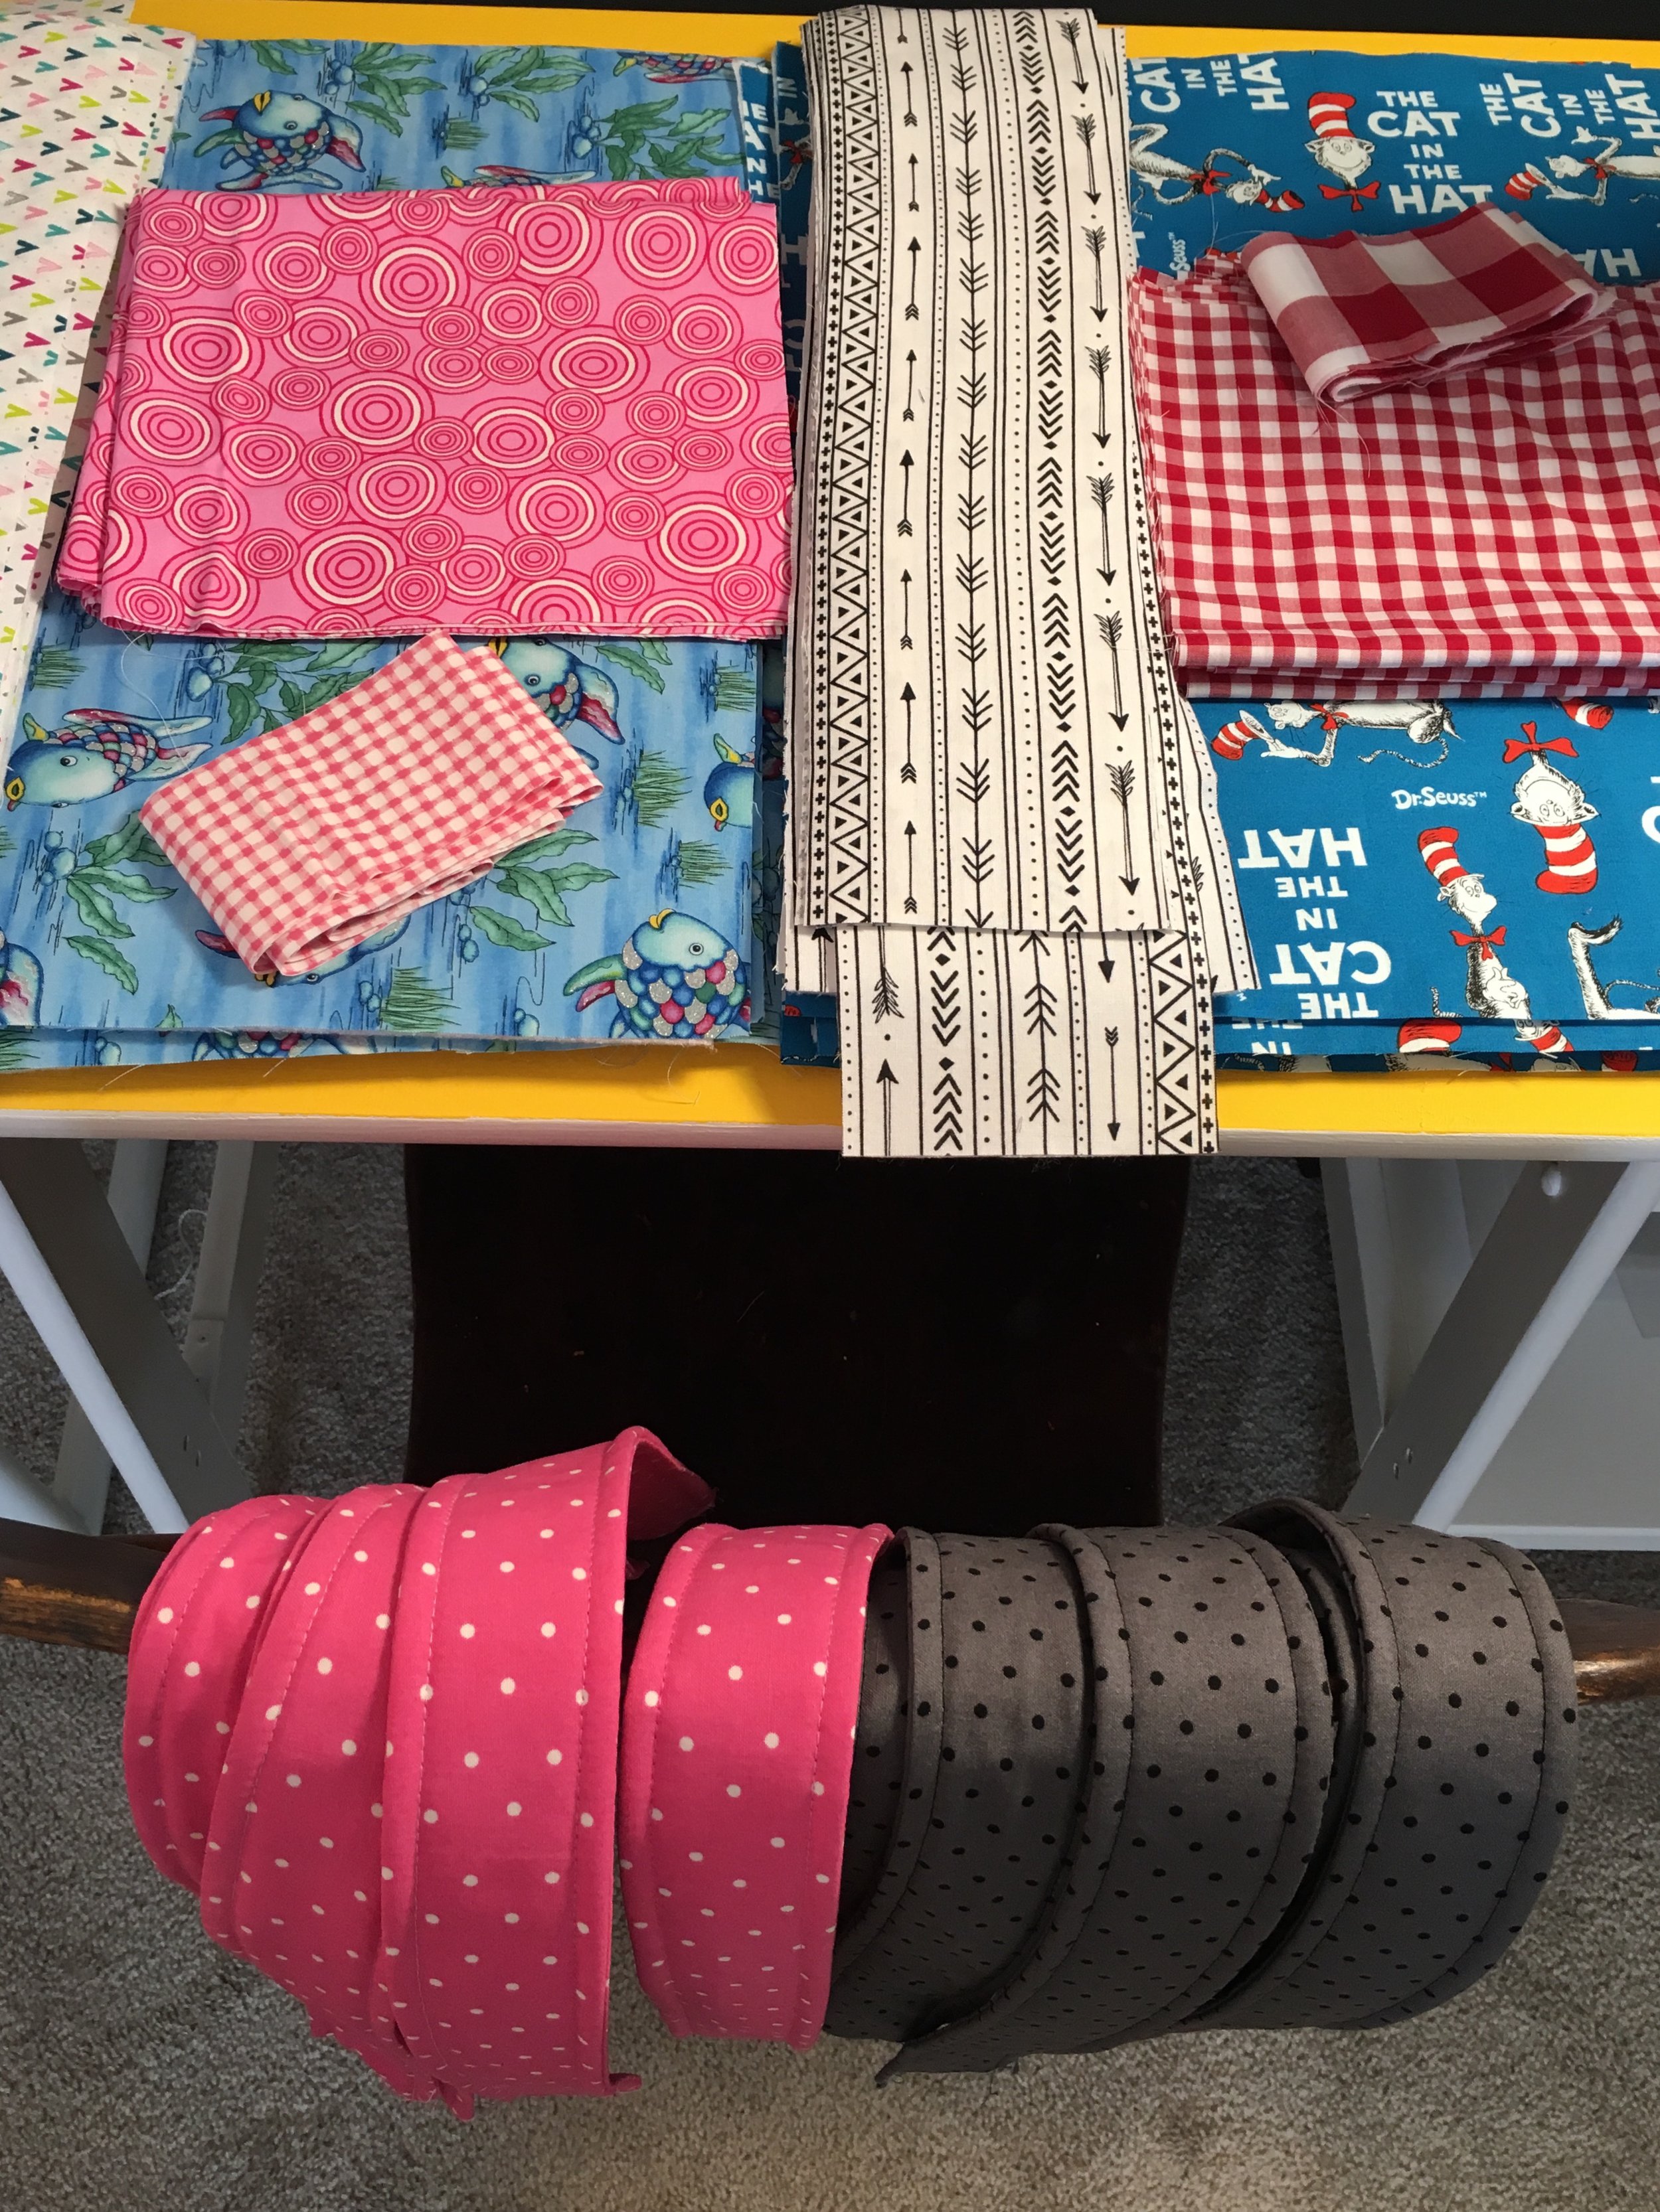
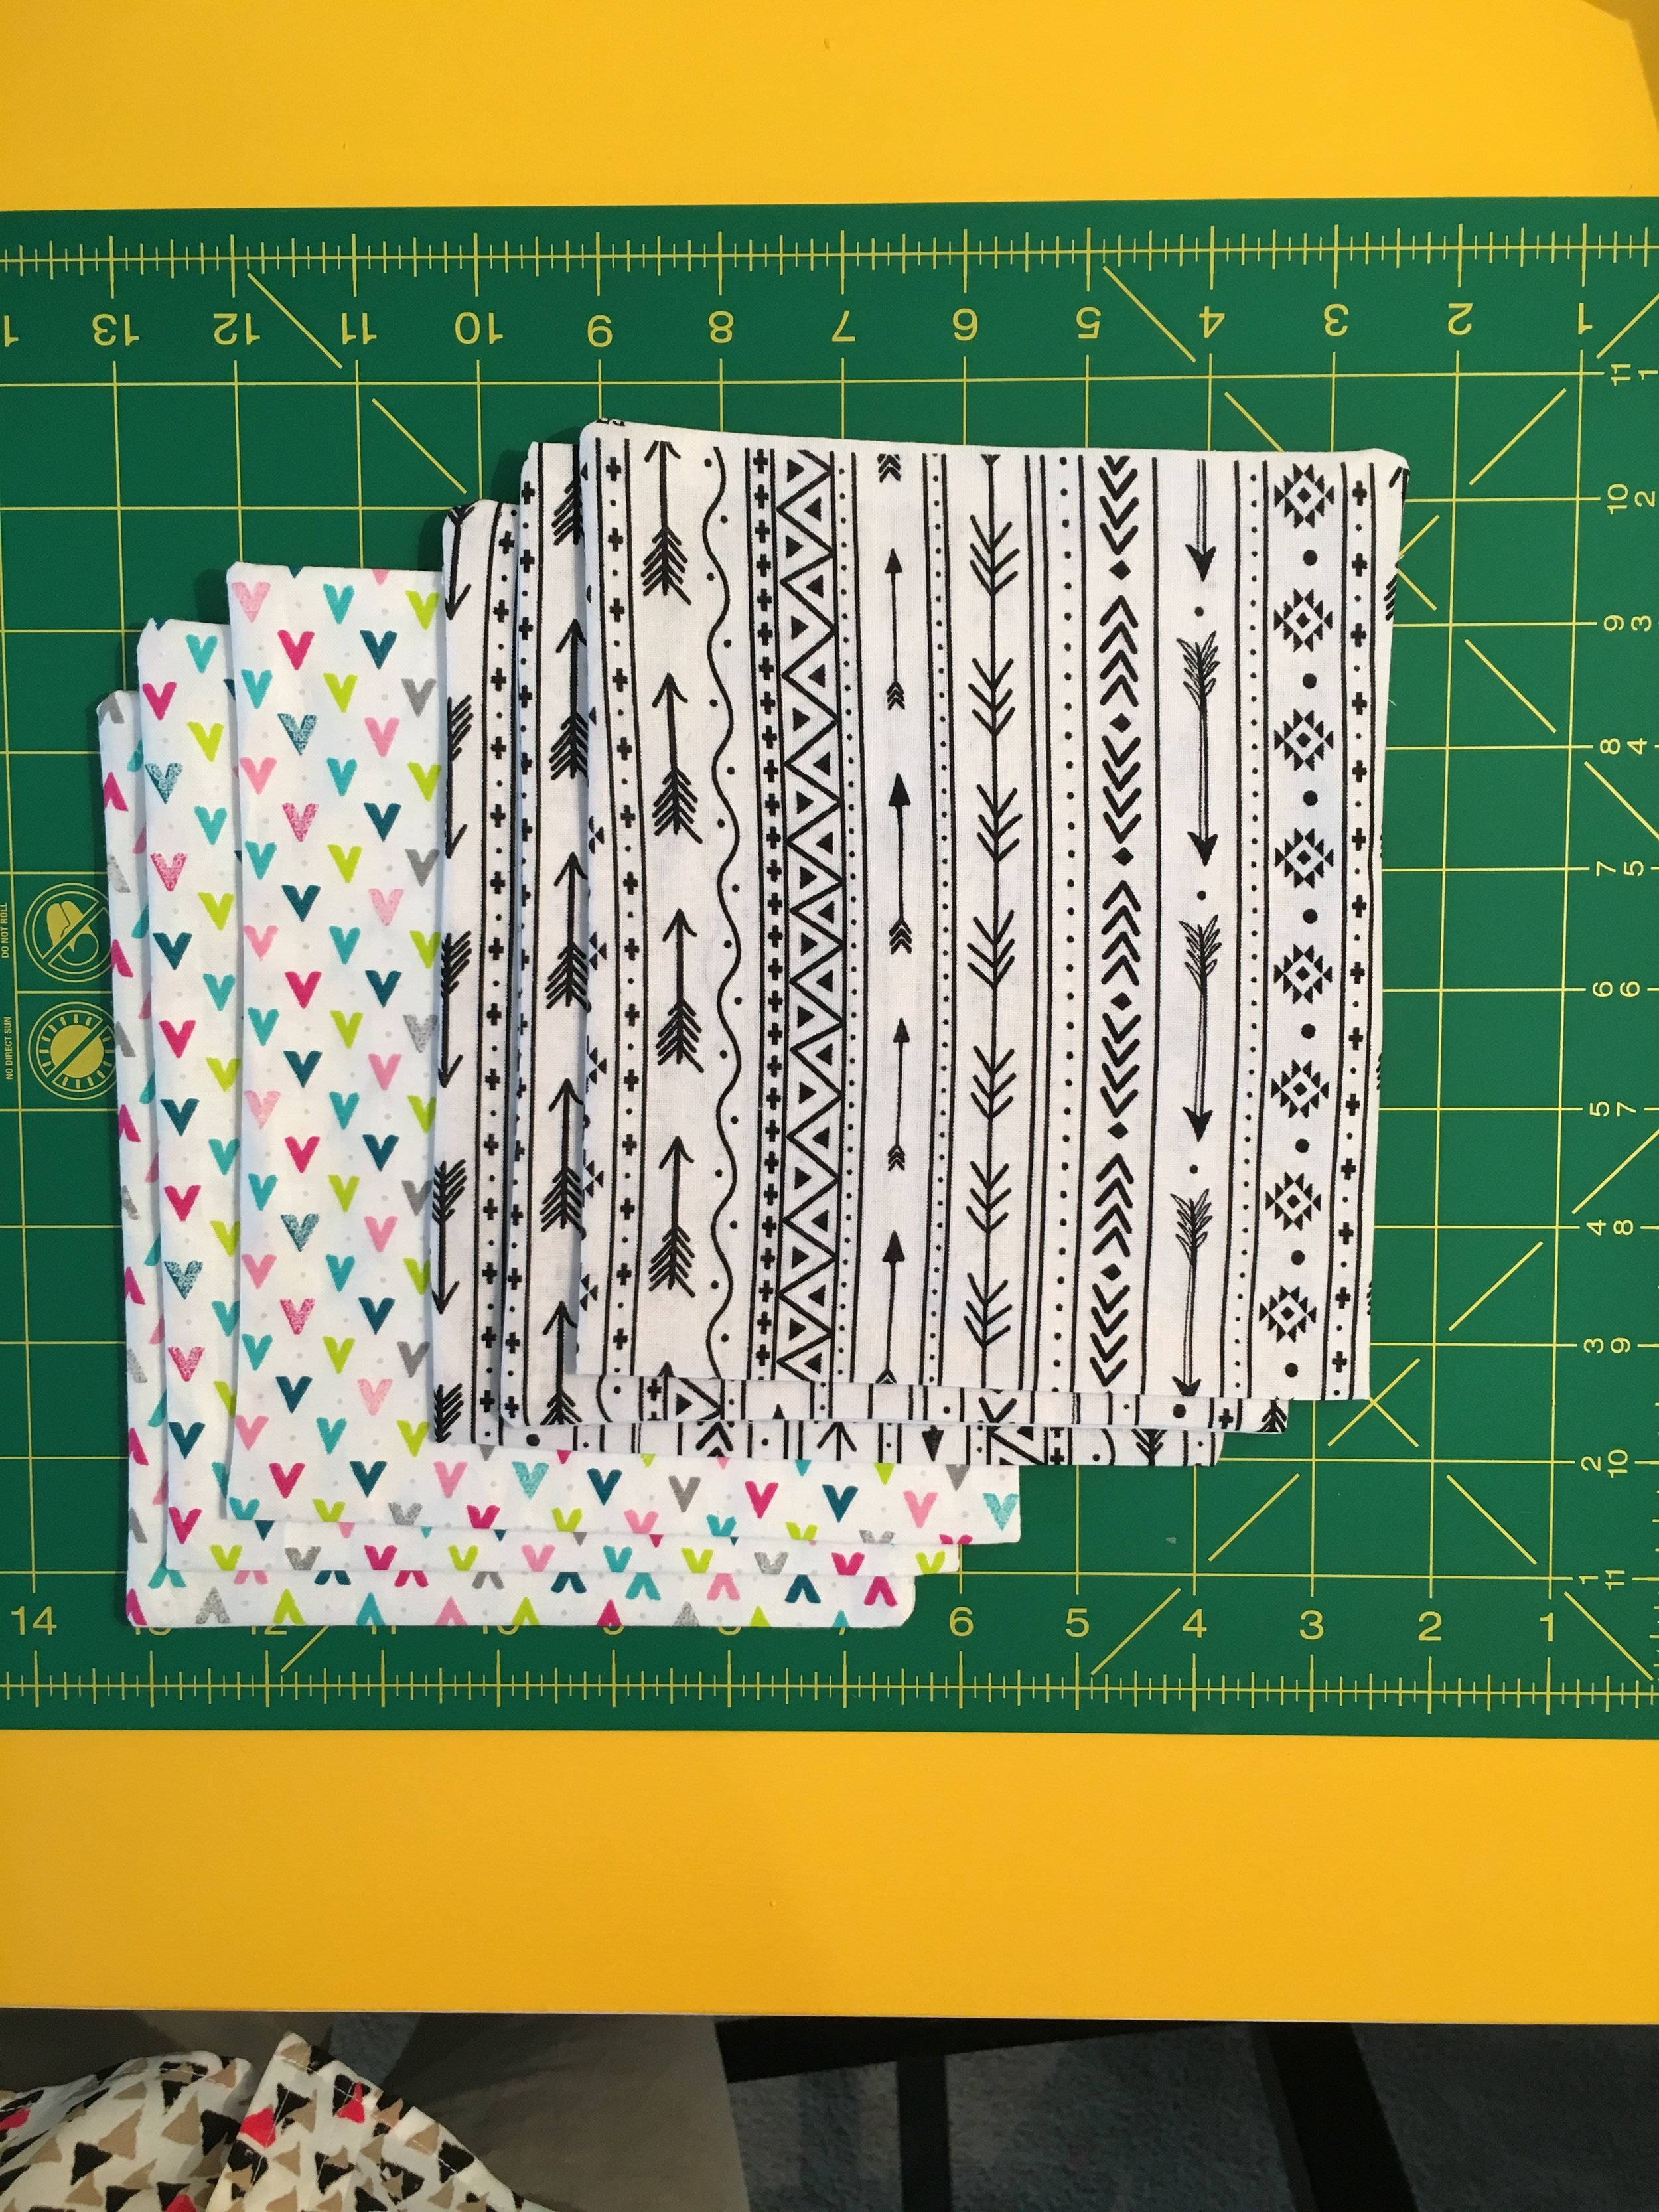
I chose storybook themes for my main fabrics because most children would be familiar with them and possibly that familiarity could give a small amount of comfort.
This was a really fun project. I would rate is as an advanced beginner level if you are considering making a bag. There are other ways to help aside from sewing. They take donations for items that fill the bags also. It's always fun to see the instagram posts with pictures of the bags being delivered to the hospitals! My finished bags will be in the mail tomorrow morning! :)

